

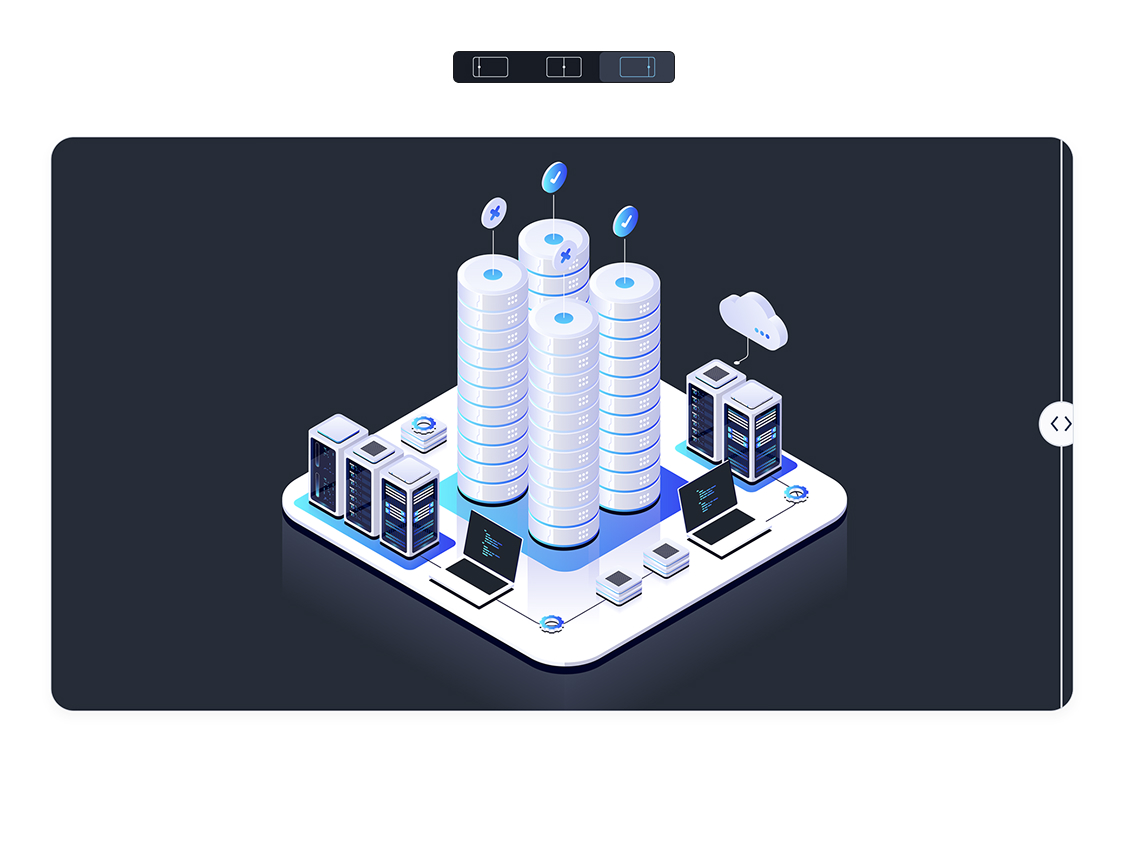
Before / After
Application #
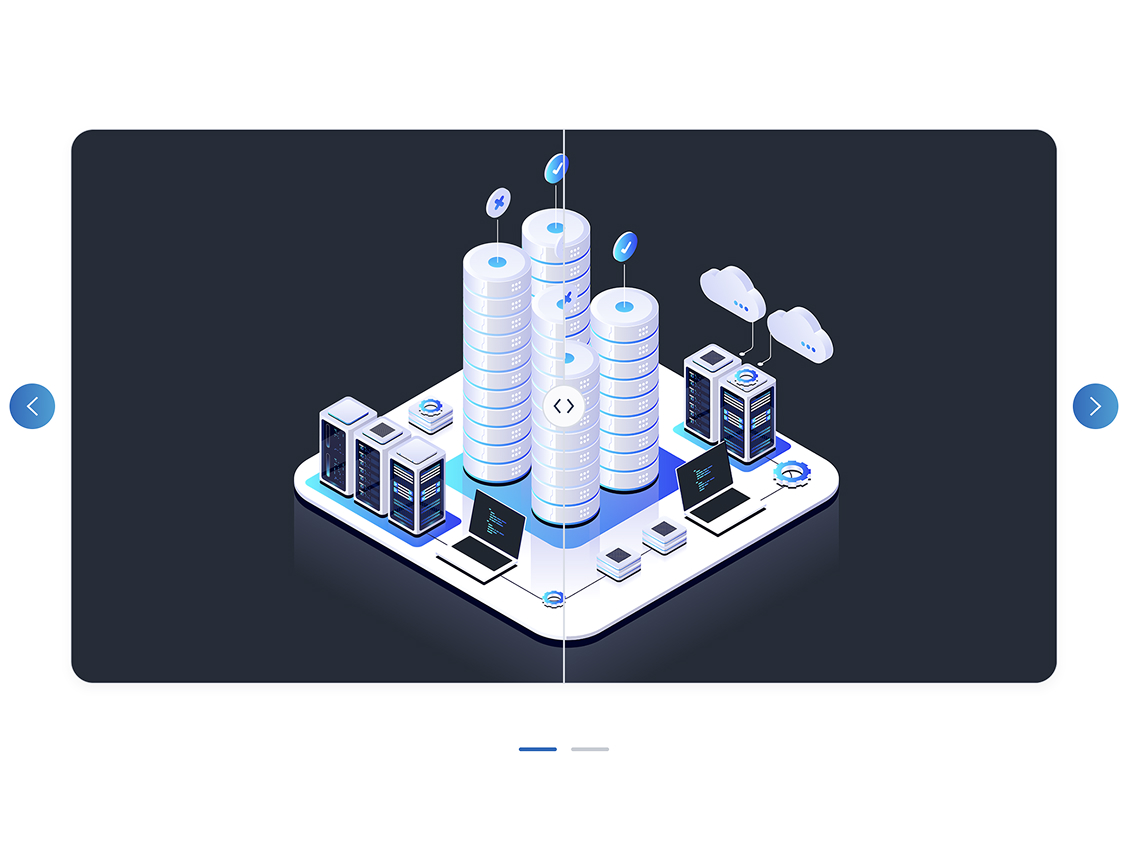
The before-and-after element is perfect for illustrating changes or development processes. It offers an intuitive way to visually highlight differences. Use the lenticular slider when you want to illustrate changes or development processes, such as improvements made by a product or a process. The lenticular slider is perfect for visual comparisons where the difference needs to be clearly visible. You can add more than just one before-and-after image and operate them as a slider. Check out the step-by-step guide to learn more about the element.
Add before-after element #
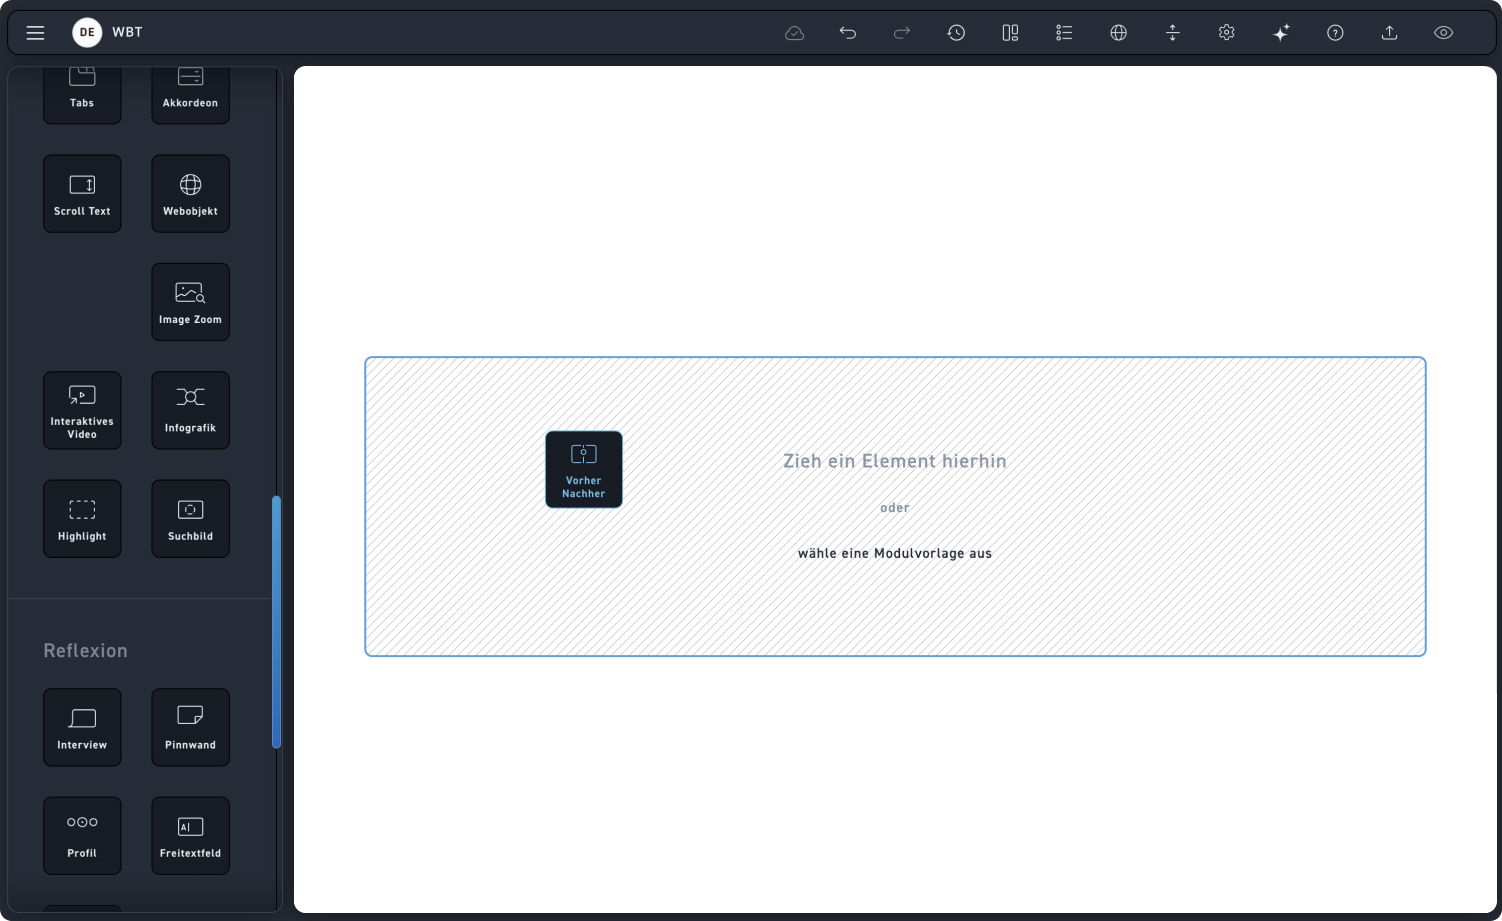
Drag the element into a module.
Set resolution direction #
Check out the slider to see what resolutions are available.
Step 2 – Choose cursor start position #
Check out the slider to see what starting positions are available.
Links #
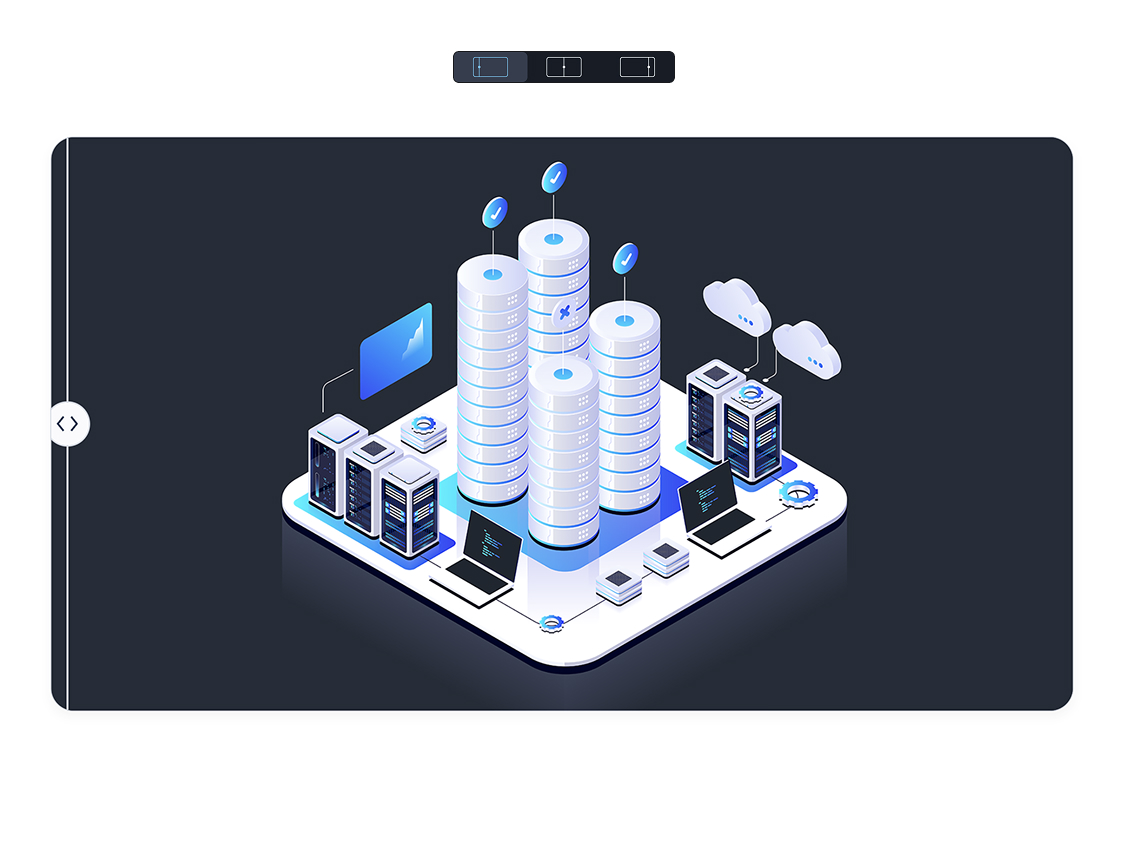
The solution starts on the left, and learners are expected to move the cursor from the left.
Centered #
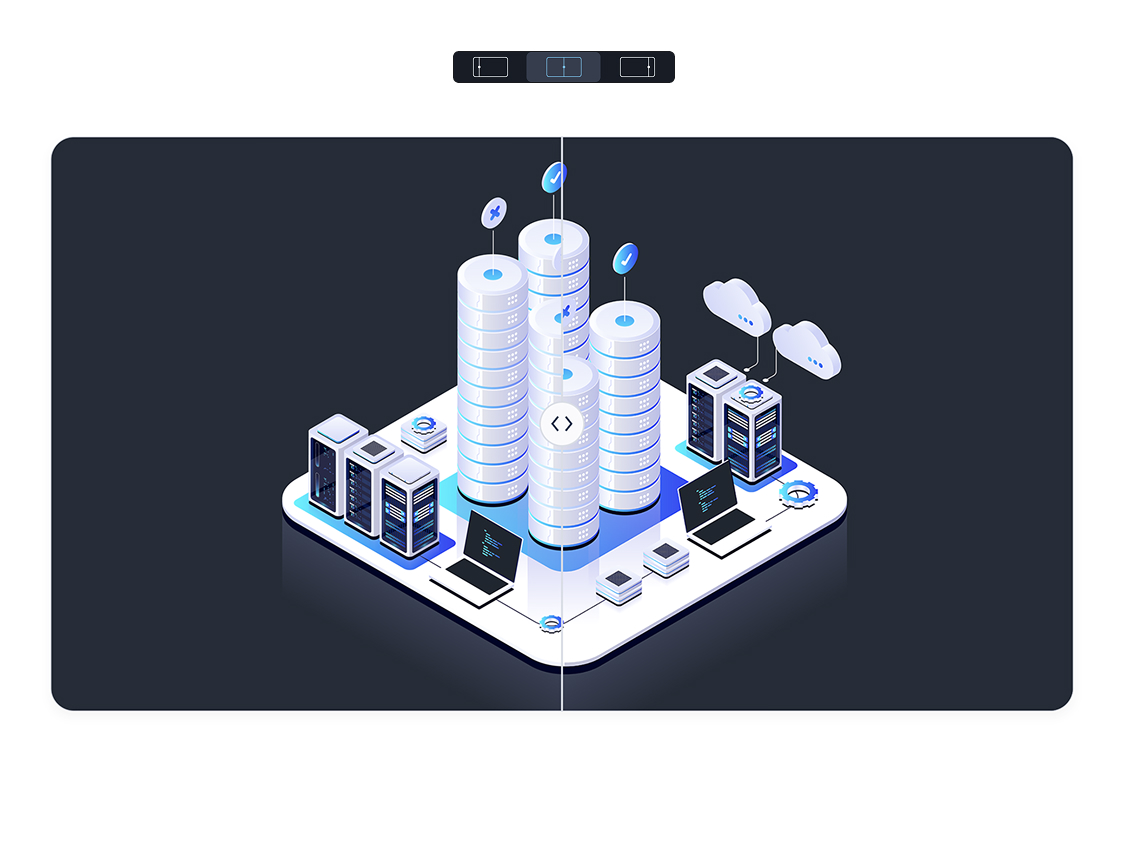
The resolution starts in the middle, and learners move the cursor from the center to discover the image.
Right #
The solution starts on the right and learners are supposed to move the cursor from the right.
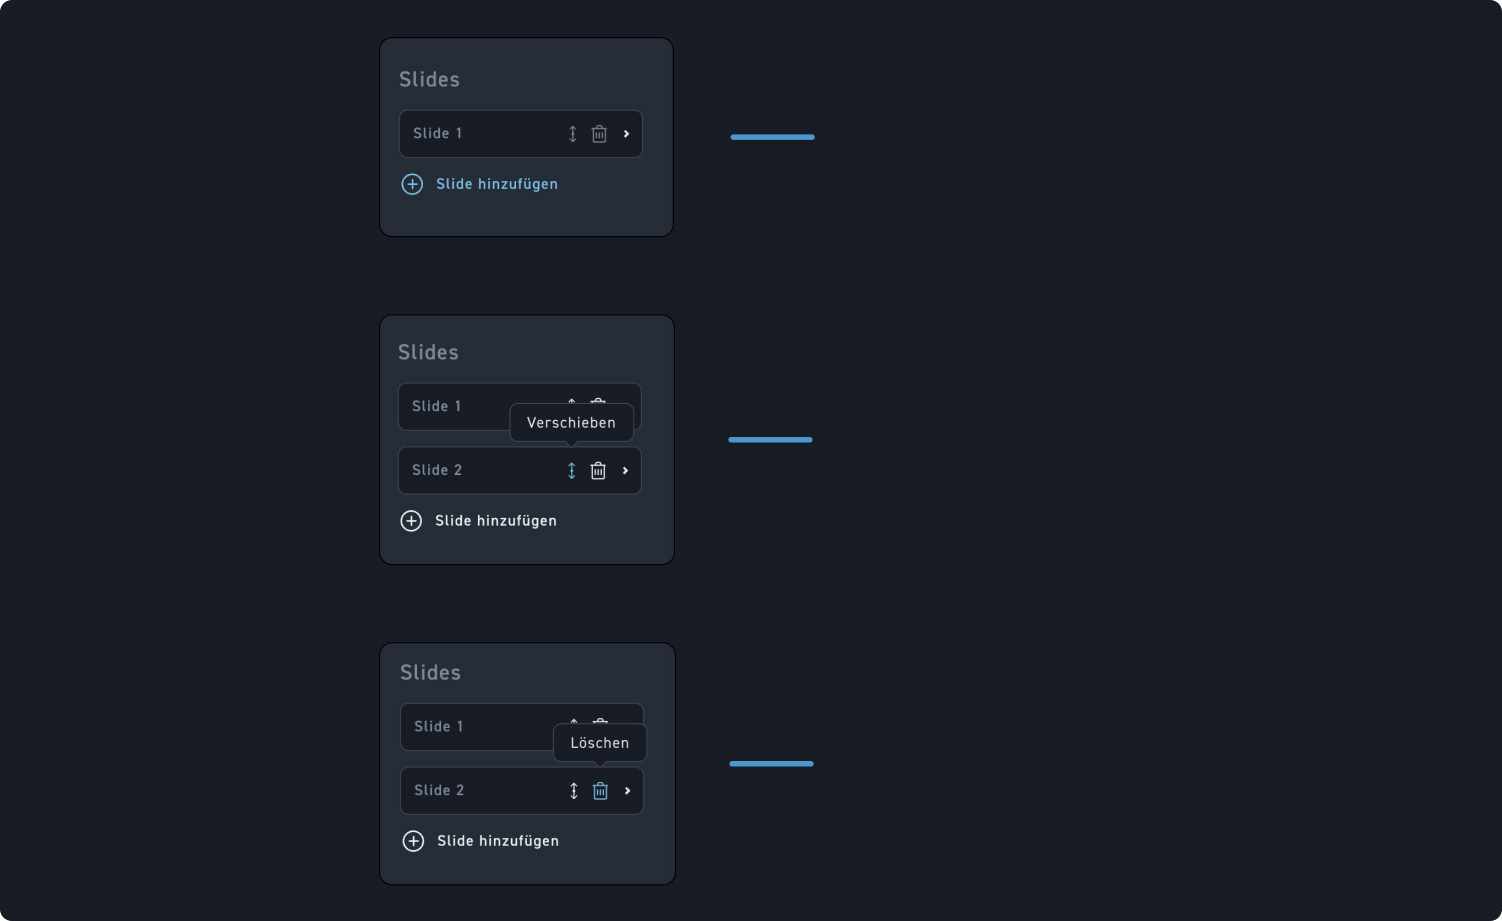
Step 3 – Manage slides #
Check out the hotspots to see the available options for managing the slides.
Step 4 – Slider Button #
Check out the slider and see how the before-and-after element changes with more than just one slide