Typography

Application #

Design your typography here and customize all text styles individually. The fonts and font weights are already assigned to the individual elements, so you only need to determine how they should look. The text sizes automatically adapt to the respective screen size.. This ensures a consistent typography across all devices that conveys your brand values and gives your interface an absolutely professional look.

Find typography overview #

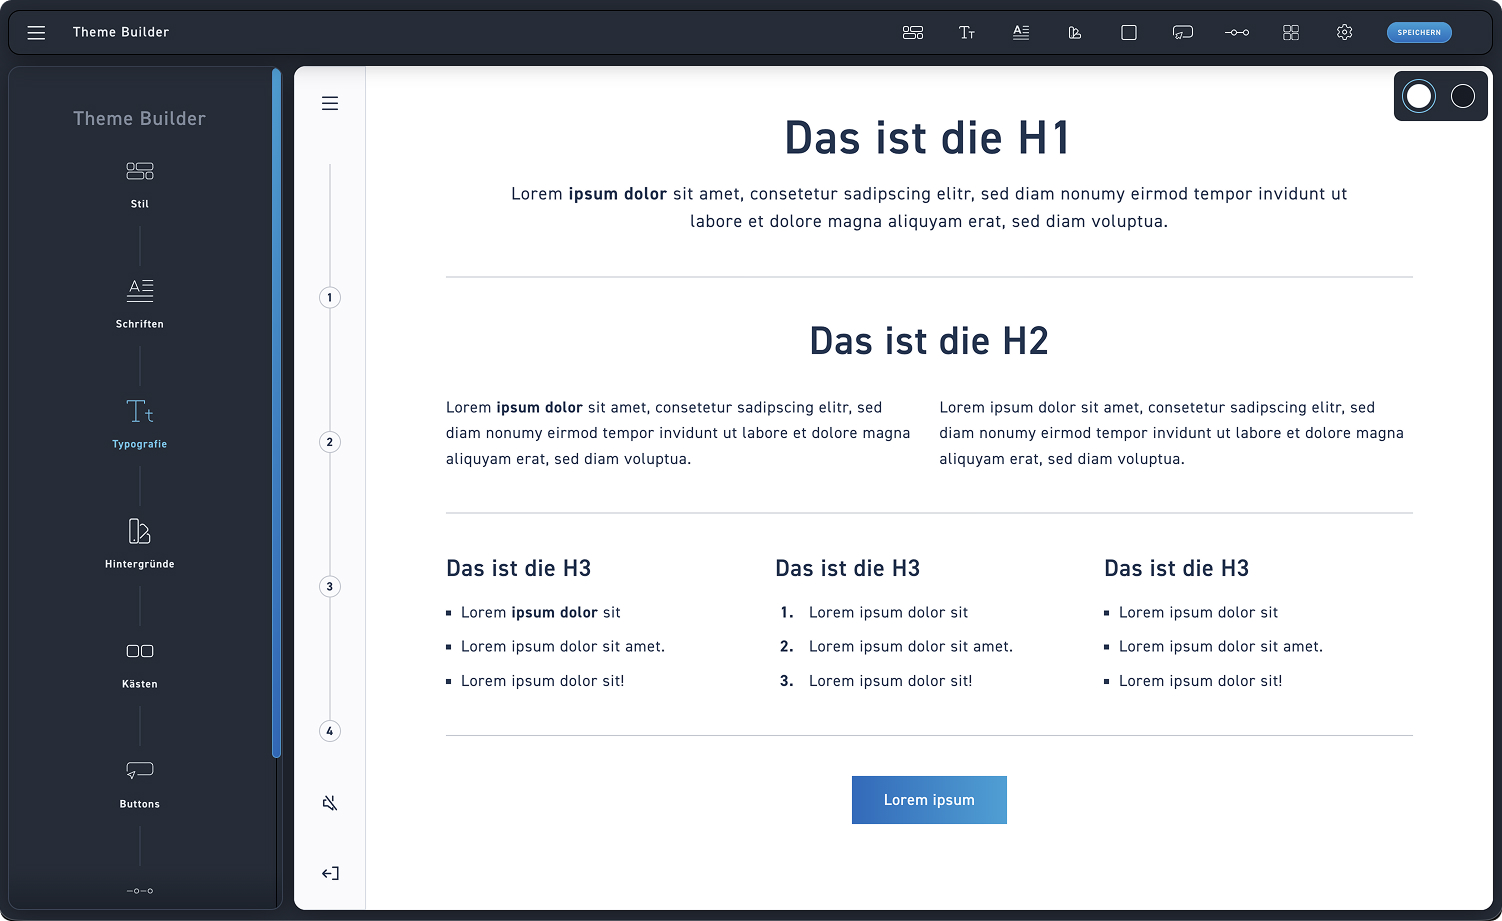
To adjust your typography, click on the third item, „Typography“.

1
Typography
Select typography to see more settings.
Step 1 – Typography Overview #

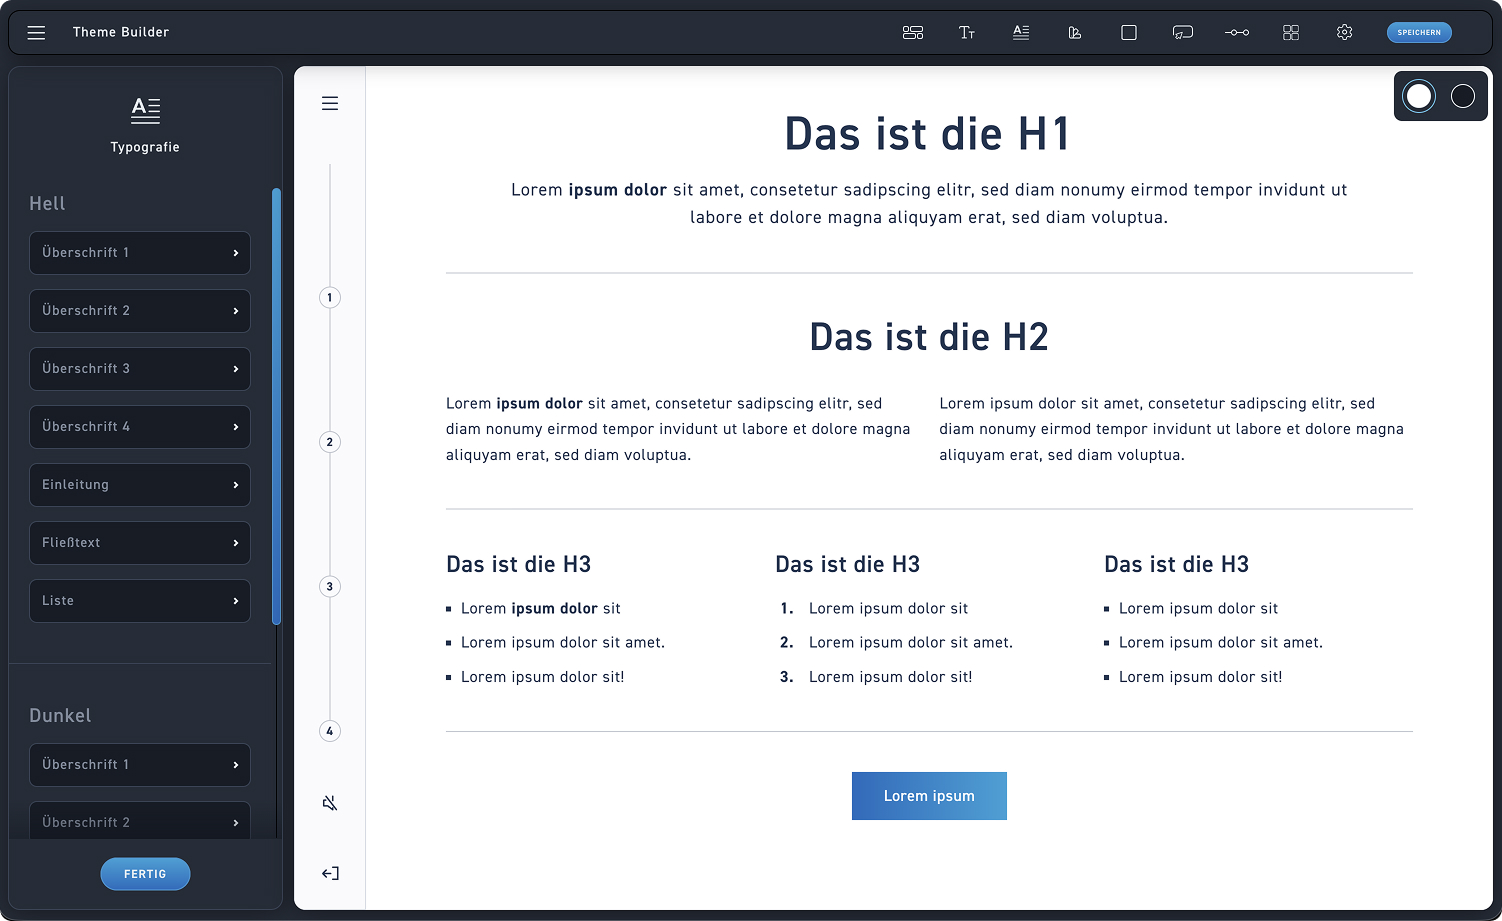
In the edit box, you can see all the typography values that can be adjusted. Here we show you which settings are available in total for the individual items. You can see all the changes you make immediately in the preview.

1
Typography settings
Adjust all typography values step by step. These will be applied to the dark backgrounds. In the second step, you will then only adjust the colors for the dark backgrounds.
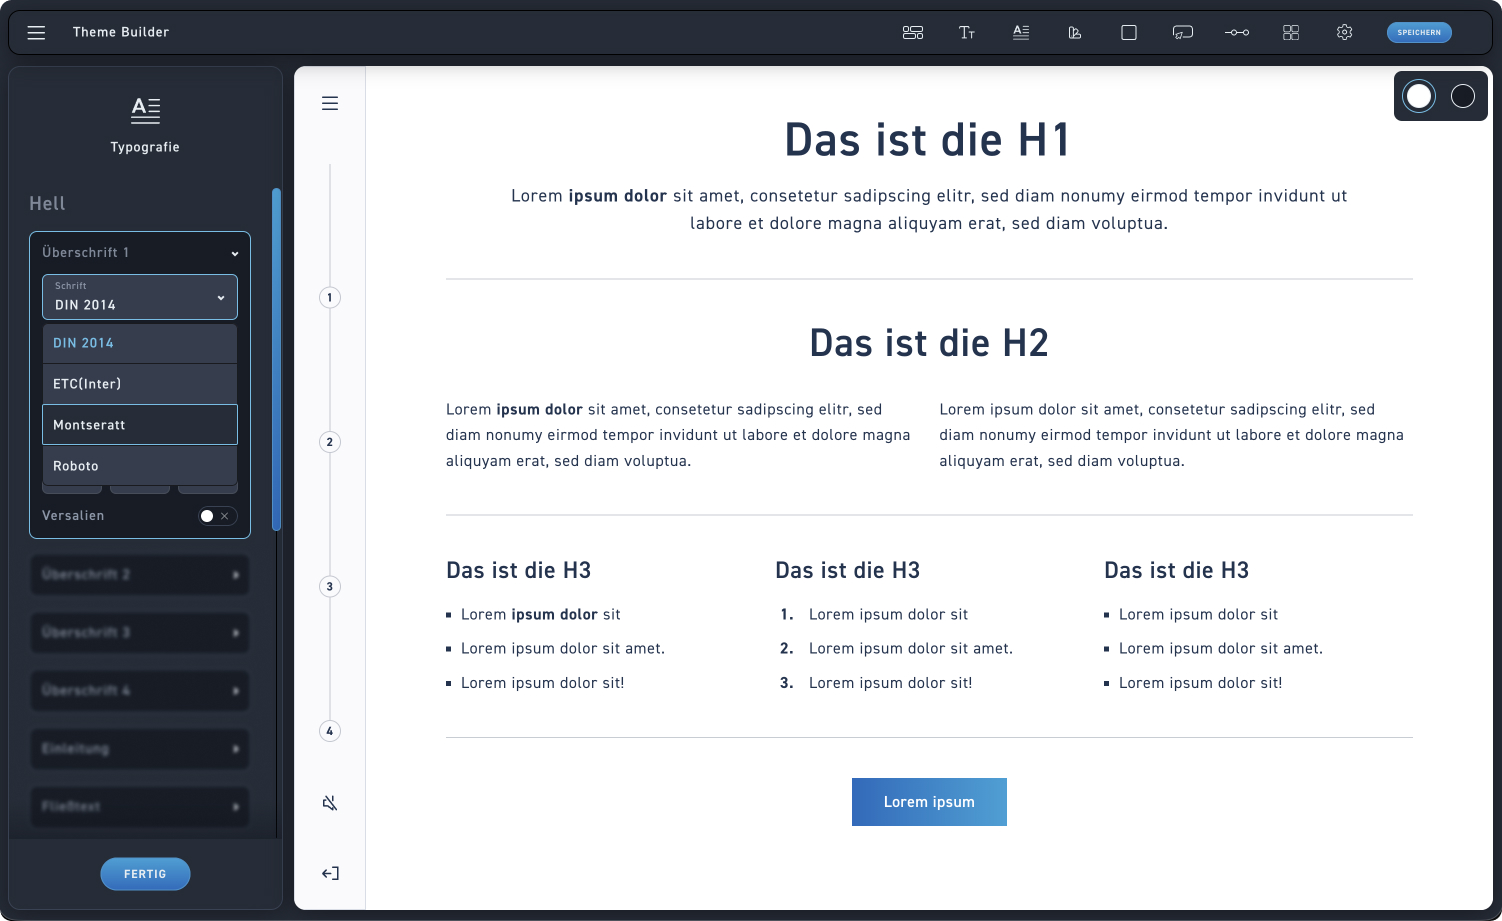
Step 2 – Customize Heading 1 #

1
Writing
Choose one of your already uploaded fonts to use for Heading 1.
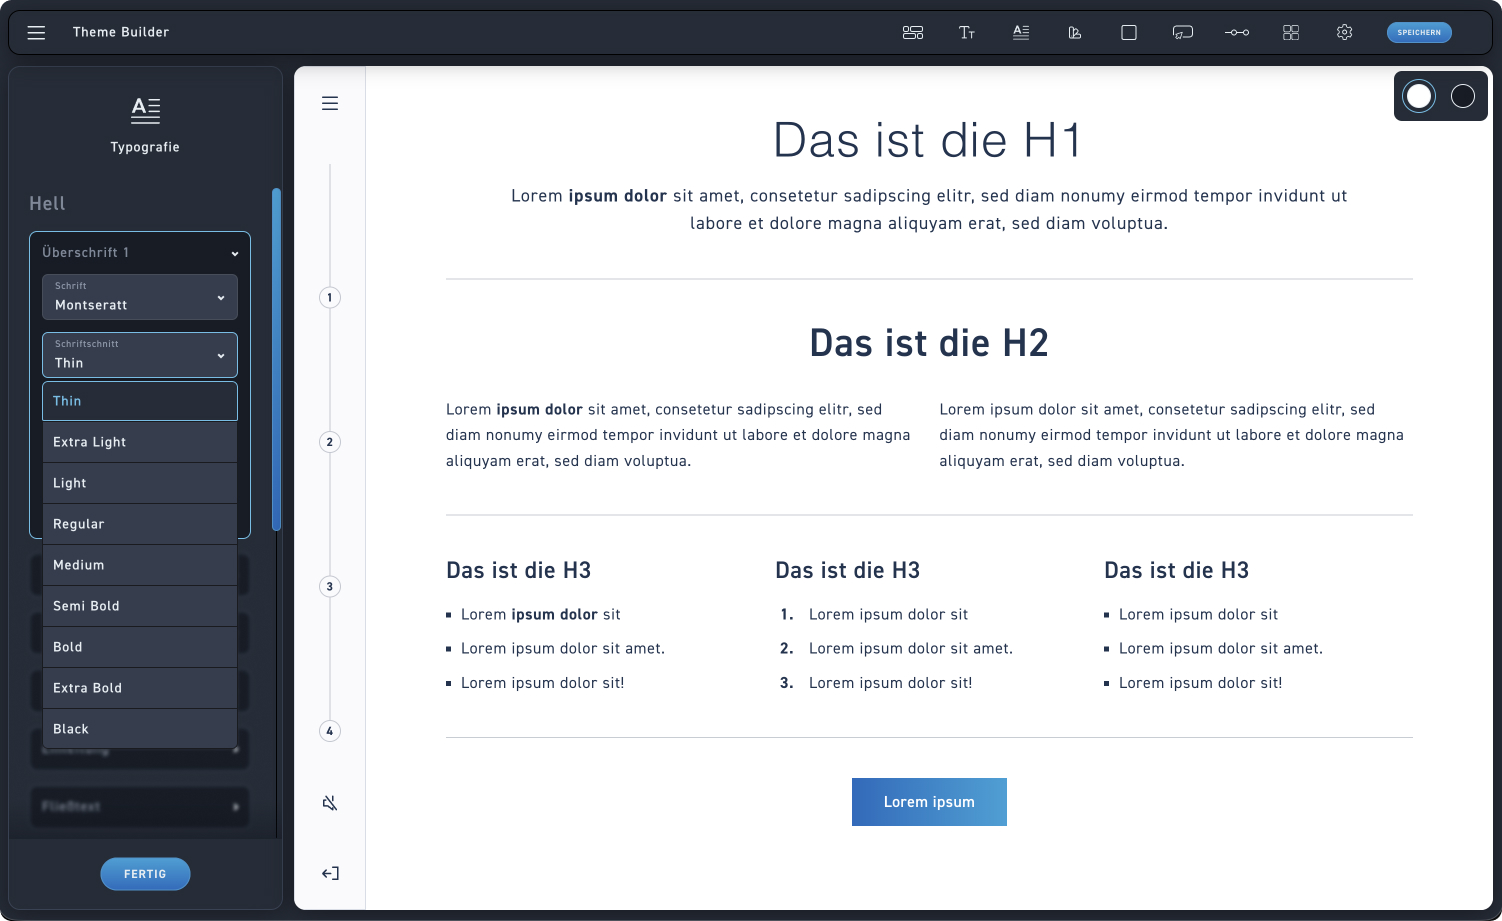
Step 3 – Select font style #

By default, you can always choose between Regular and Bold. Depending on which other font weights you have uploaded, you can also select them here.

1
font style
Select one of your uploaded font weights to apply it.
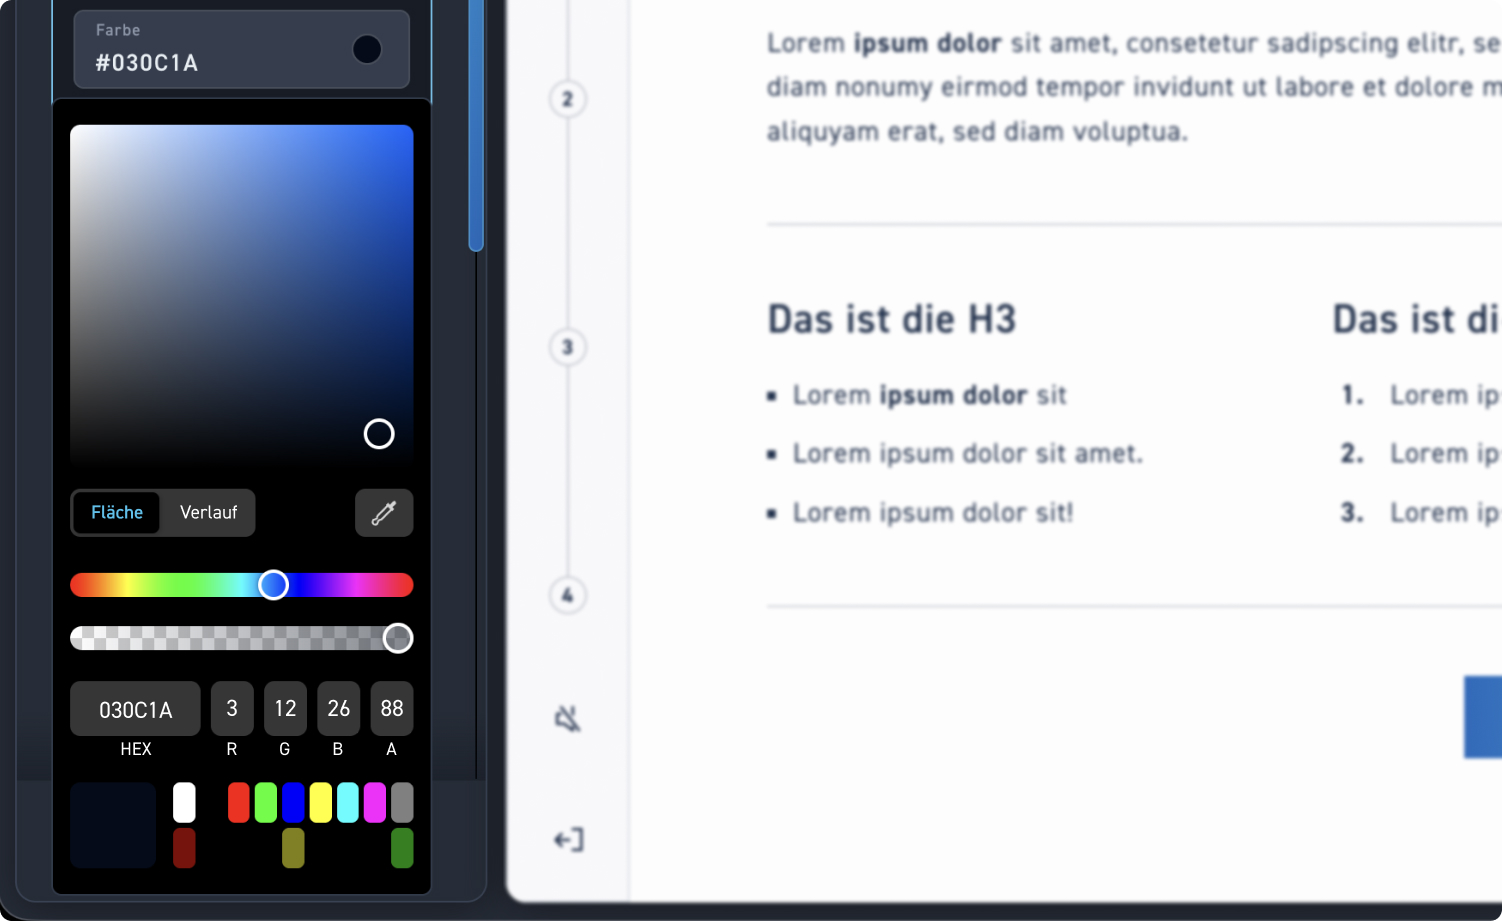
Step 4 – Set typography color #

Adjust the color of a typography using the color picker.

1
Color field
Intuitively determine your desired color using the free color field to visually select the appropriate shade.
2
Fill, Gradient & Eyedropper
Switch flexibly between a solid color and a gradient, or use the eyedropper tool to pick any color directly from your screen.
3
Hue & Opacity
Using the sliders, you can precisely adjust both the hue and the opacity of your selection.
4
Color values & favorites
Enter your exact HEX or RGB values directly to match brand colors precisely, or quickly access the most used colors at the bottom.
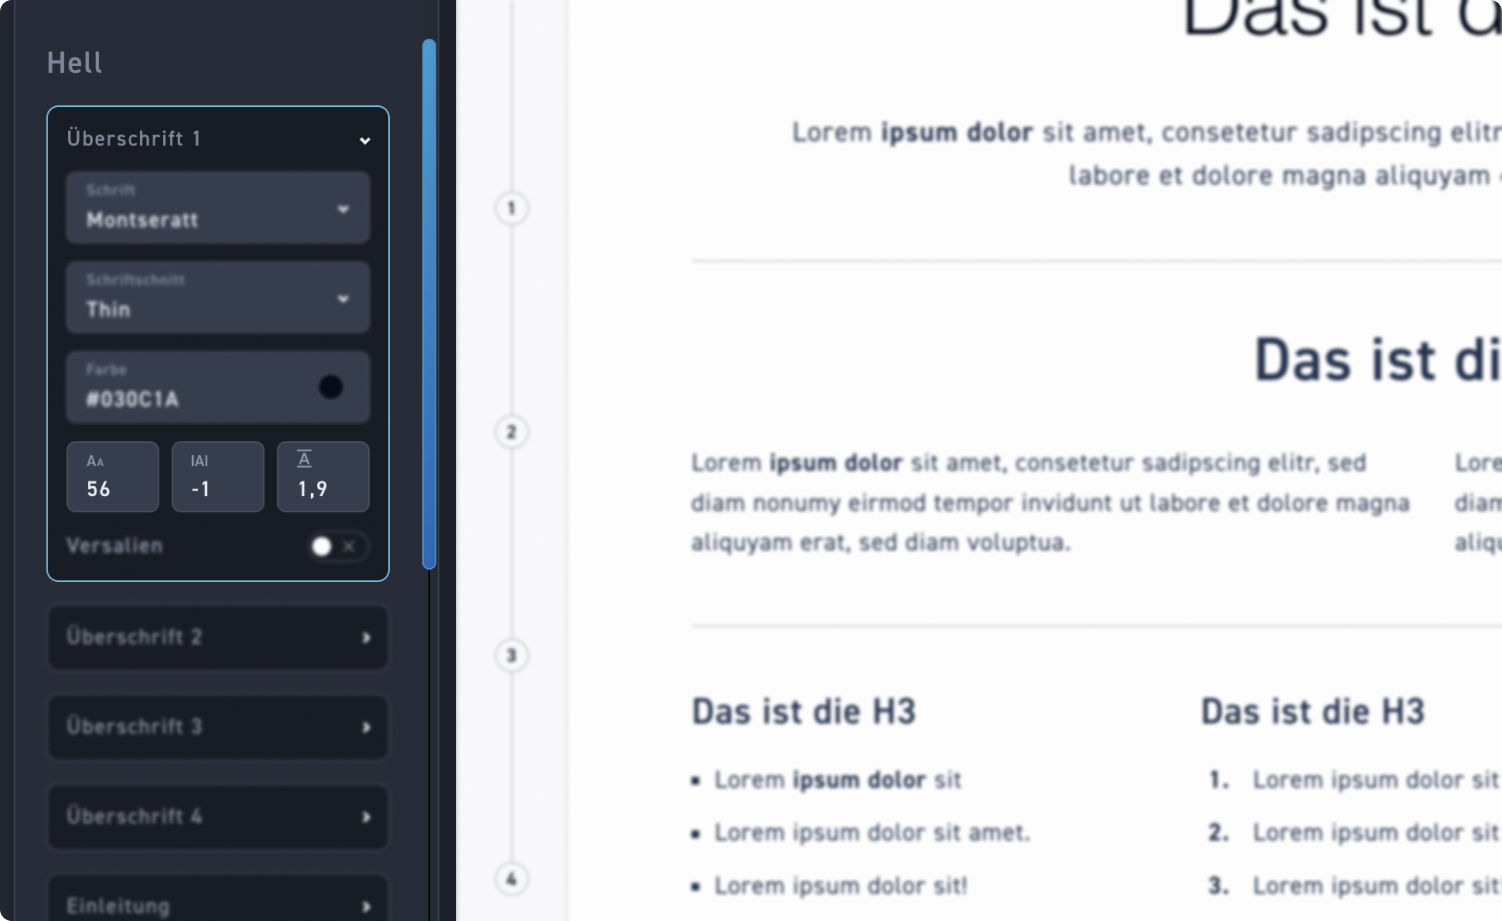
Step 5 – Character Formatting #

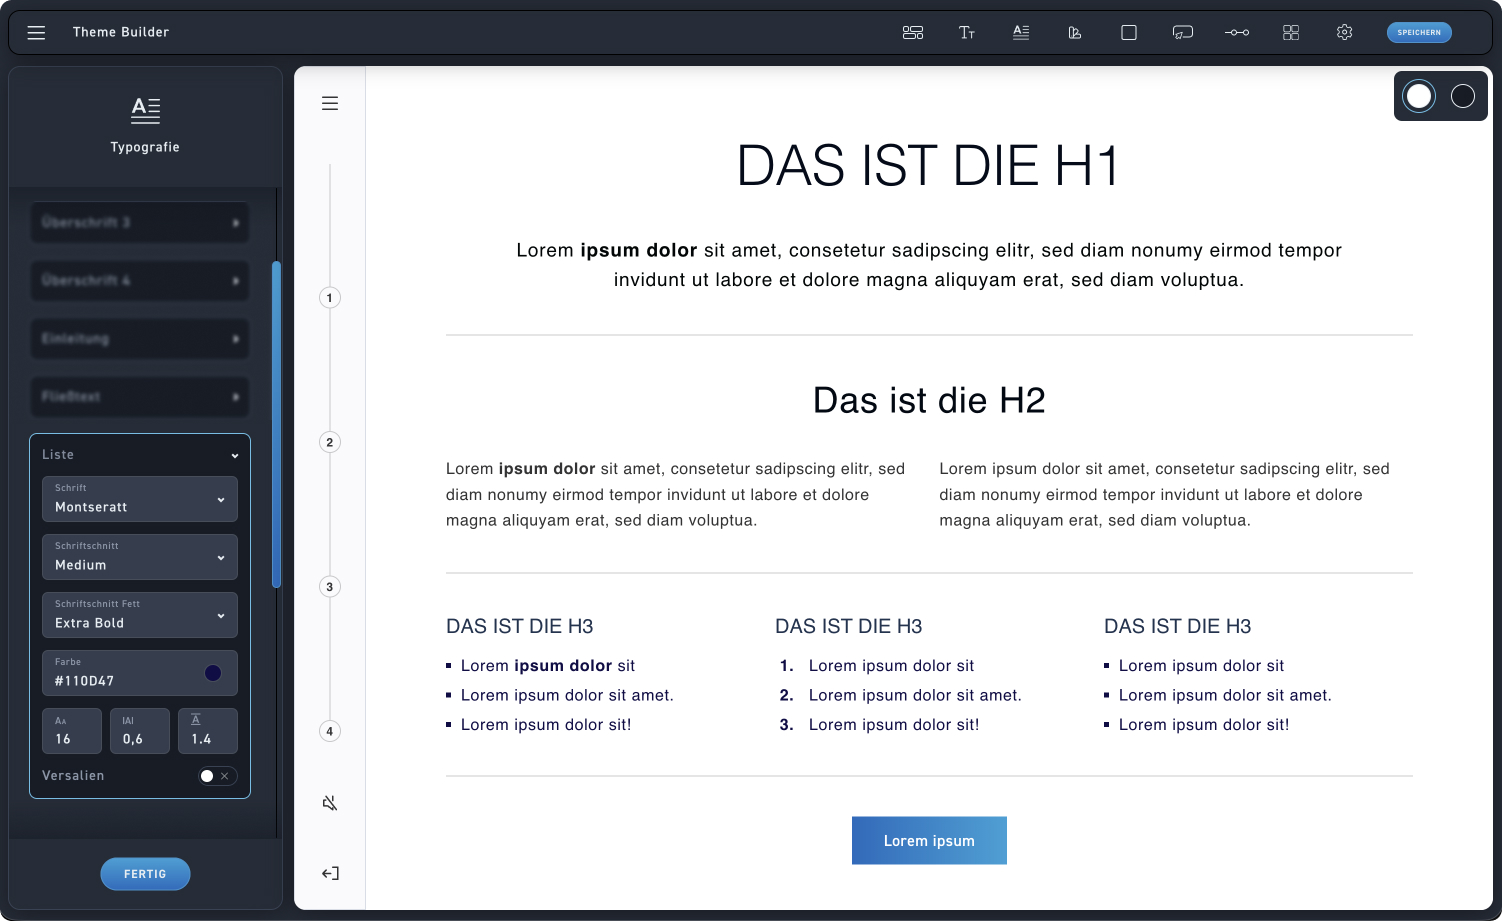
Then determine the exact dimensions of your typography: set the desired font size, optimize the tracking for ideal legibility, and adjust the line height.

1
Font size
Adjust the size of the characters individually to guarantee optimal readability for your texts.
2
Tracking / Letter spacing
Determine the spacing between the individual letters to optimize legibility or aesthetics.
3
Line height
Adjust the vertical spacing between the lines of a paragraph.
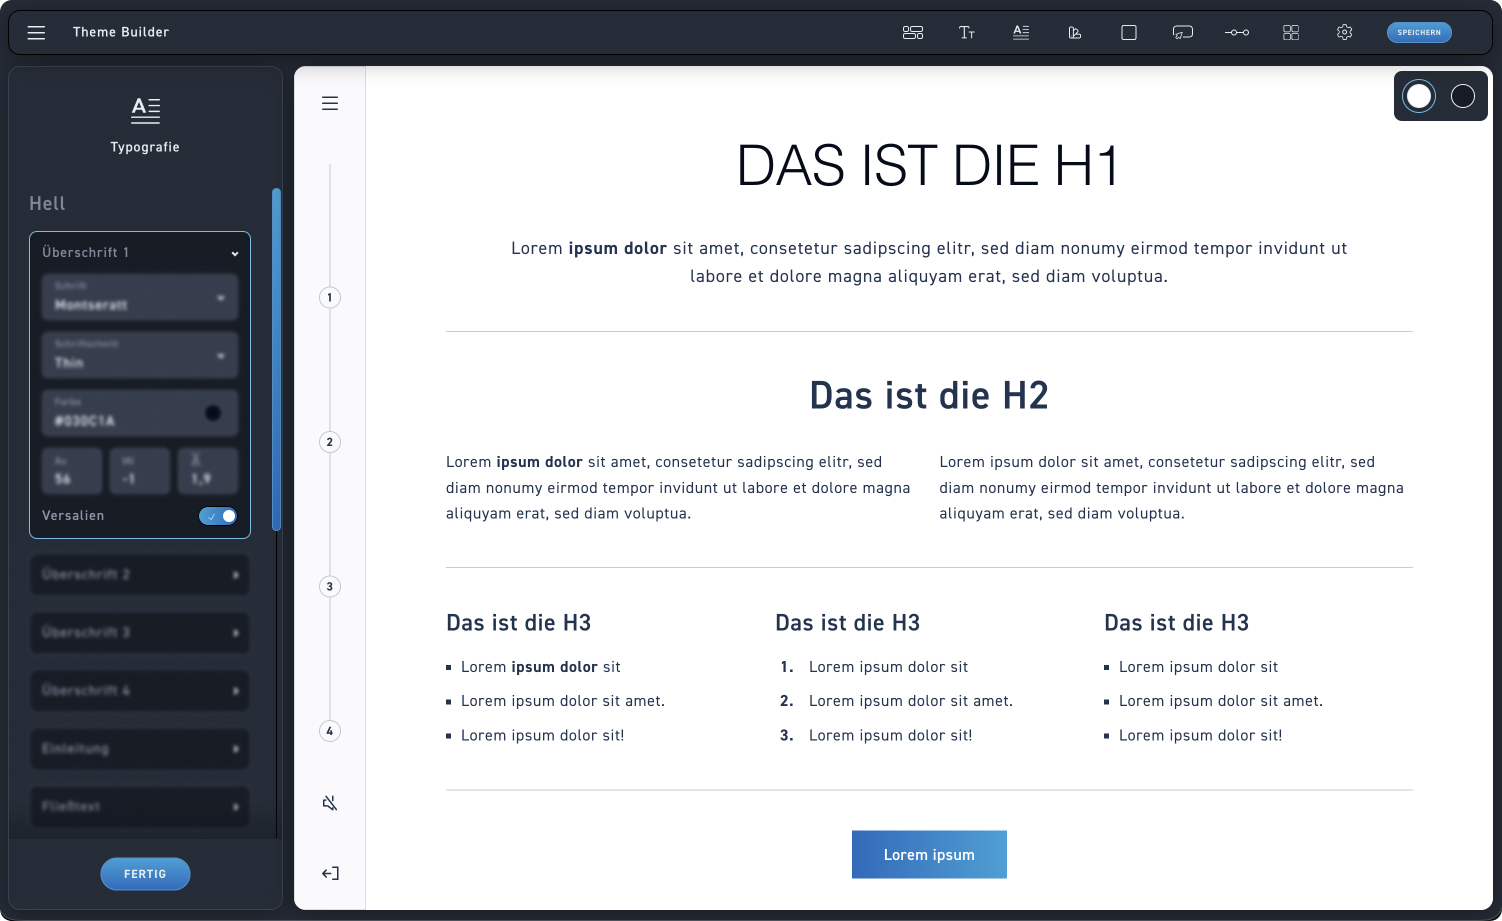
Step 6 – Capital letters #

Enable the caps lock toggle to display your text entirely in uppercase letters.

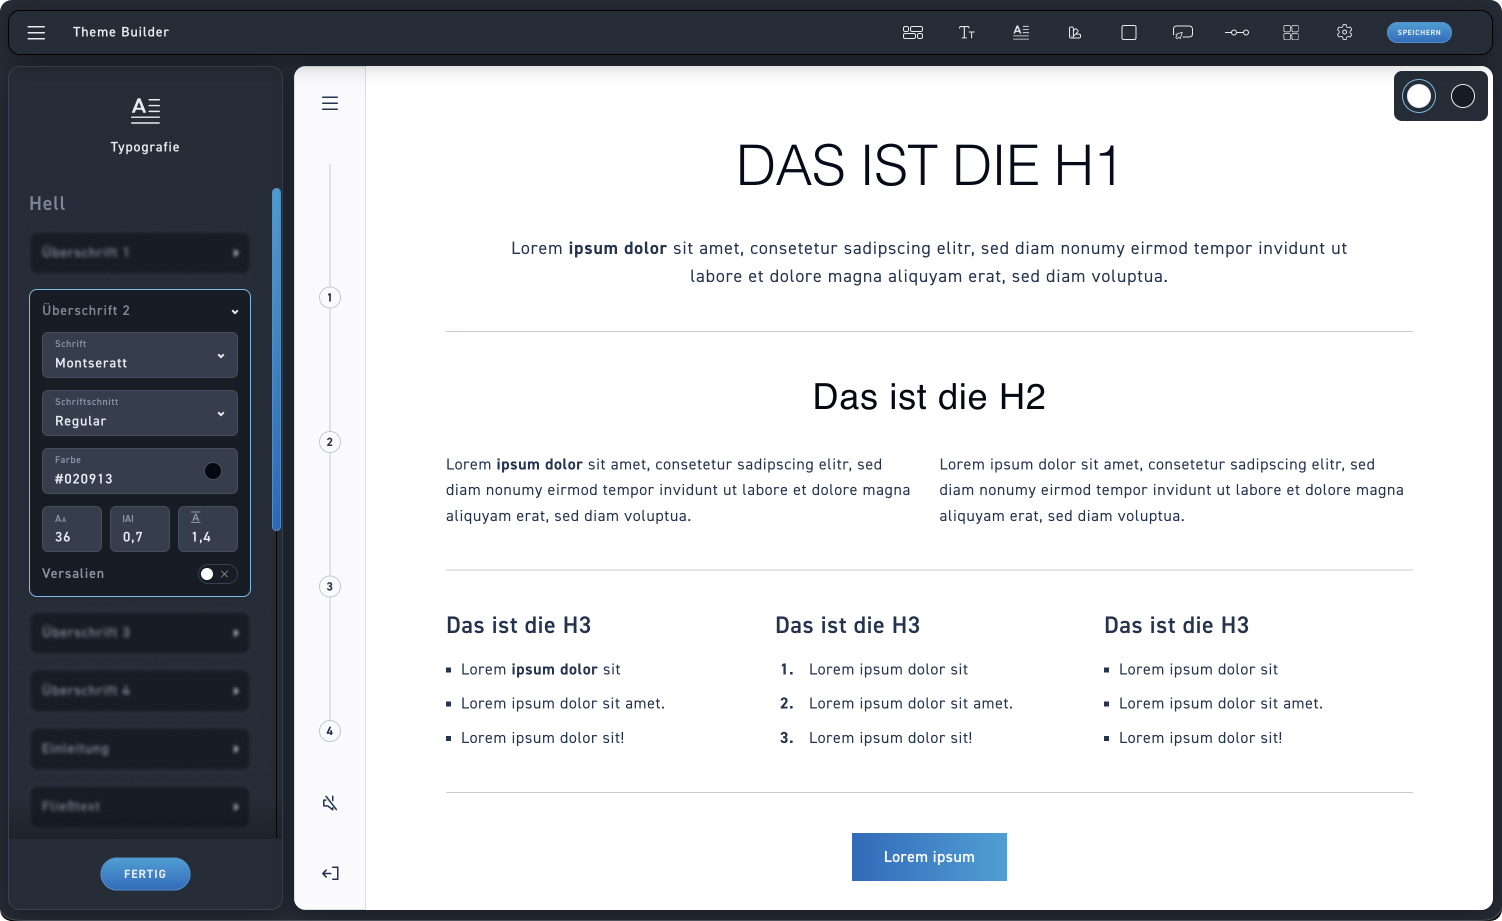
Heading 2 #

The default value for the heading H2 is usually between 32 and 40 px.

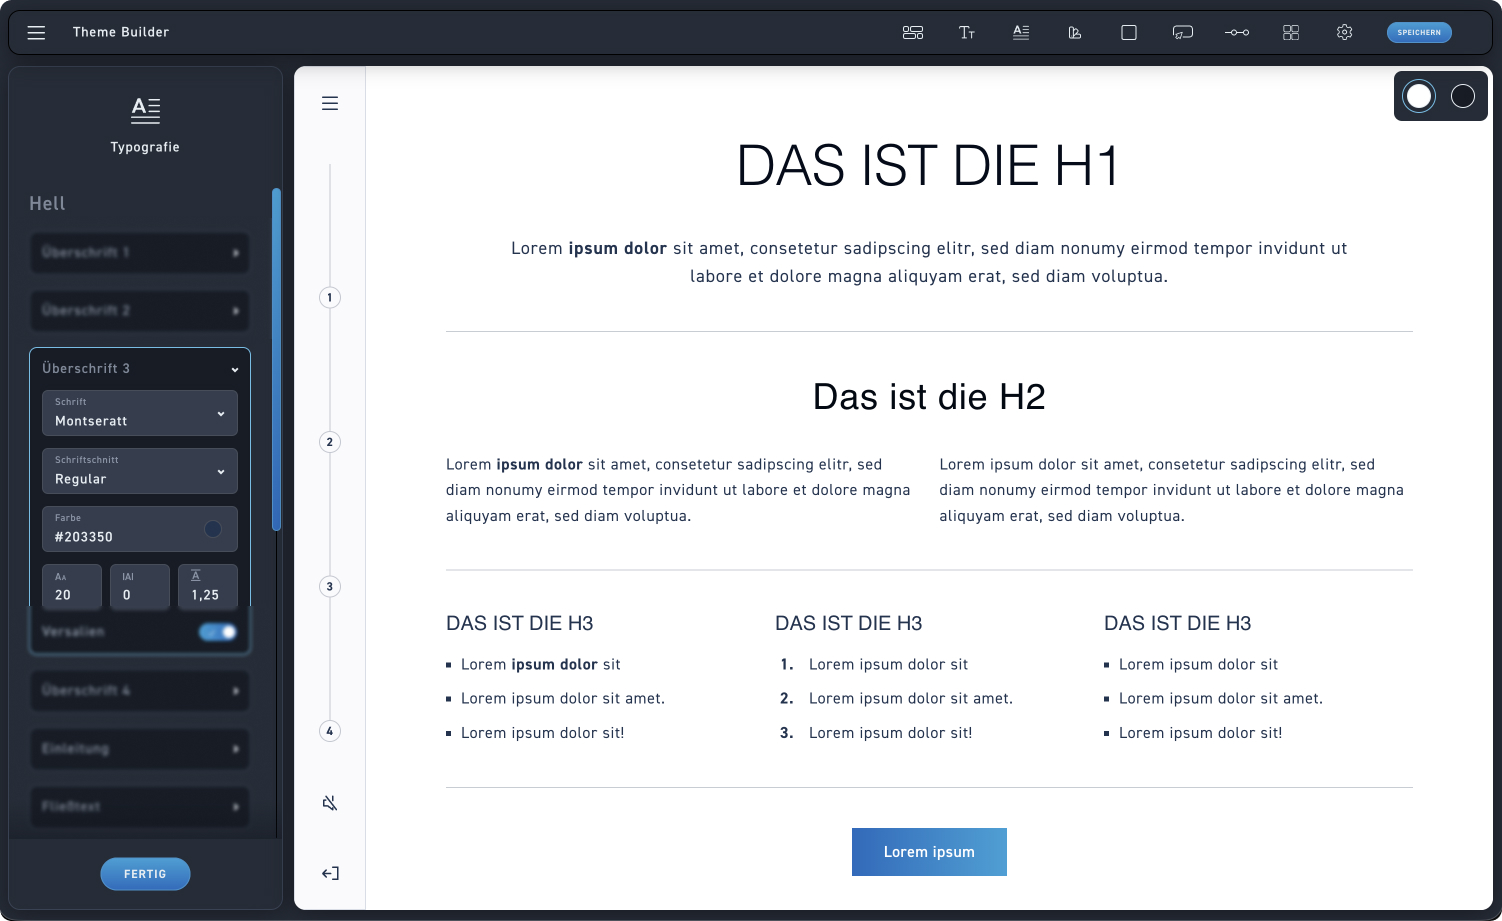
Heading 3 #

The default value for the heading H3 is usually between 24 and 32 px

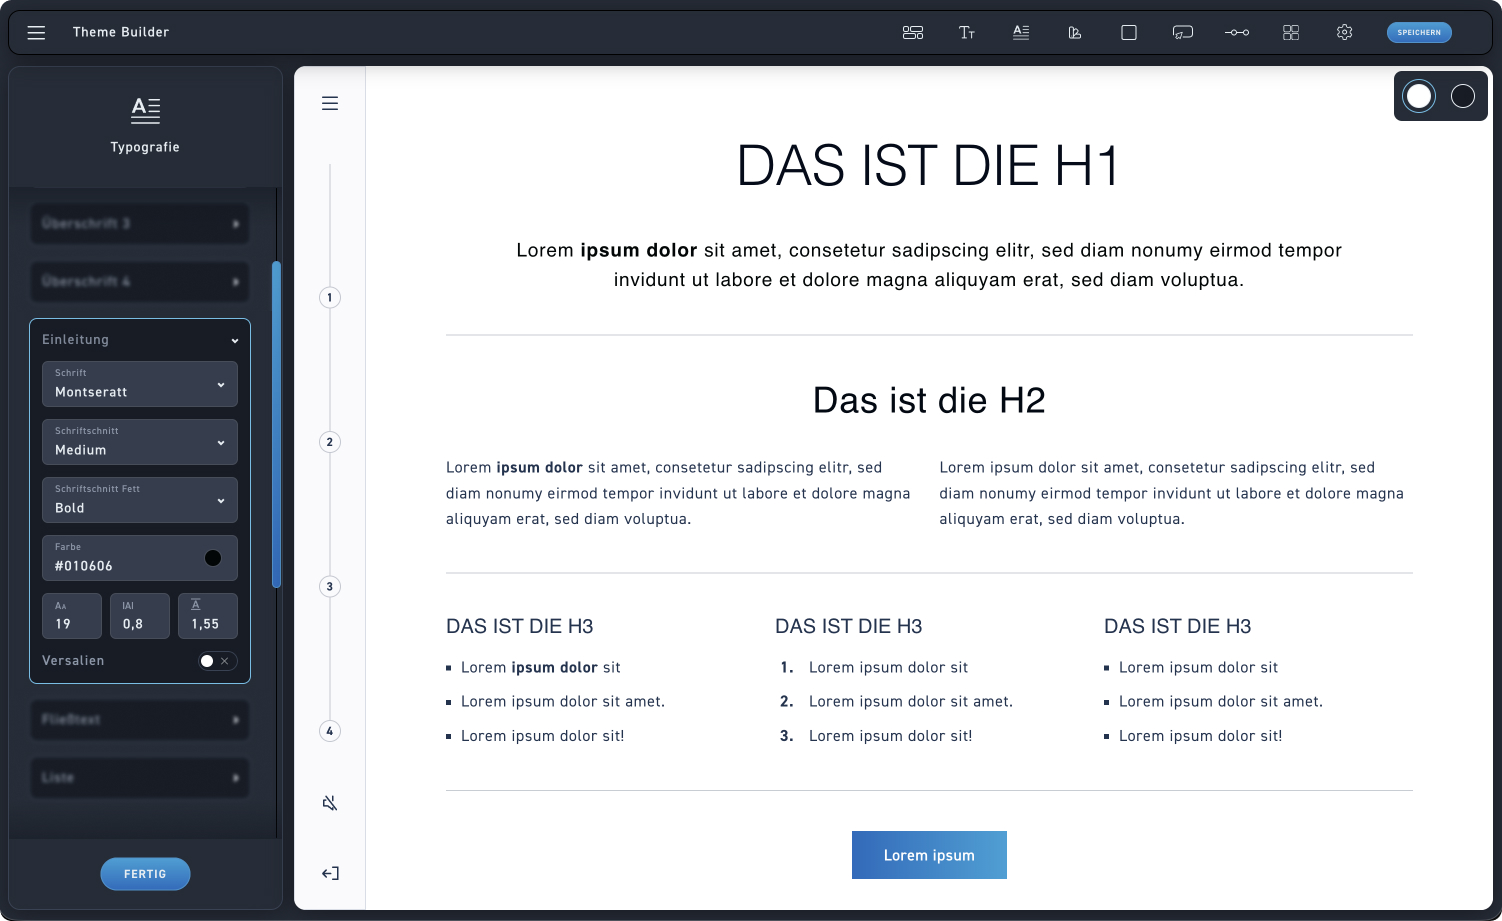
Introduction #

The default value for the introductory text is usually between 18 and 22 px.

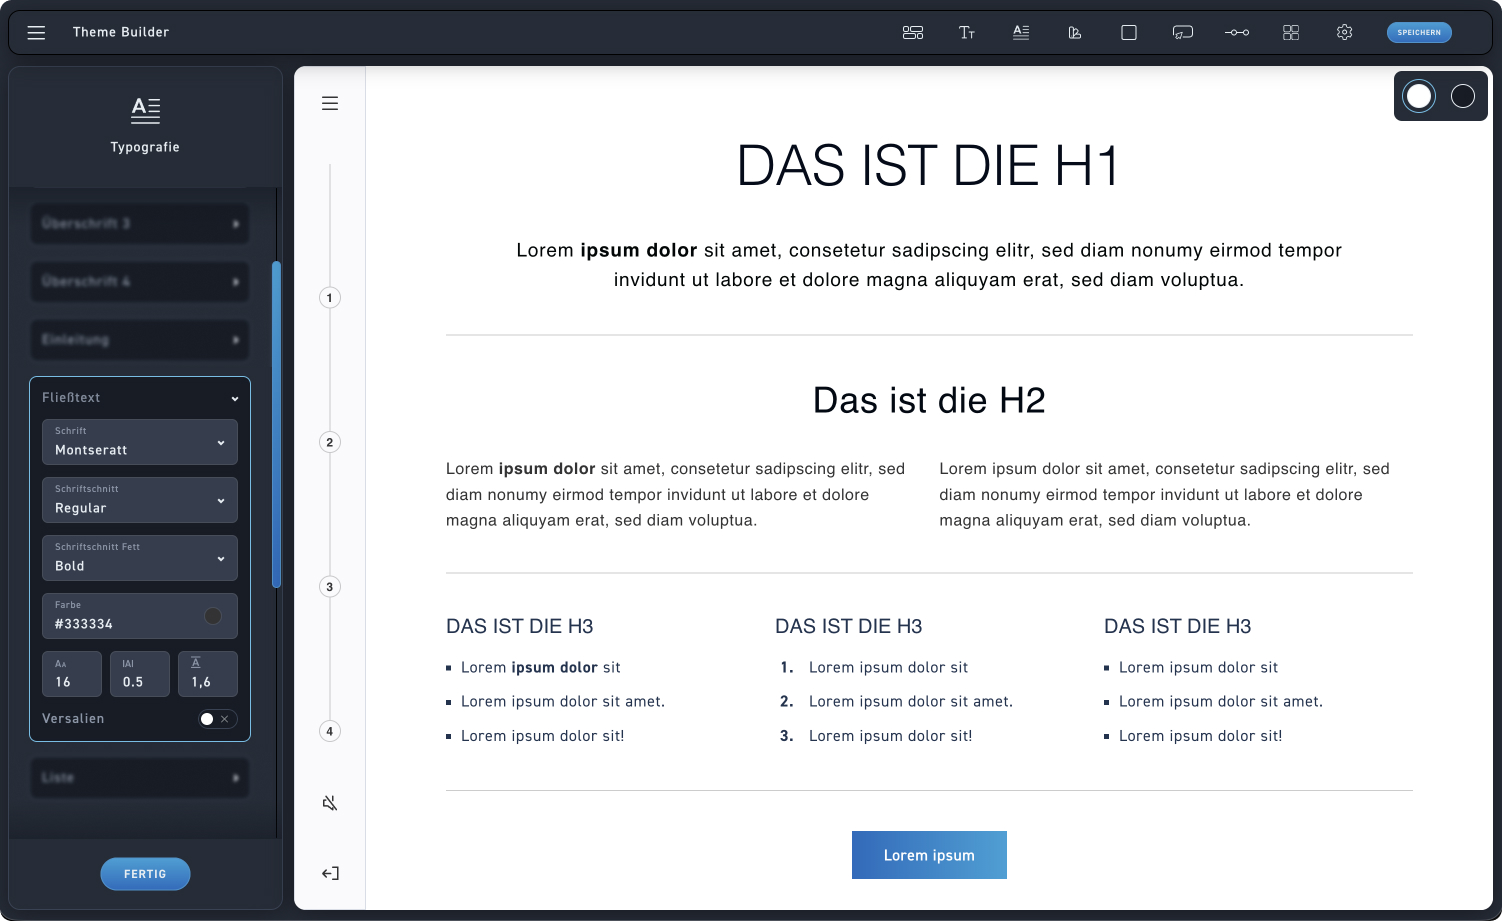
running text #

The default value for running text is between 16 and 20 px. Tip: Use the value of your website or your corporate design to ensure a consistent brand appearance.

List #

The default value for bullet points is usually based on the running text and ranges between 16 and 20 px.

Step 7 – Adjust typography for dark backgrounds #

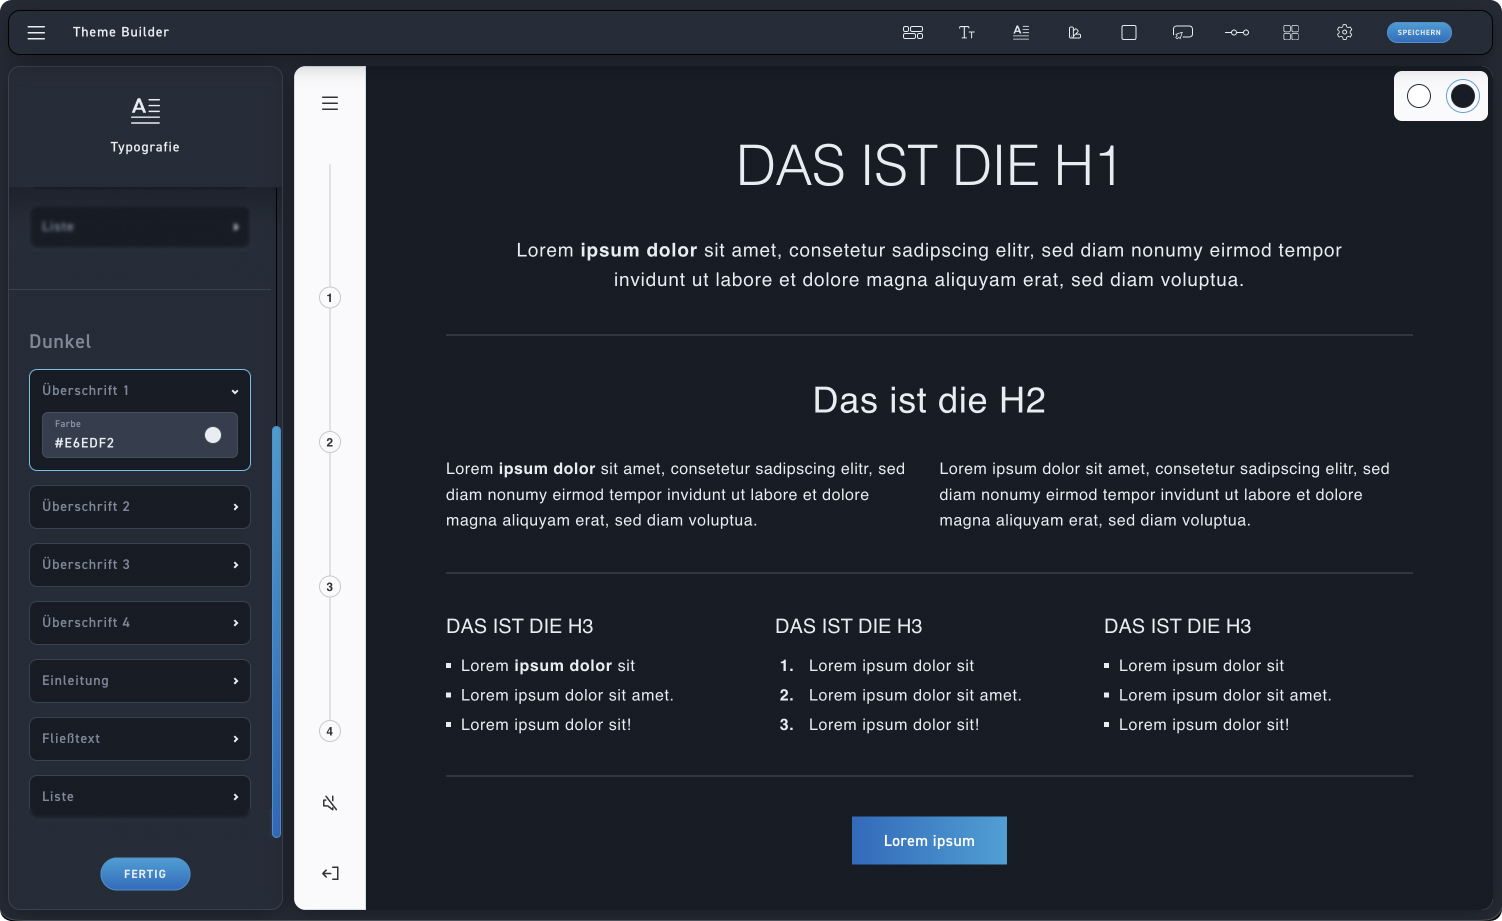
After adjusting the light typography color, the theme needs a matching dark value. Use the color picker to perfectly adapt the typography to dark backgrounds and ensure optimal contrast everywhere.

1
Change background color
Easily change your theme's background color here to perfectly adjust the contrast.
2
Optimize typography contrast
Adjust the typography color using the color picker to guarantee optimal readability on dark backgrounds.