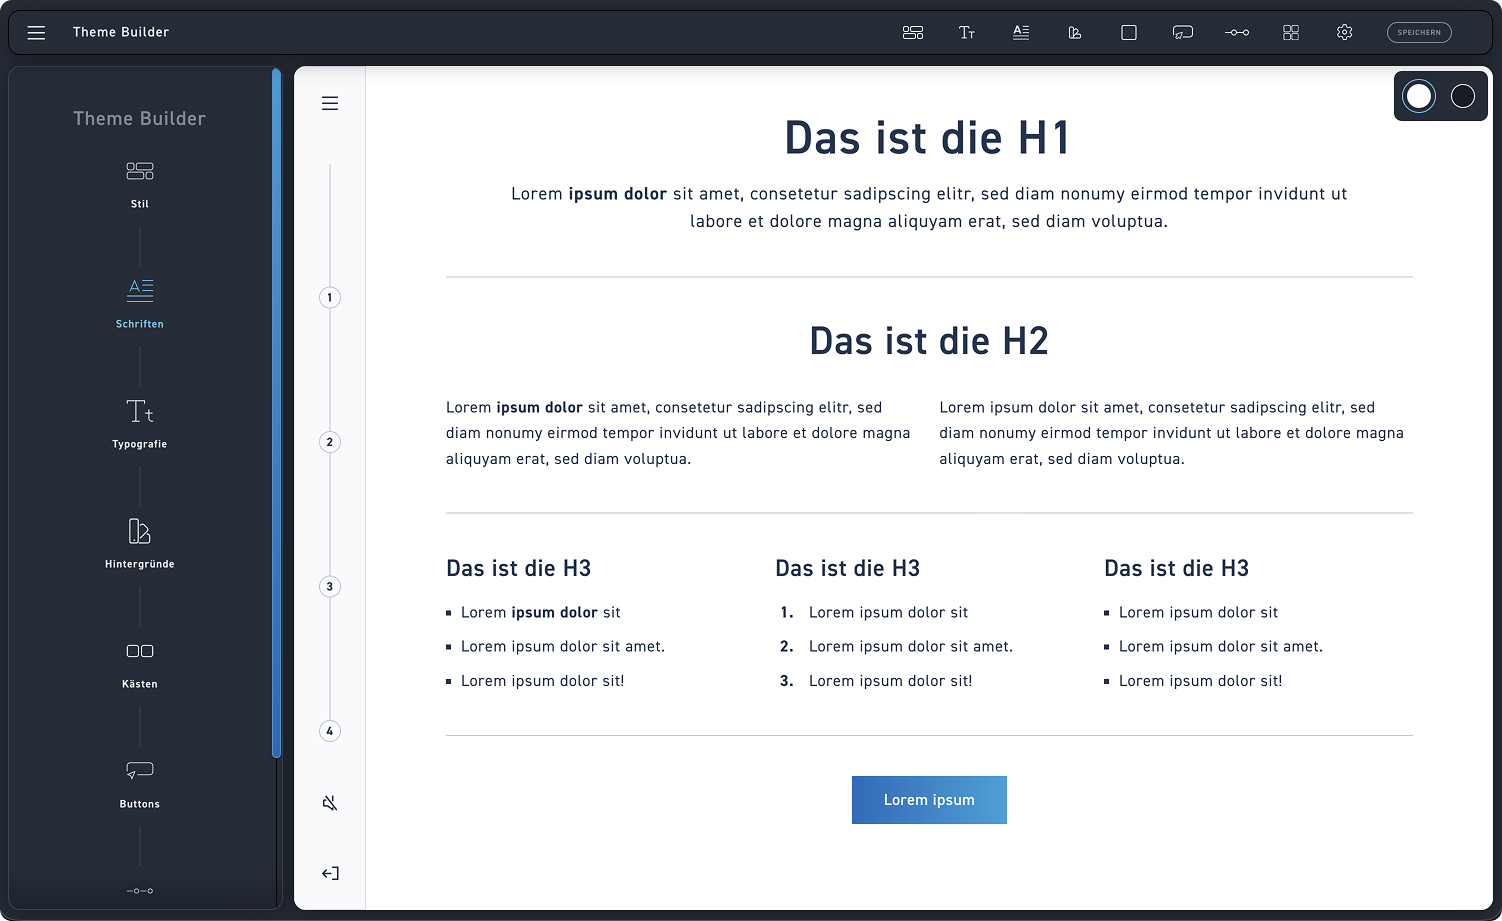
Writings

Application #

Upload your fonts and their corresponding font styles here. You can easily assign and customize them later under the „Typography“ section. Upload as many fonts as you like. This ensures a consistent typography that conveys your brand values and gives your interface an absolutely professional look.

Find font overview #

To manage your fonts, click on the second item „Fonts“.

1
Writings
Select fonts to see more settings.
Step 1 – Manage fonts #

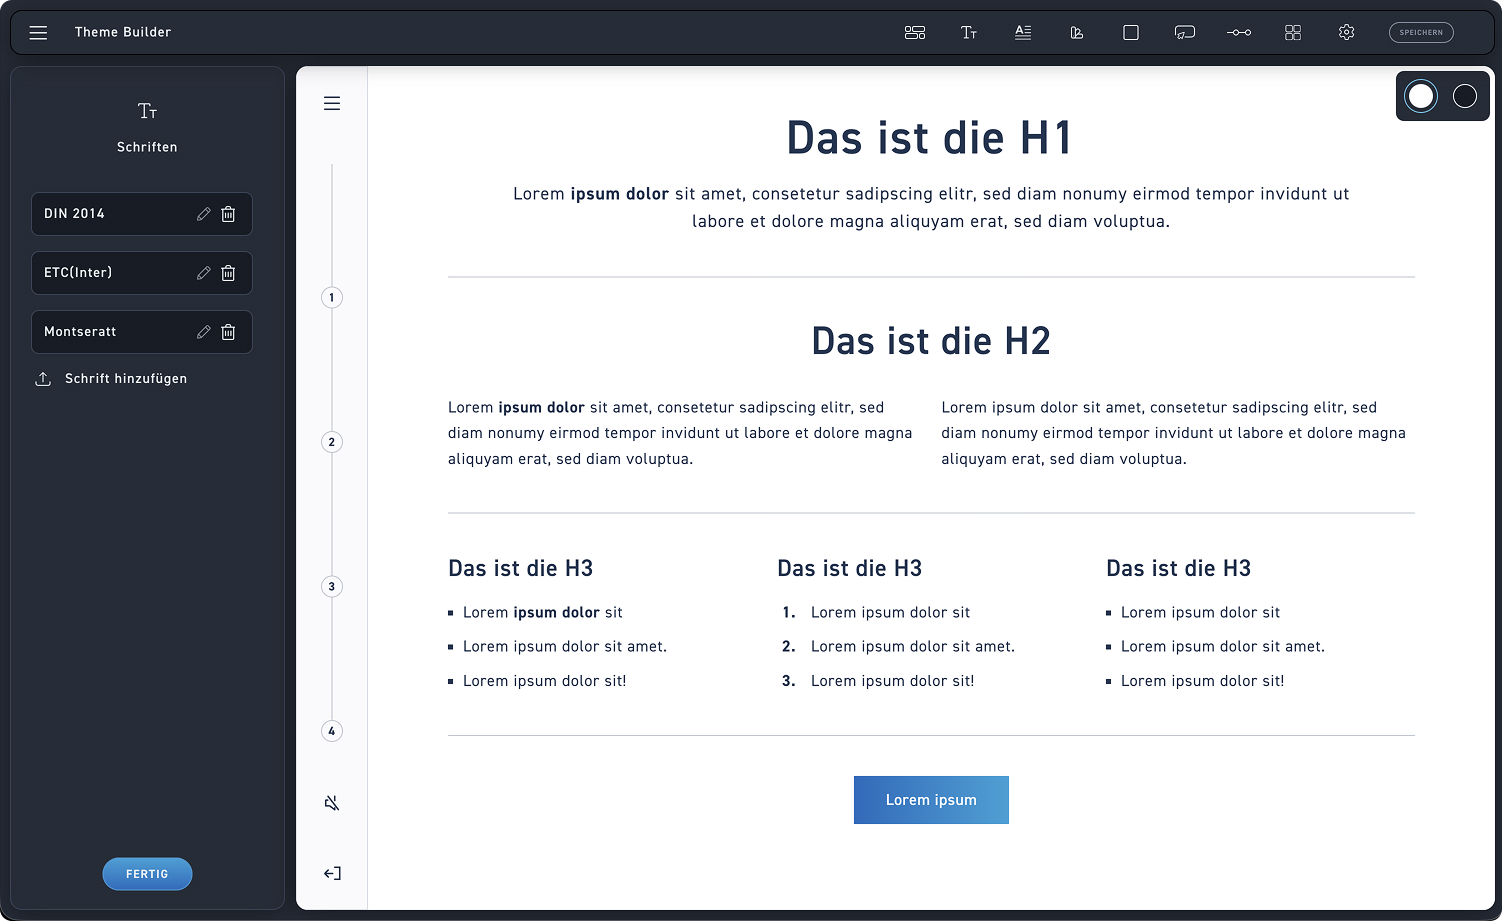
In the font overview, you can find existing fonts. Click the edit icon to rename your fonts or adjust the font weights.

1
Manage fonts
Use the font overview to edit or delete existing fonts.
2
Add new font
Click the upload icon to add a new font
Step 2 – Font Name #

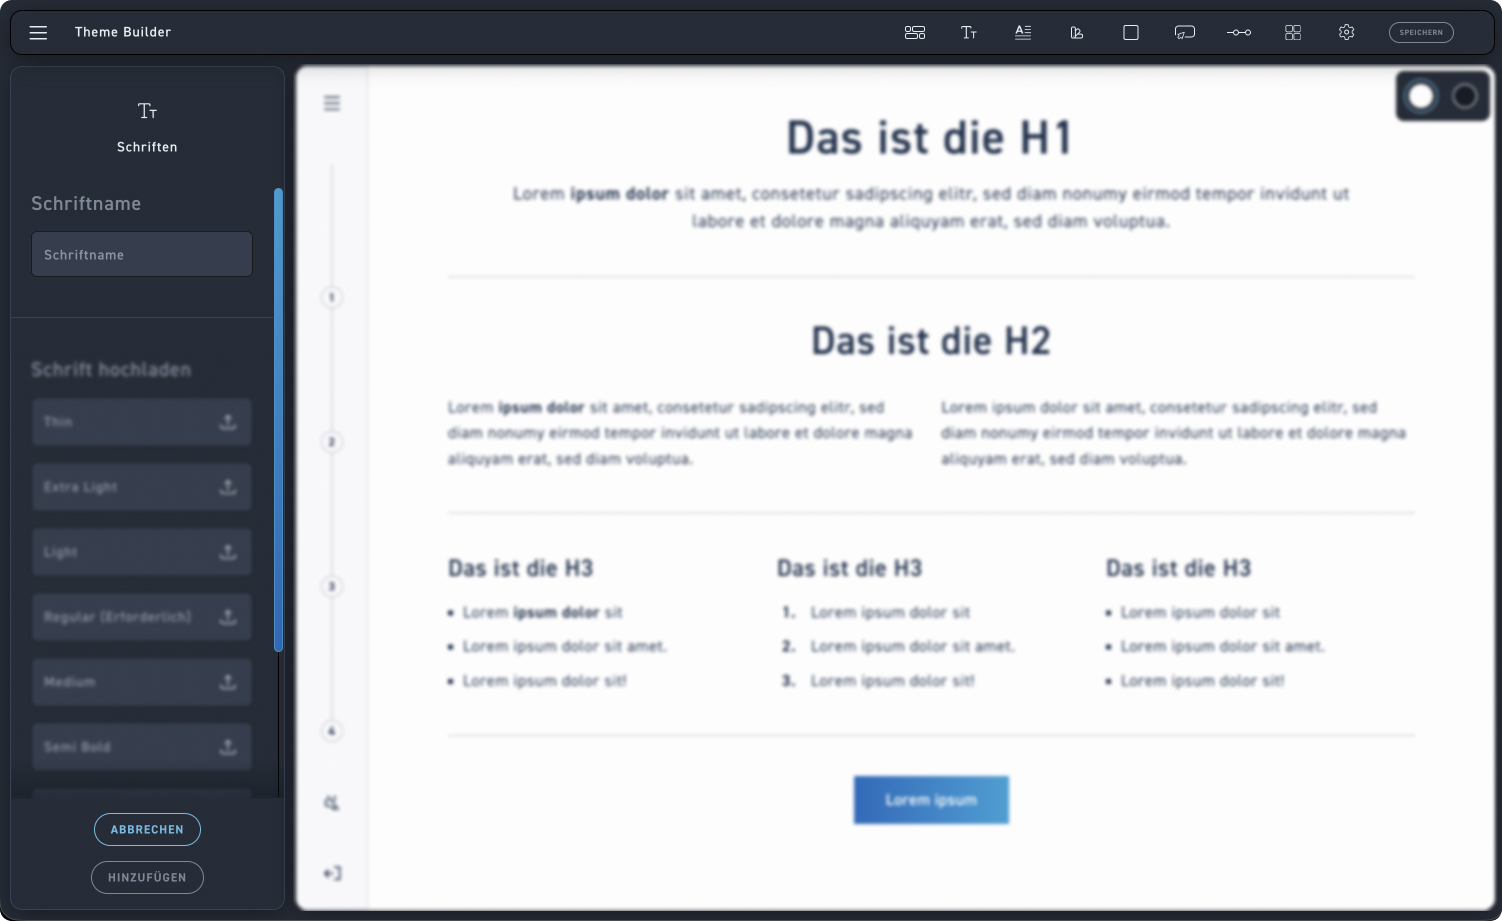
Name your fonts in such a way that it is immediately clear to you later which font it is.

1
Font name
First, enter the exact name of your font (e.g., Roboto) to clearly identify it in the overview.
Step 3 – Font Weights Overview #

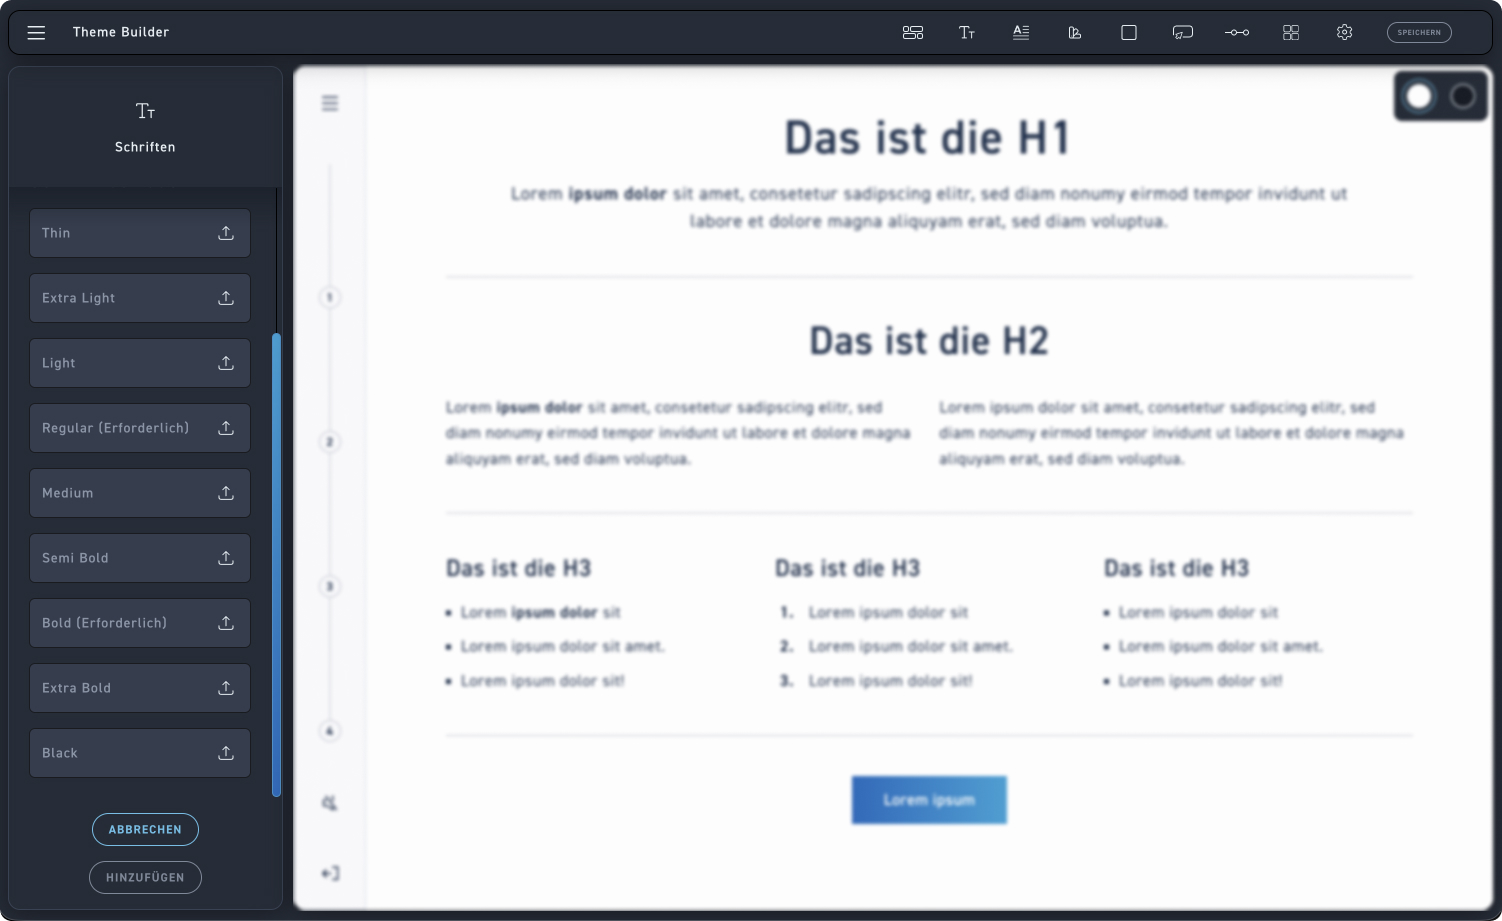
The minimum requirements are Regular and Bold. In addition, you can upload further font weights that are important according to your corporate design.

1
Typefaces
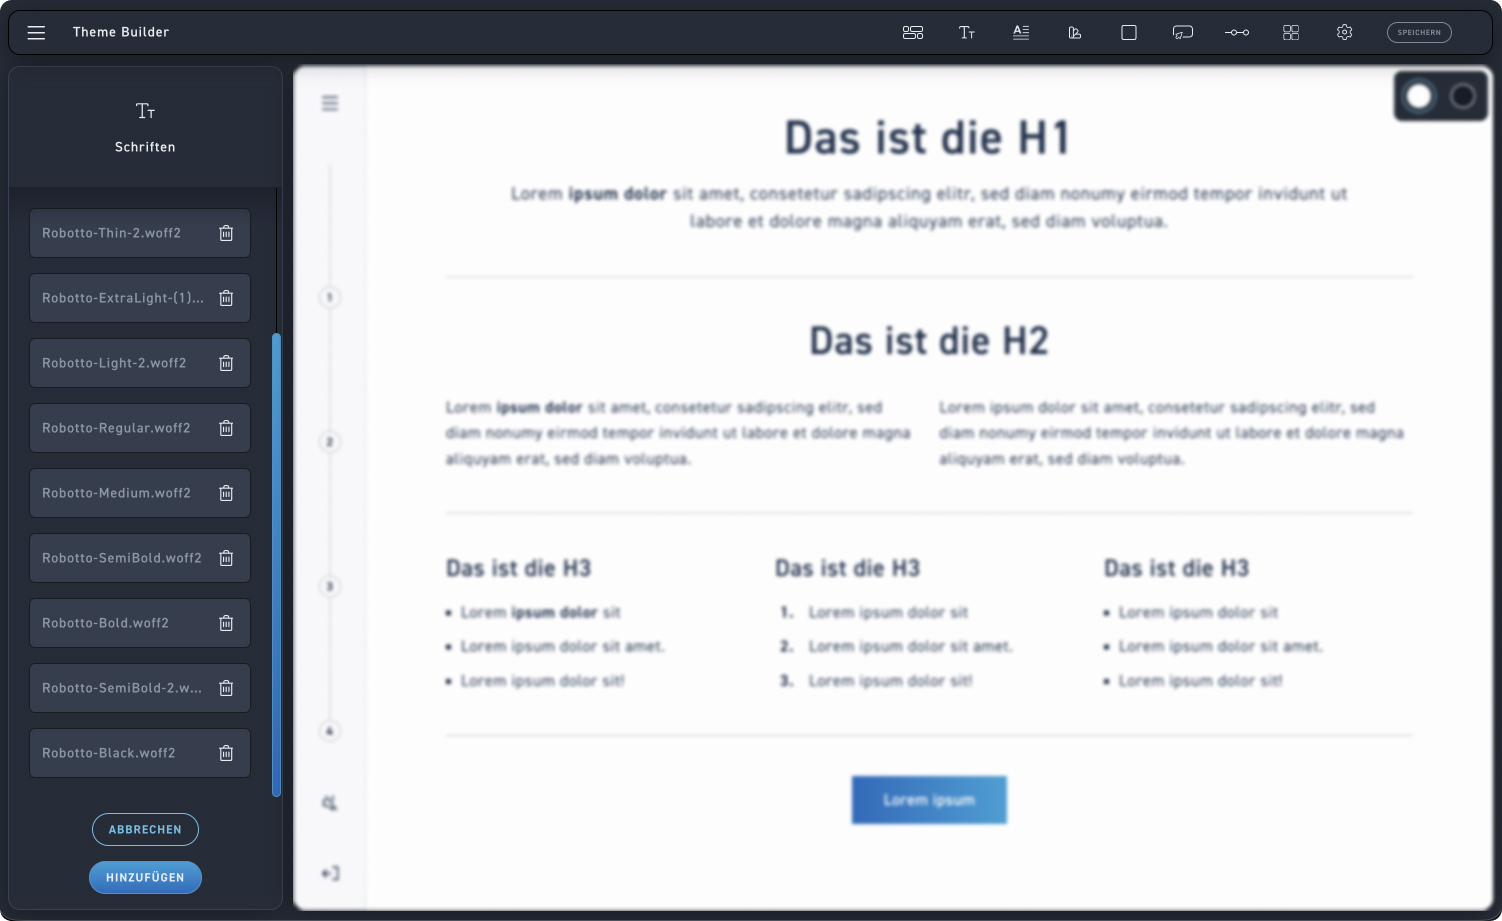
In the editing box, you will find the input fields for all possible font weights that can be uploaded. The Regular and Bold font weights are required; upload additional ones if needed to have more selection.
Step 4 – Upload font styles via drag-and-drop #

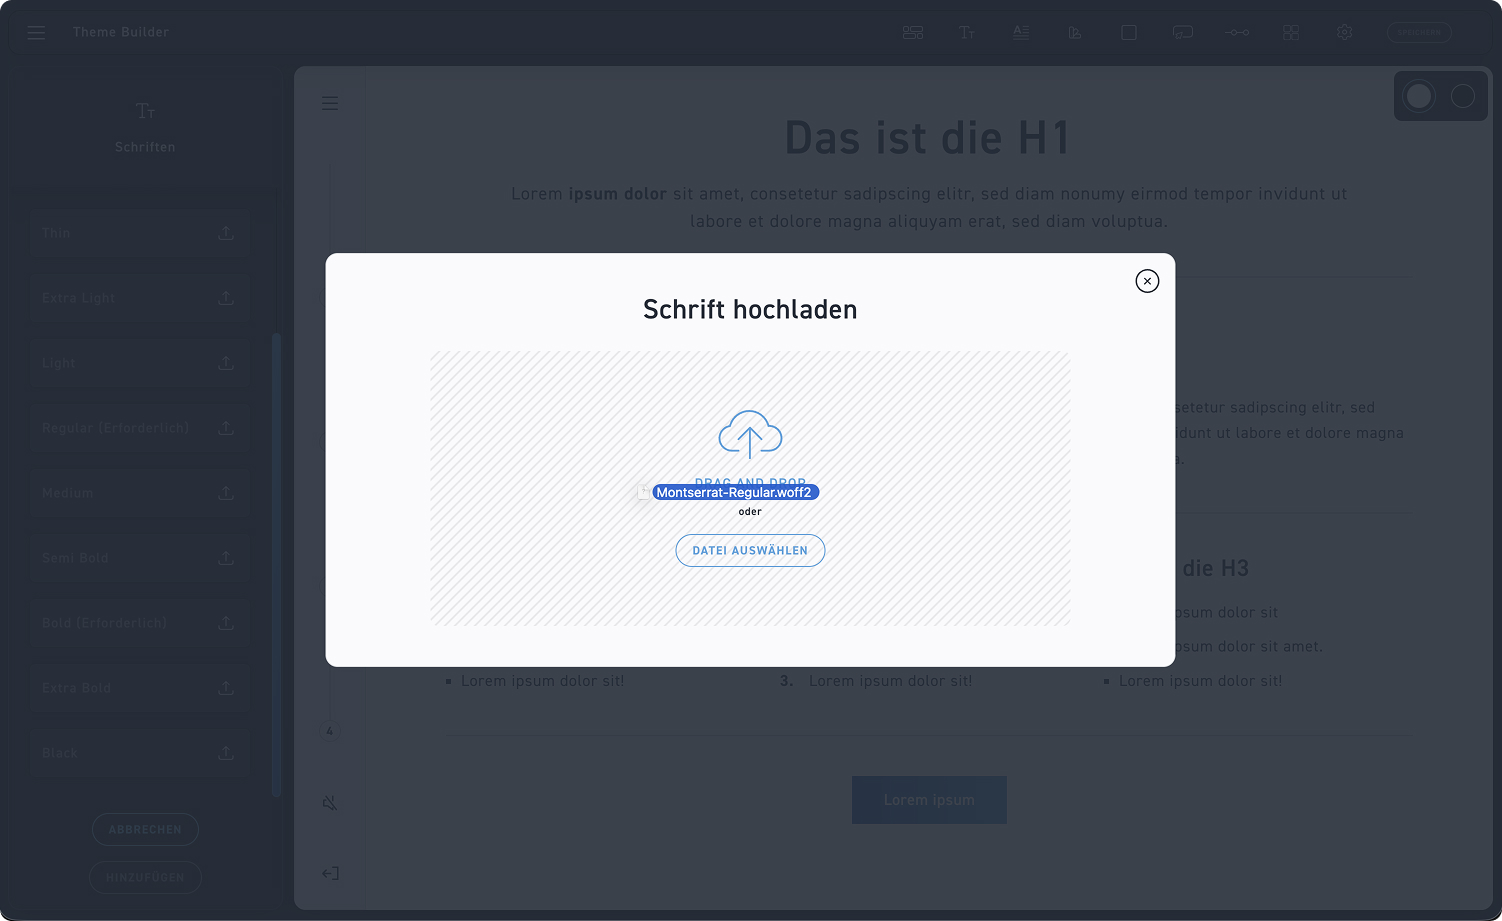
After clicking on an input field, the upload overlay opens. Here you can easily upload your font weight individually.

1
Upload
You can upload your font by dragging and dropping it or by clicking „Select File“. For the upload to work, the file must be in WOFF or WOFF2 format.
Step 5 – Add fonts #

Once you have uploaded and labeled all font styles, just click the „Add“ button to save the new font.

1
Save font
Click „Add“ to save your new font, or „Cancel“ to cancel the process.
Step 6 – Fonts Overview #

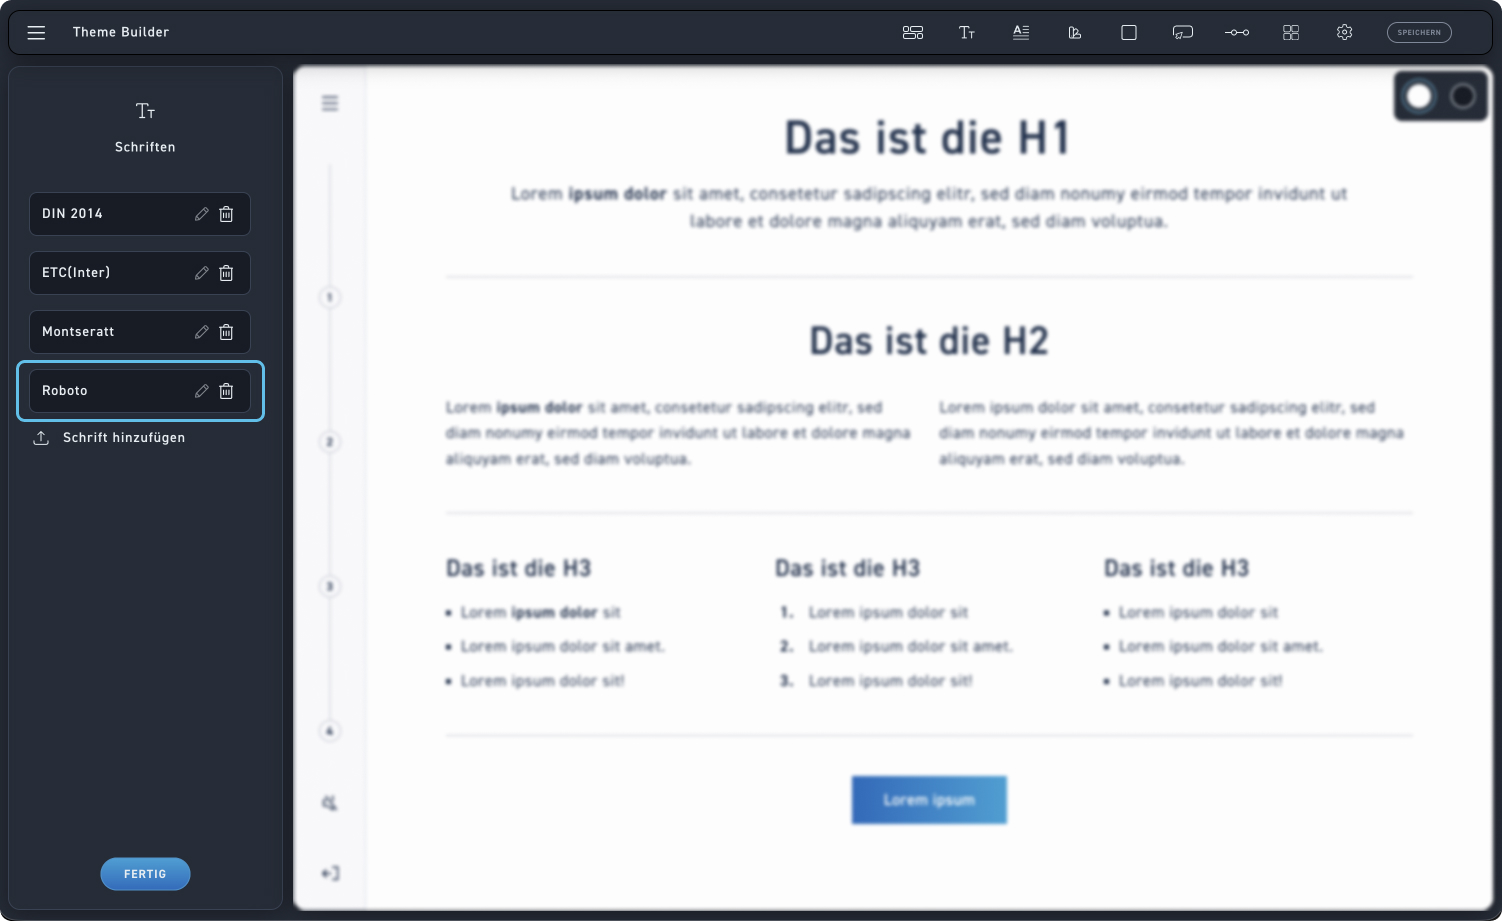
You can then find your newly uploaded font at the very bottom of the font overview list.