Panorama

Application #

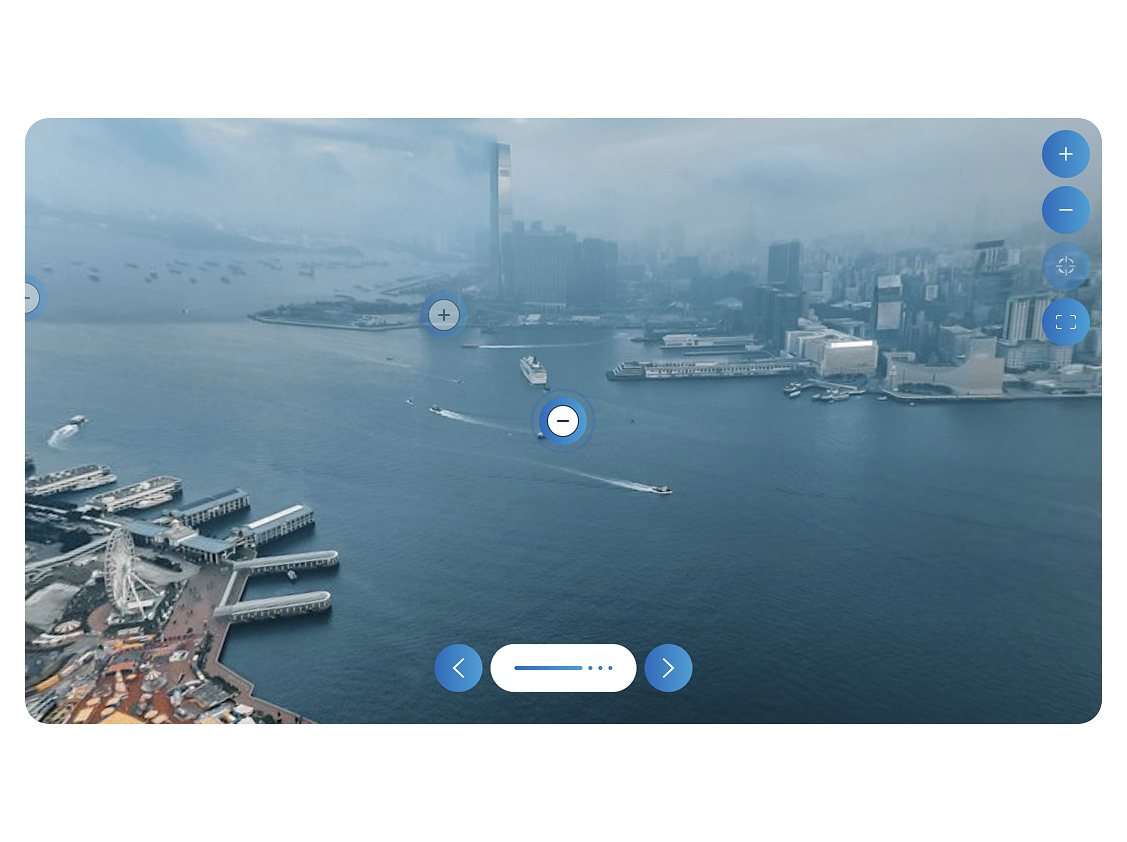
Use the Panorama element to give your learners the opportunity to explore new environments. There are two ways they can do this: first, the free navigation, where they can pan the image up, down, left, or right to discover the hotspots. And secondly, the guided navigation, This means the system guides the learner hotspot by hotspot through the image.

Add Panorama Element #

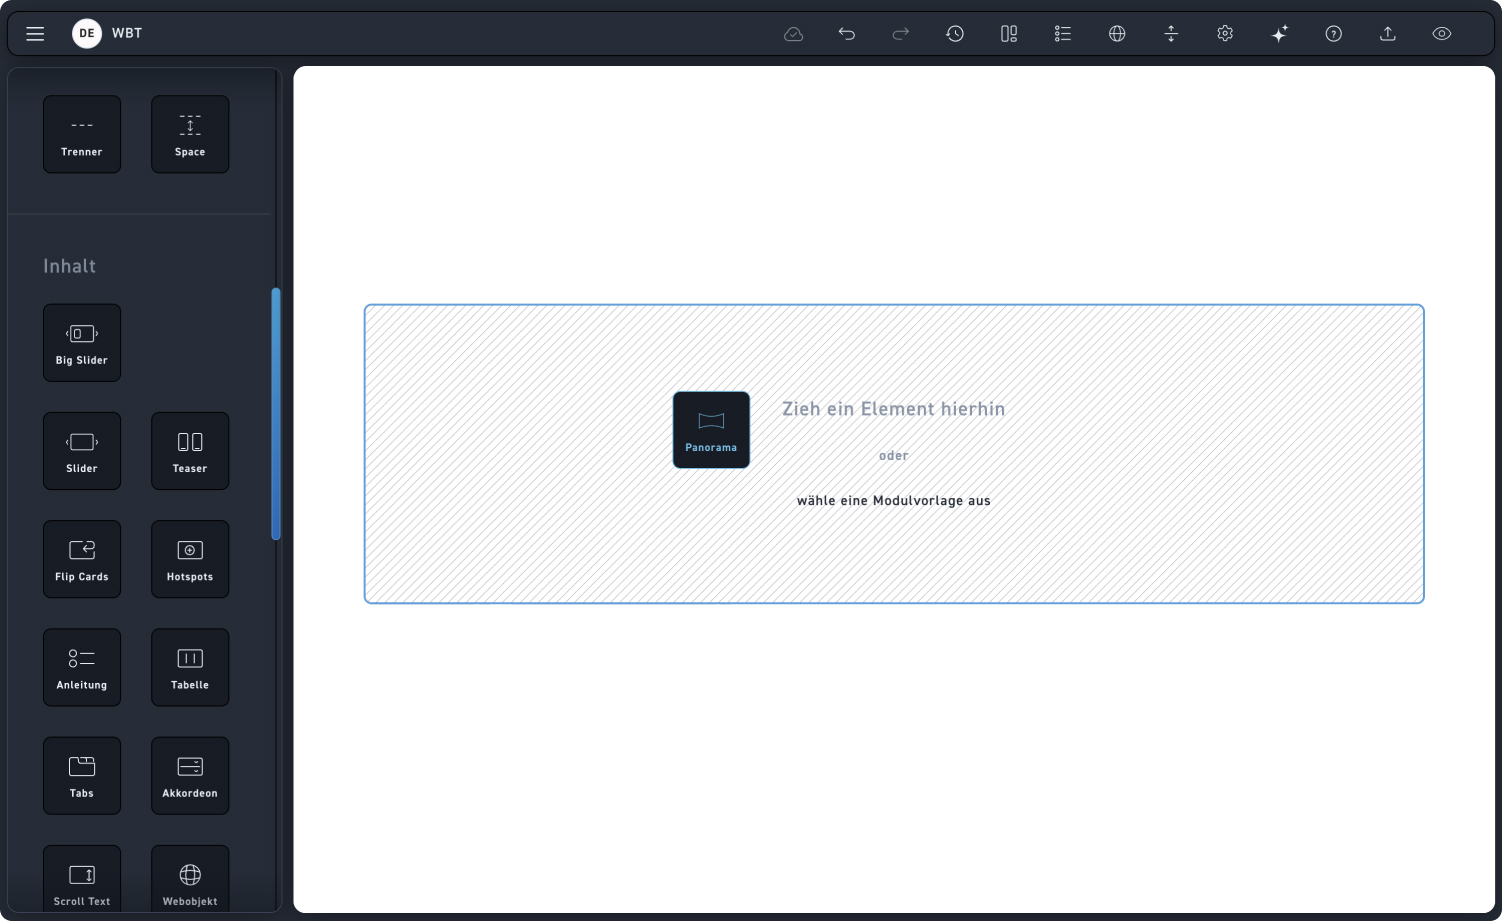
Drag the panorama element into a module.

Panora einfügen

Panorama settings #

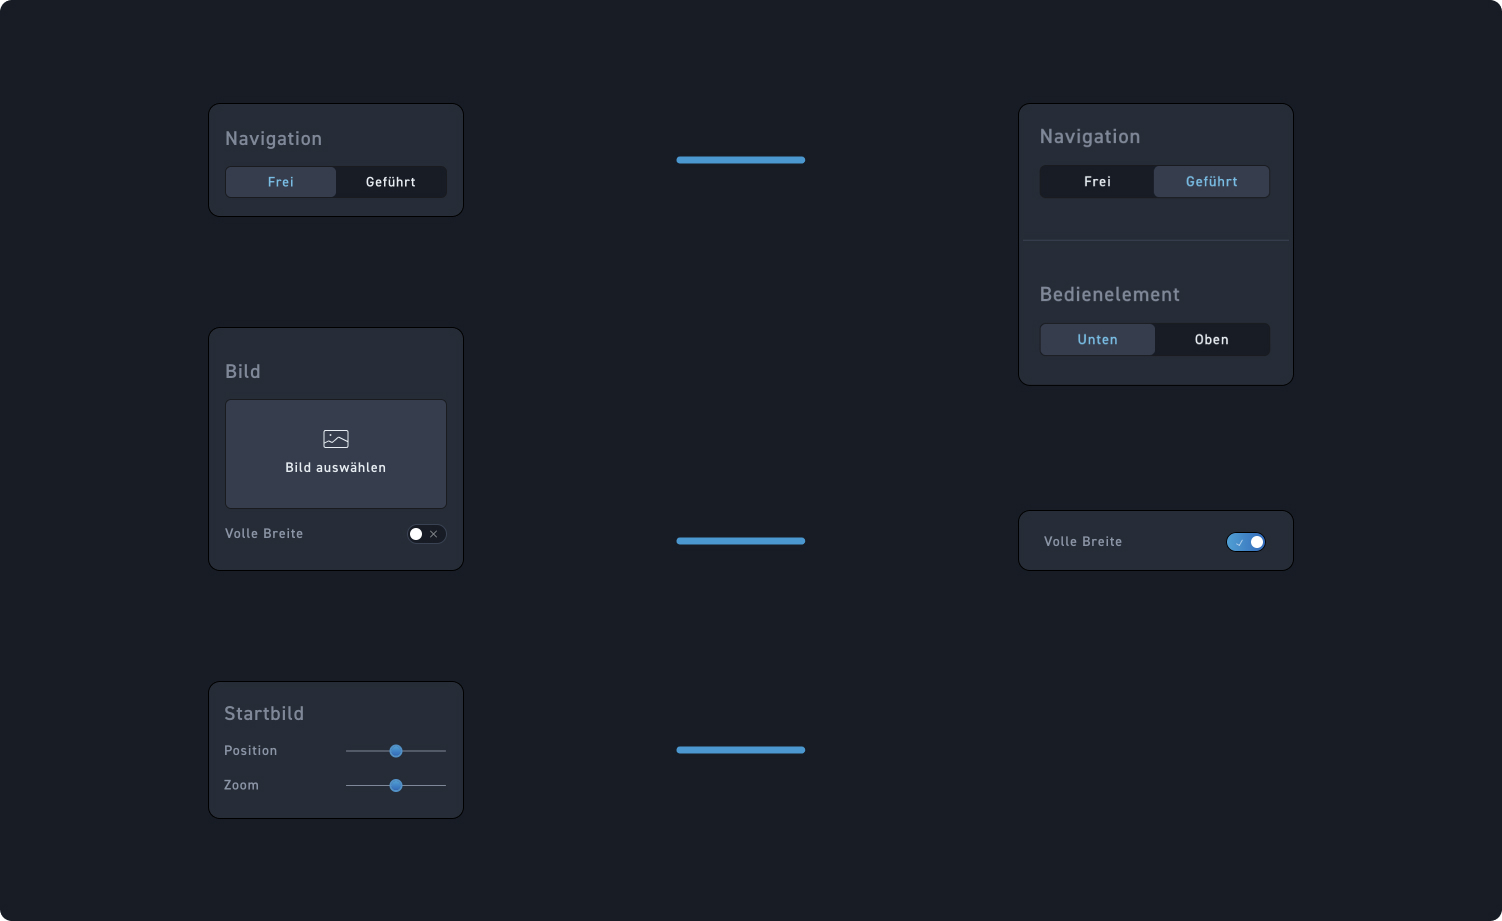
Check out the hotspots to see what setting options you have for the panorama element.

1
Navigation
Decide whether the navigation of your element is free or guided. In the guided version, you can also decide whether your controls should be at the bottom or top.
2
Picture
Upload an image from the Media Library. A panoramic image would be best so your learners can explore the hotspots interactively.
3
Starting screen
Move the sliders to select the starting position in the image, which is the view your learners will see first.
Hotspot Overview #

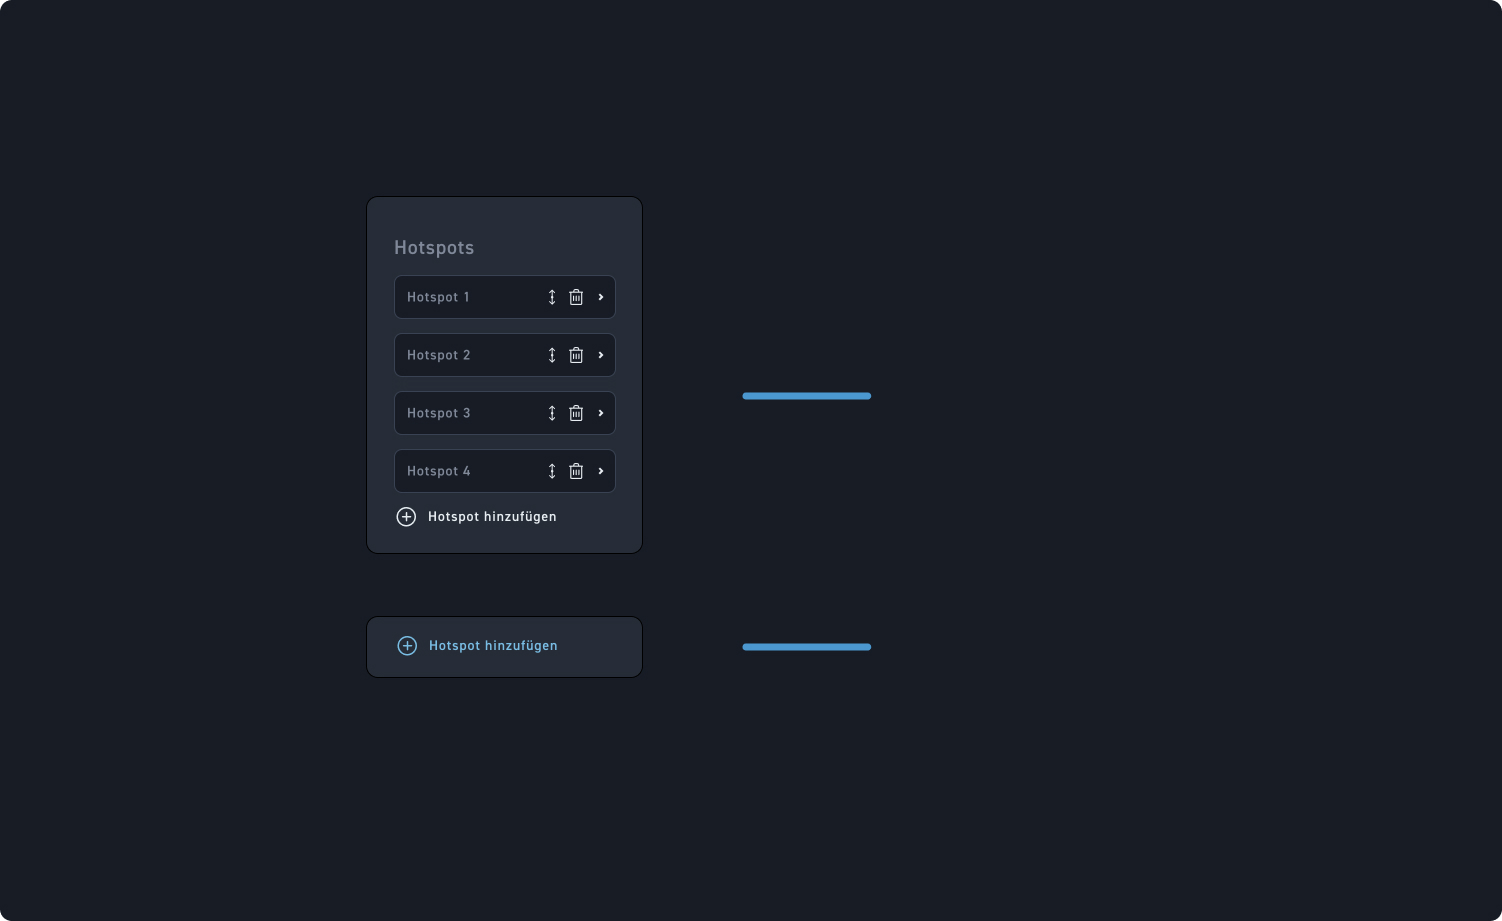
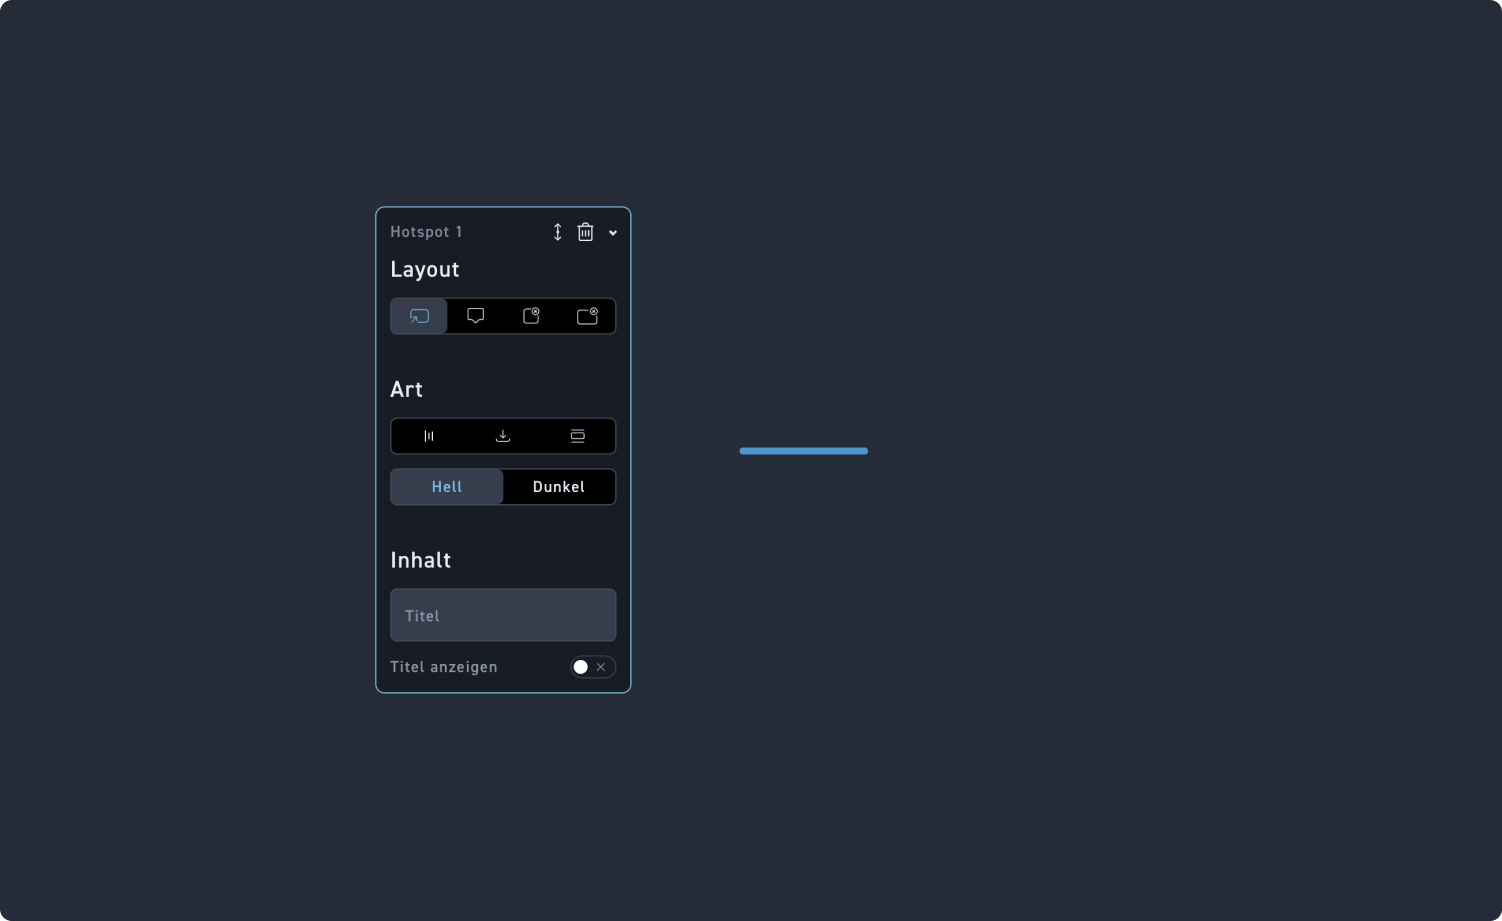
Under the panorama settings, you'll find the hotspot overview. Take a look at the hotspots to learn how to adjust and manage them.

1
Hotspots
Move, delete a hotspot, or click a hotspot field to edit it.
2
Add hotspot
Click „Add Hotspot“ to add another hotspot to your panorama.
Hotspot Overview #

Click the button to see how the hotspots work and what settings you have available.

1
Hotspot Settings
Click the link in the text to see how you can customize the hotspots.
Navigation #

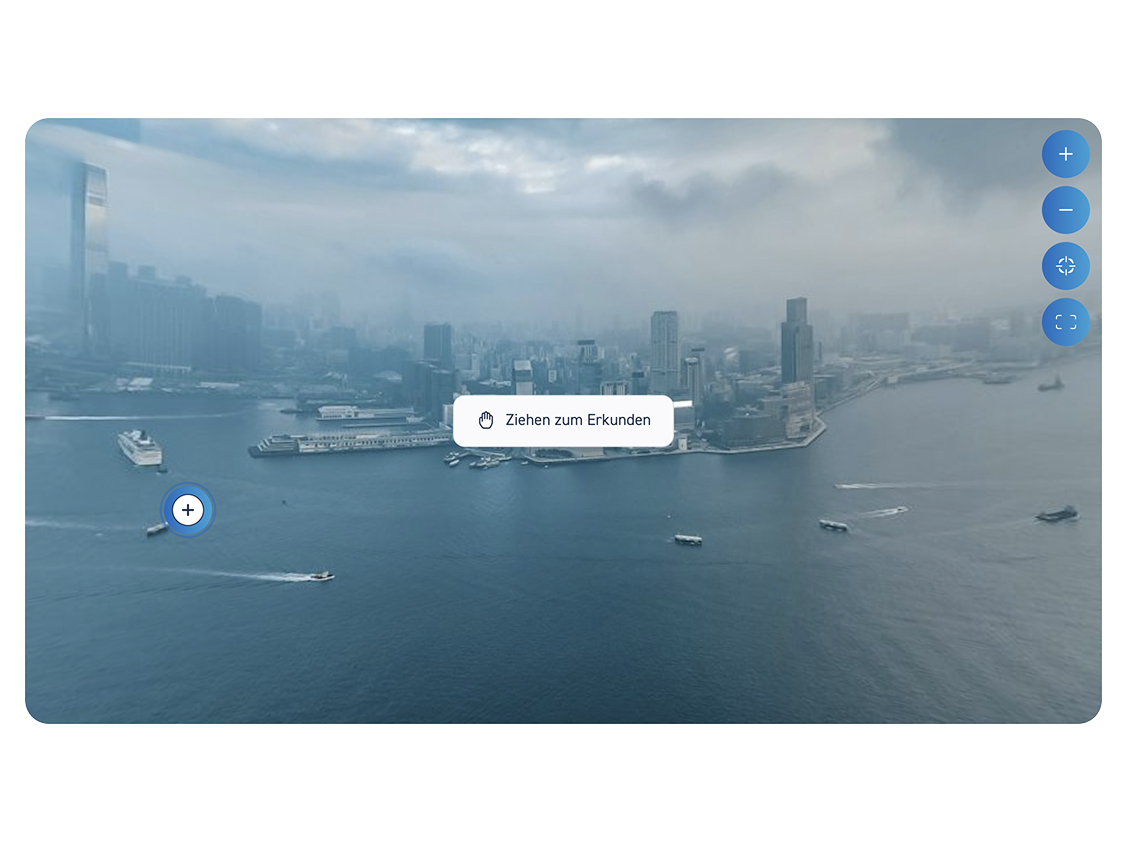
Look at the slides to see how the panorama element is perceived from a learner's perspective.

Free Navigation #

Learners discover the hotspots by dragging the image to the spot where a hotspot is visible.

Guided Navigation #

The learners discover the hotspots one after another by clicking on the „Forward“ or „Backward“ controls. The slide indicator in the center shows them how many hotspots are present in total on the panoramic image.