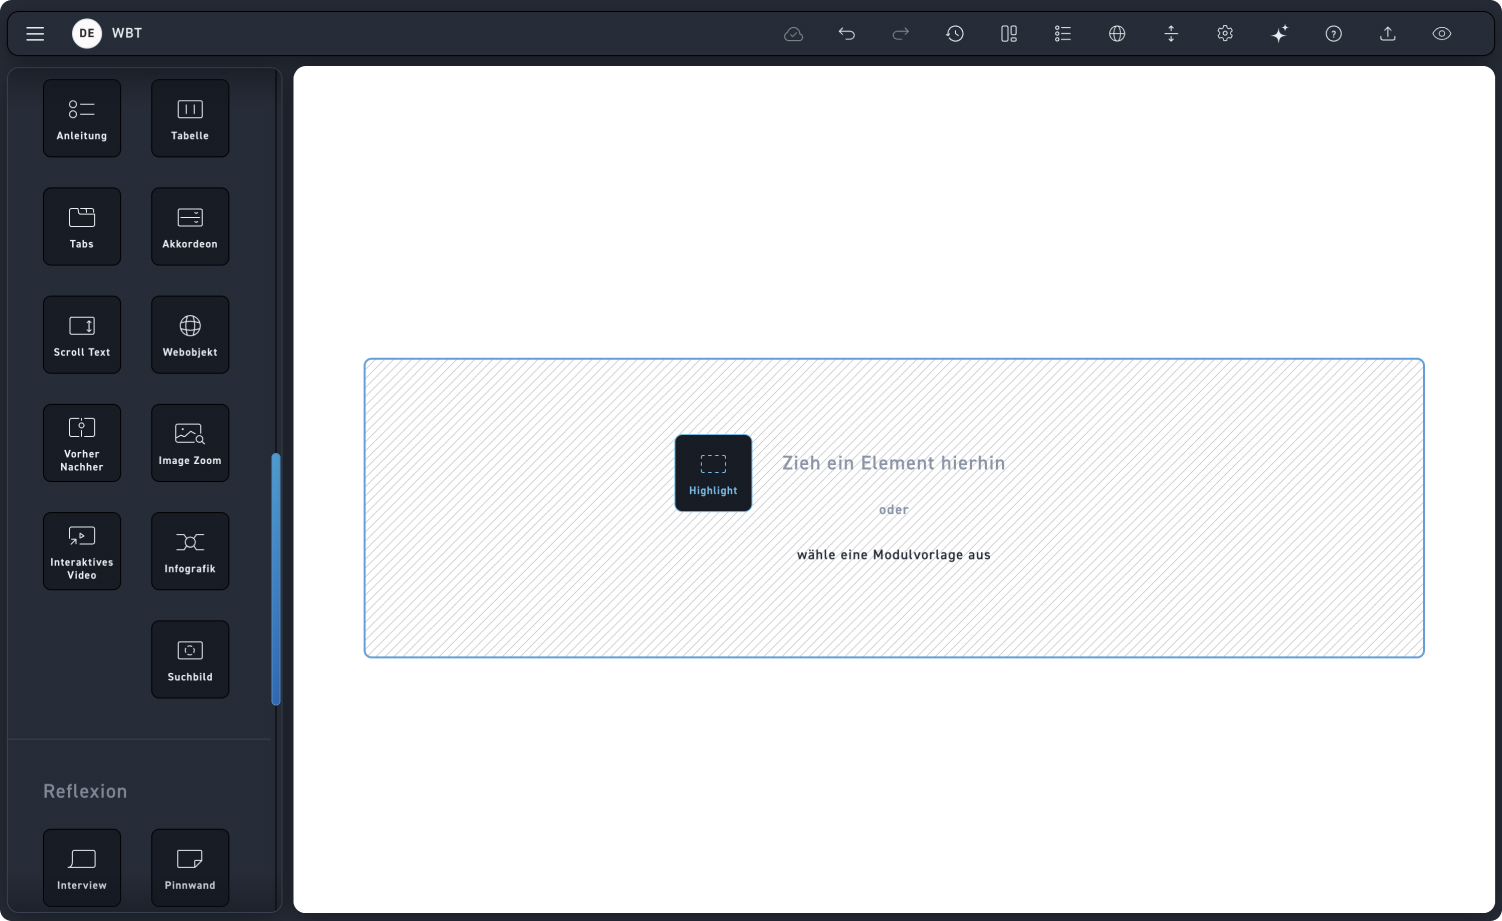
Highlight
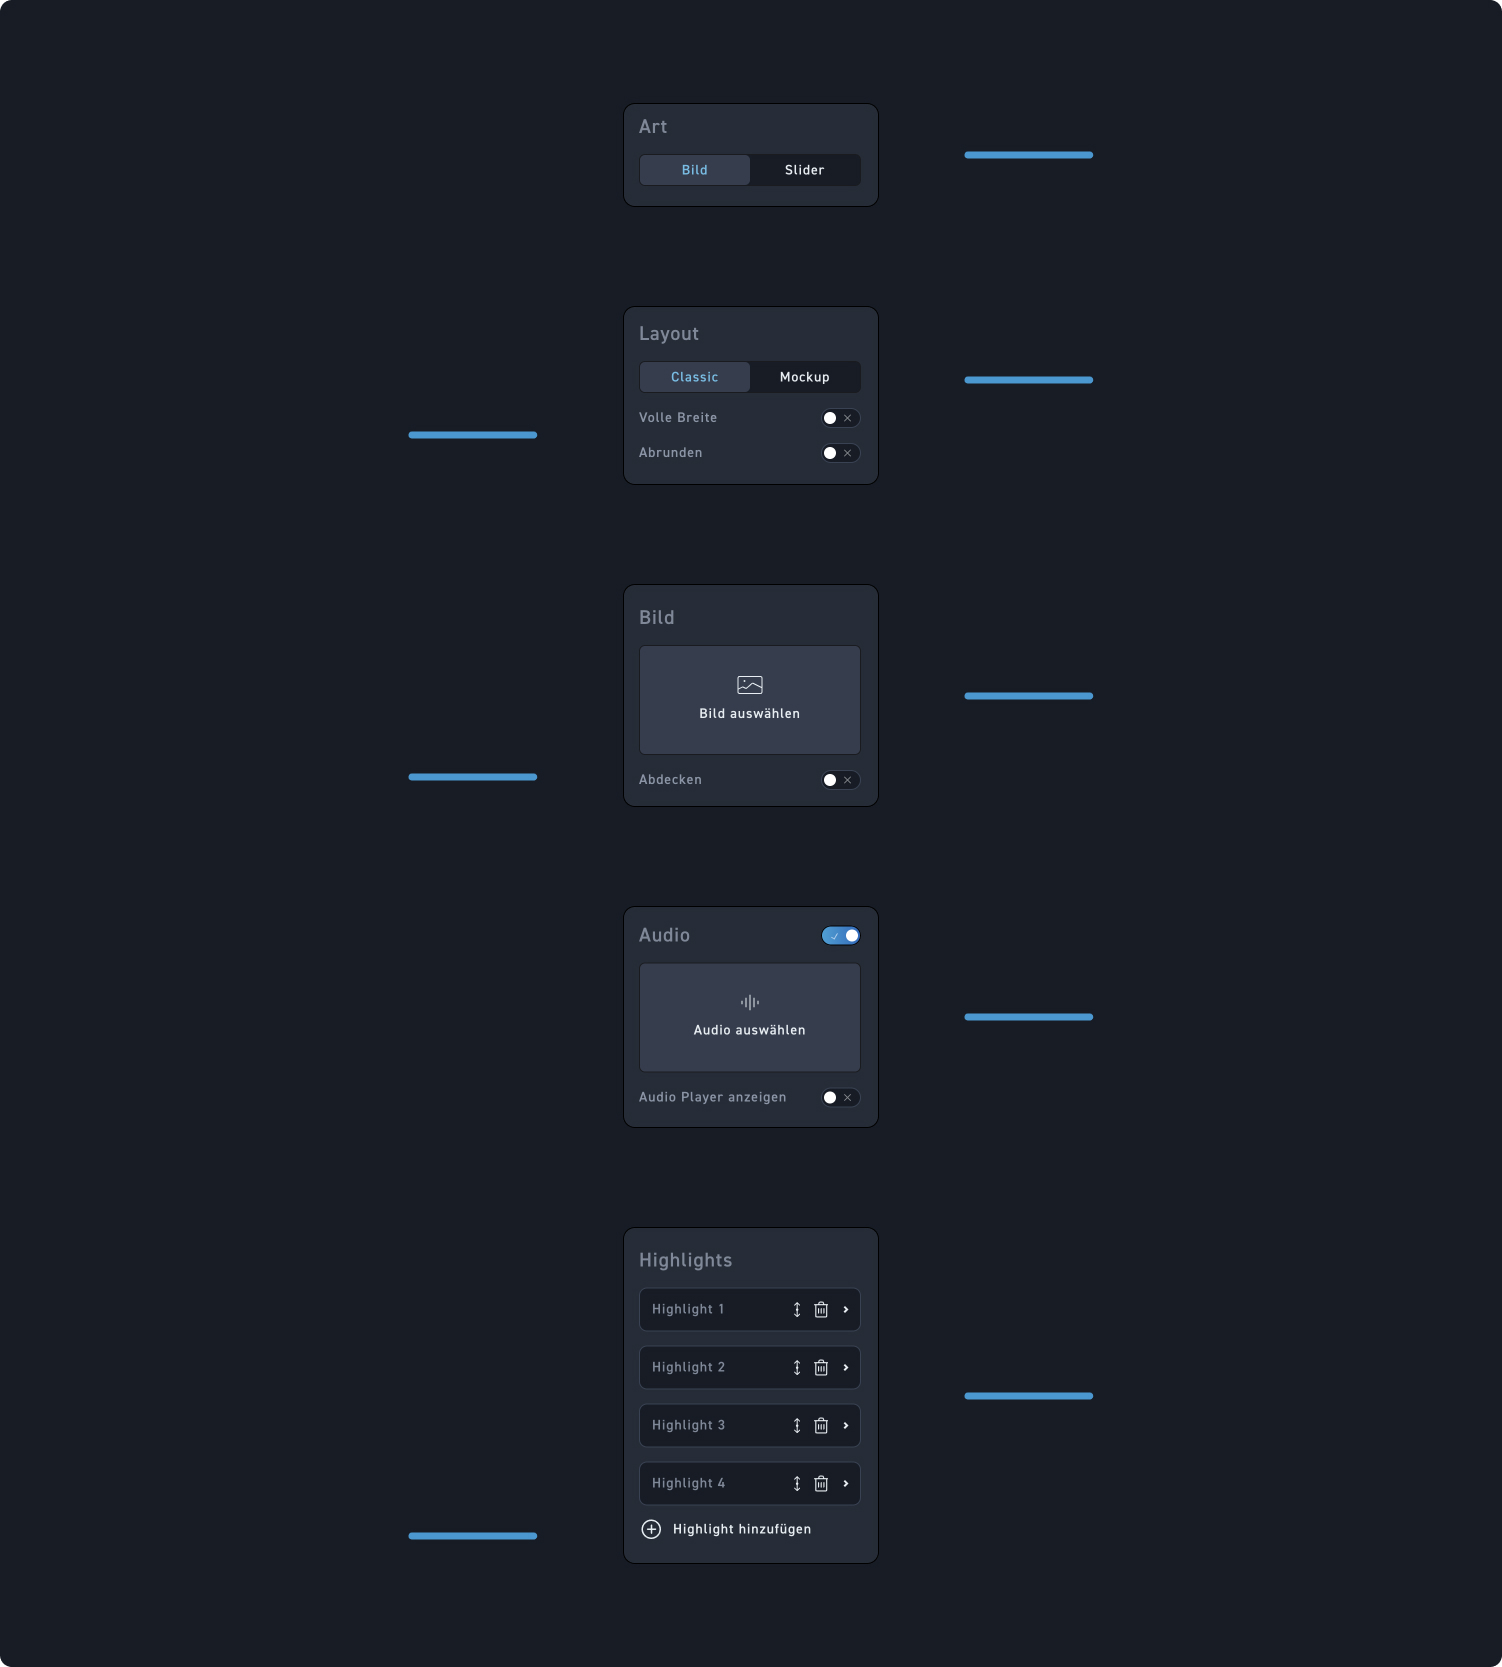
Art Picture
Click „Image“ so your highlight consists of only one image.
Layout
Decide whether to use the „Classic“ layout or display your image in a mockup.
Layout settings
Decide whether your image should be displayed full screen and whether the image corners should be rounded.
Picture
Add an image from the media library to your highlight or upload a new one.
Coverage
Decide if your image should be covered. If so, you can also choose whether it is covered in light or dark.
Audio
Decide if your highlight gets audio that learners can turn on and off, while they discover the highlight element.
Highlights
Move, delete, or click on it to edit a highlight. We'll show you which settings are available there in Part 2.
Add highlight
Add a new highlight by clicking „Add Highlight.“.
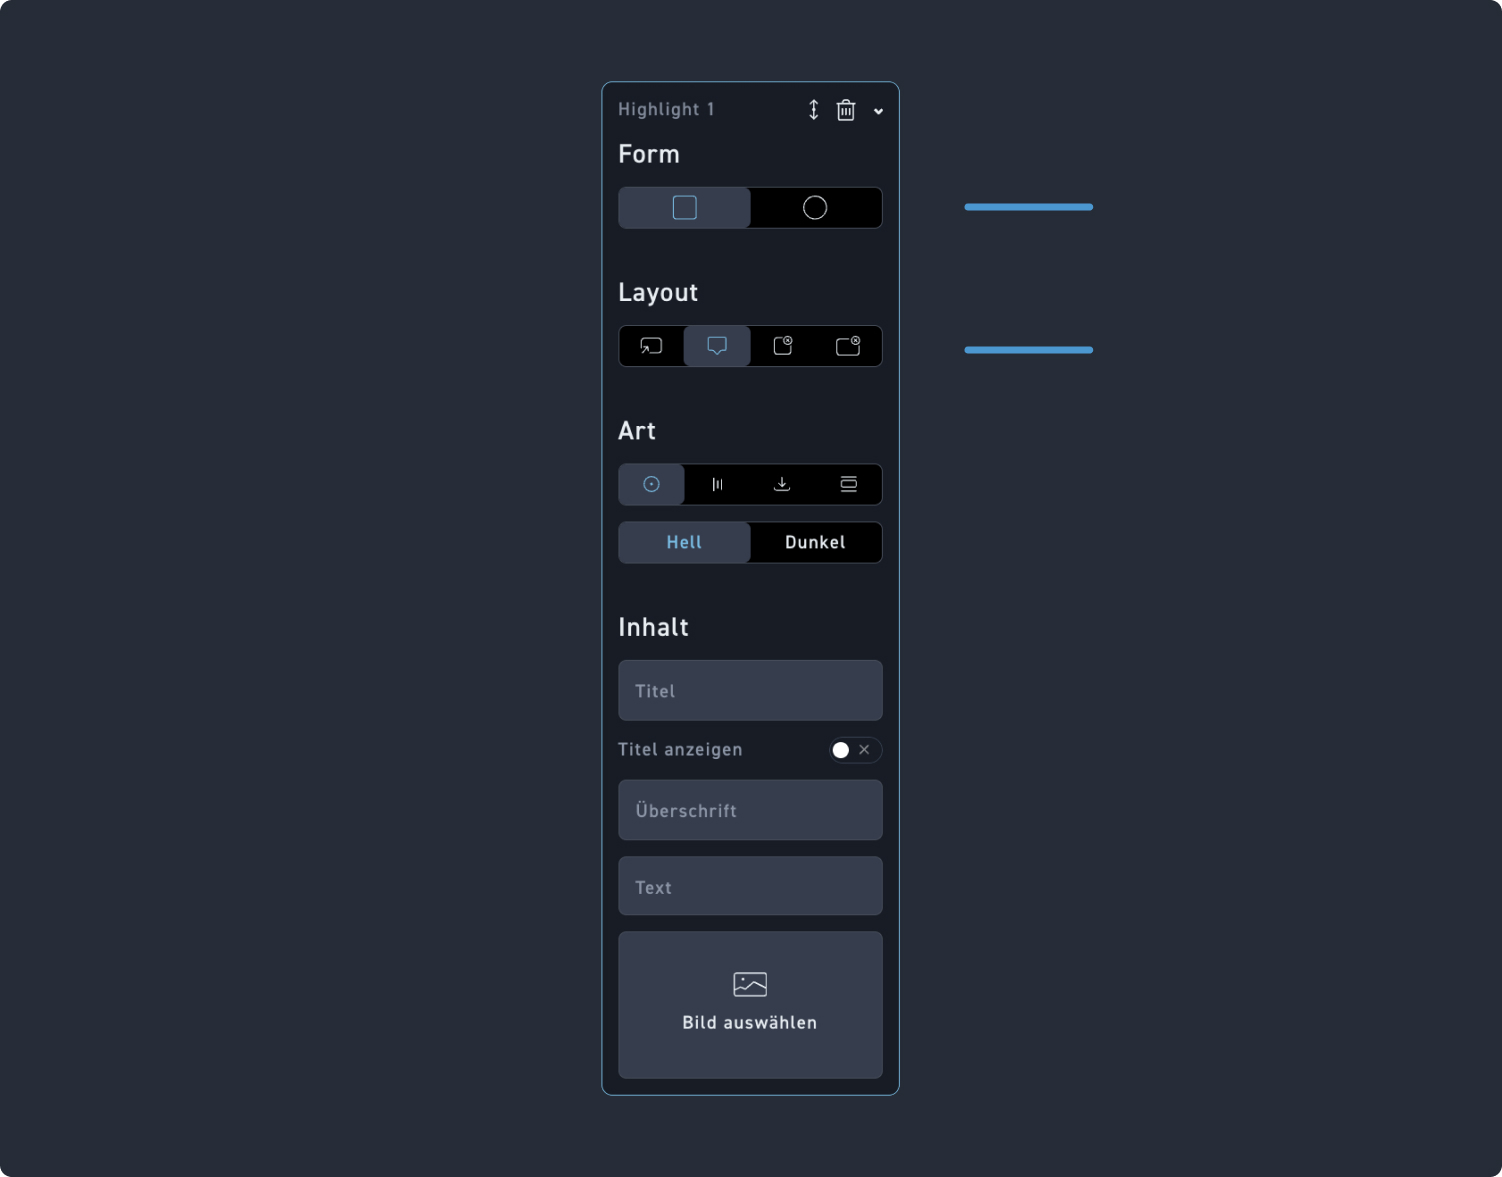
Highlight Form
Decide if the starting shape of the highlight should be a rectangle or a circle.
Set up hotspots
Check out the Hotspot help page to understand the setup of the Hotspot settings.