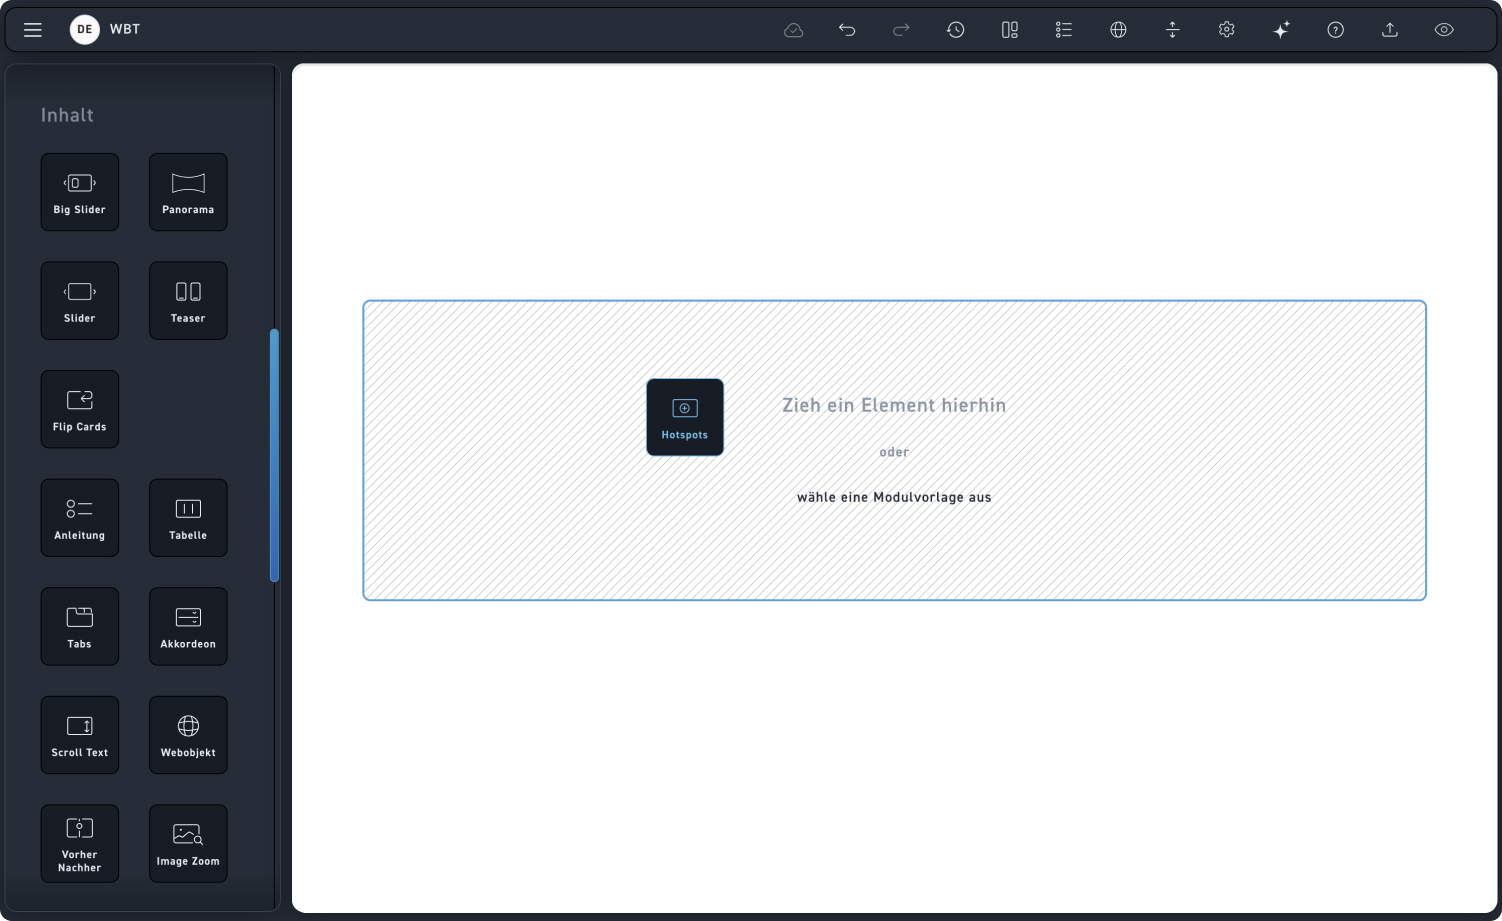
Hotspots
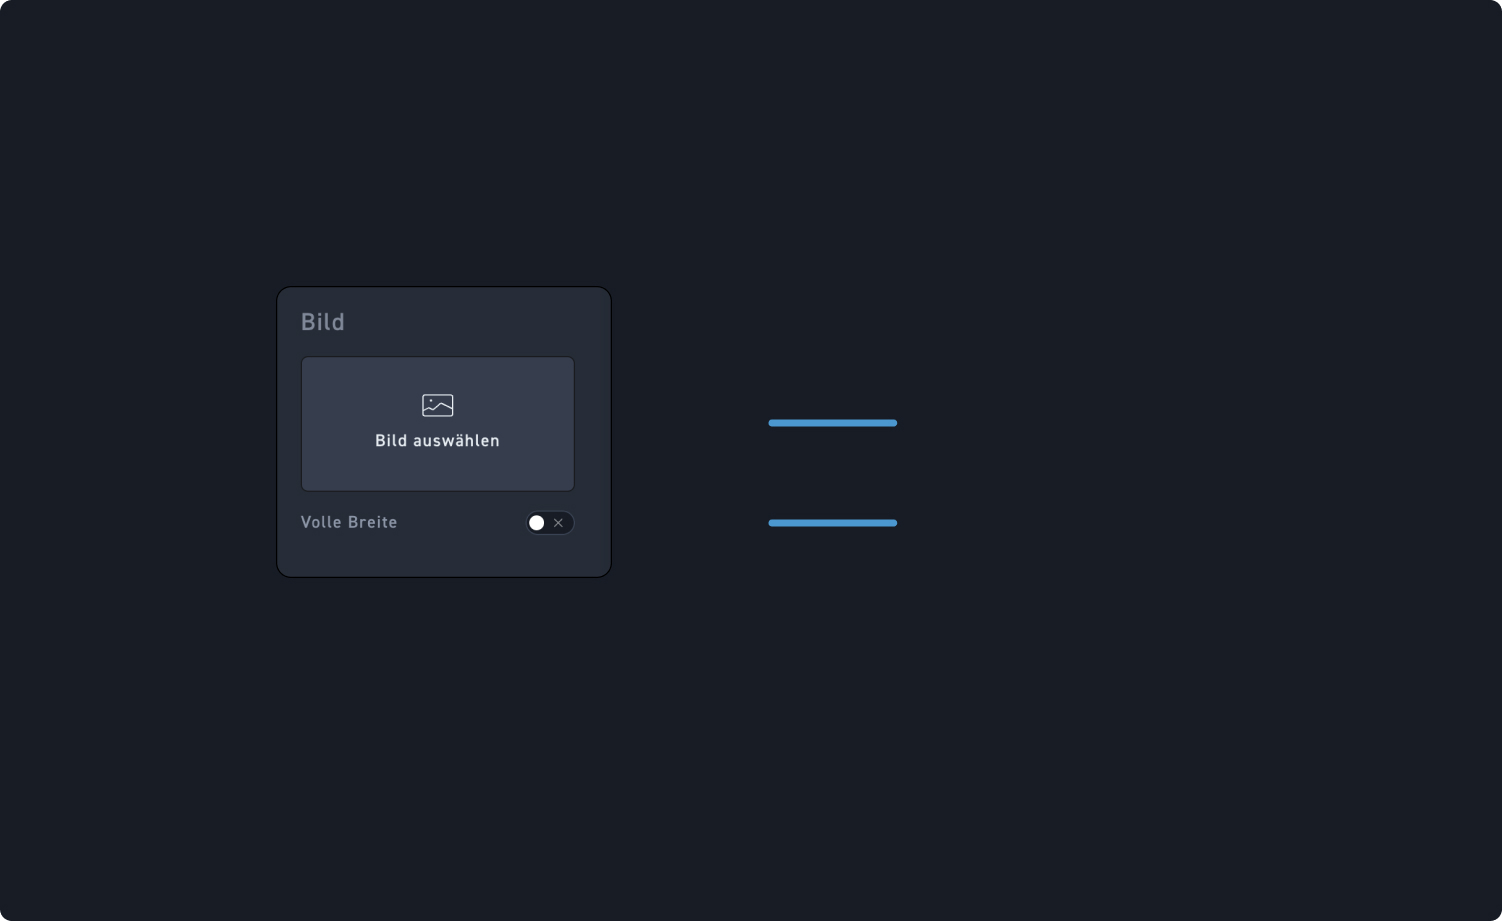
Select image
Select an image from the media library that you want to explain with hotspots.
Width
Choose whether your image should be displayed across the entire width.
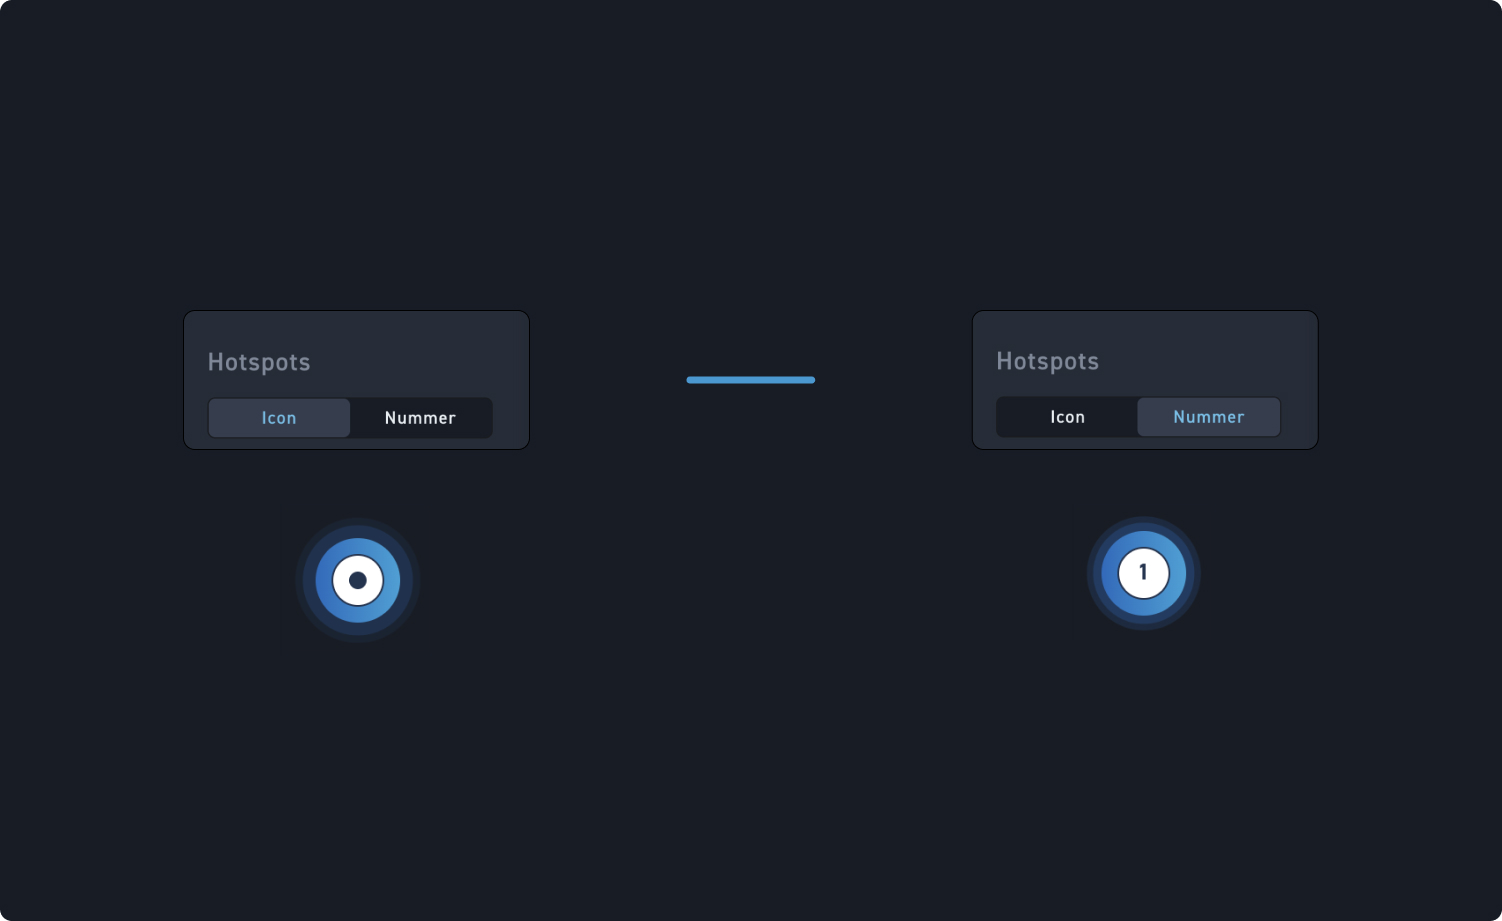
Icon Hotspots
Click on Icon to display a symbol in the middle of your hotspots.
Number hotspots
Click on number if your hotspots should be numbered.
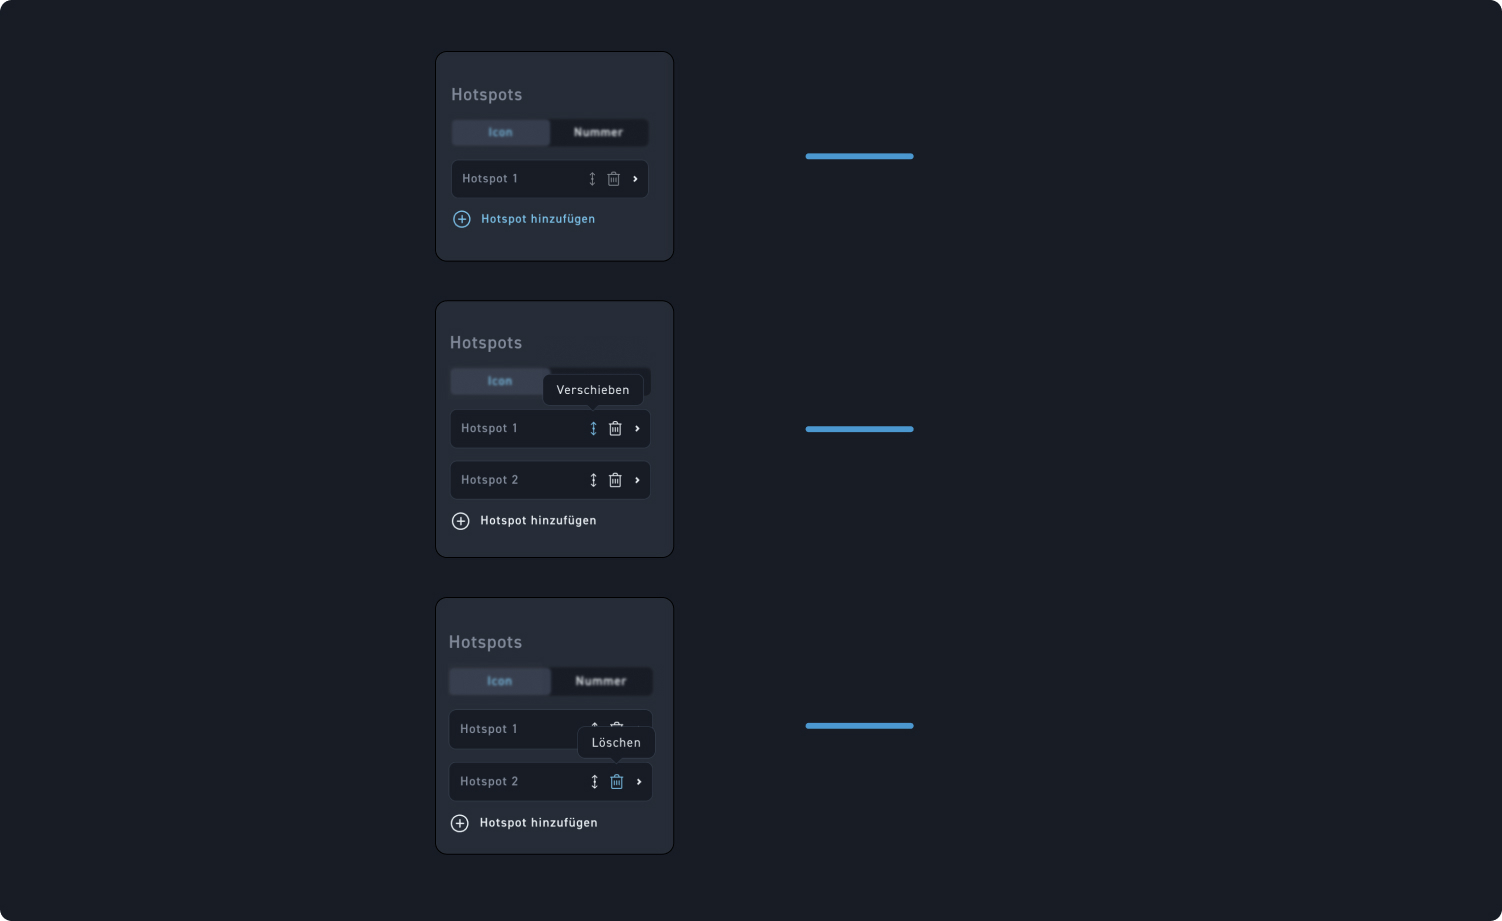
Add hotspot
Click „Add hotspot“ to add a new hotspot.
Hotspot arrangement
Change the order of the hotspots by clicking and dragging the move icon.
Delete hotspots
Delete a hotspot by clicking the trash can icon.
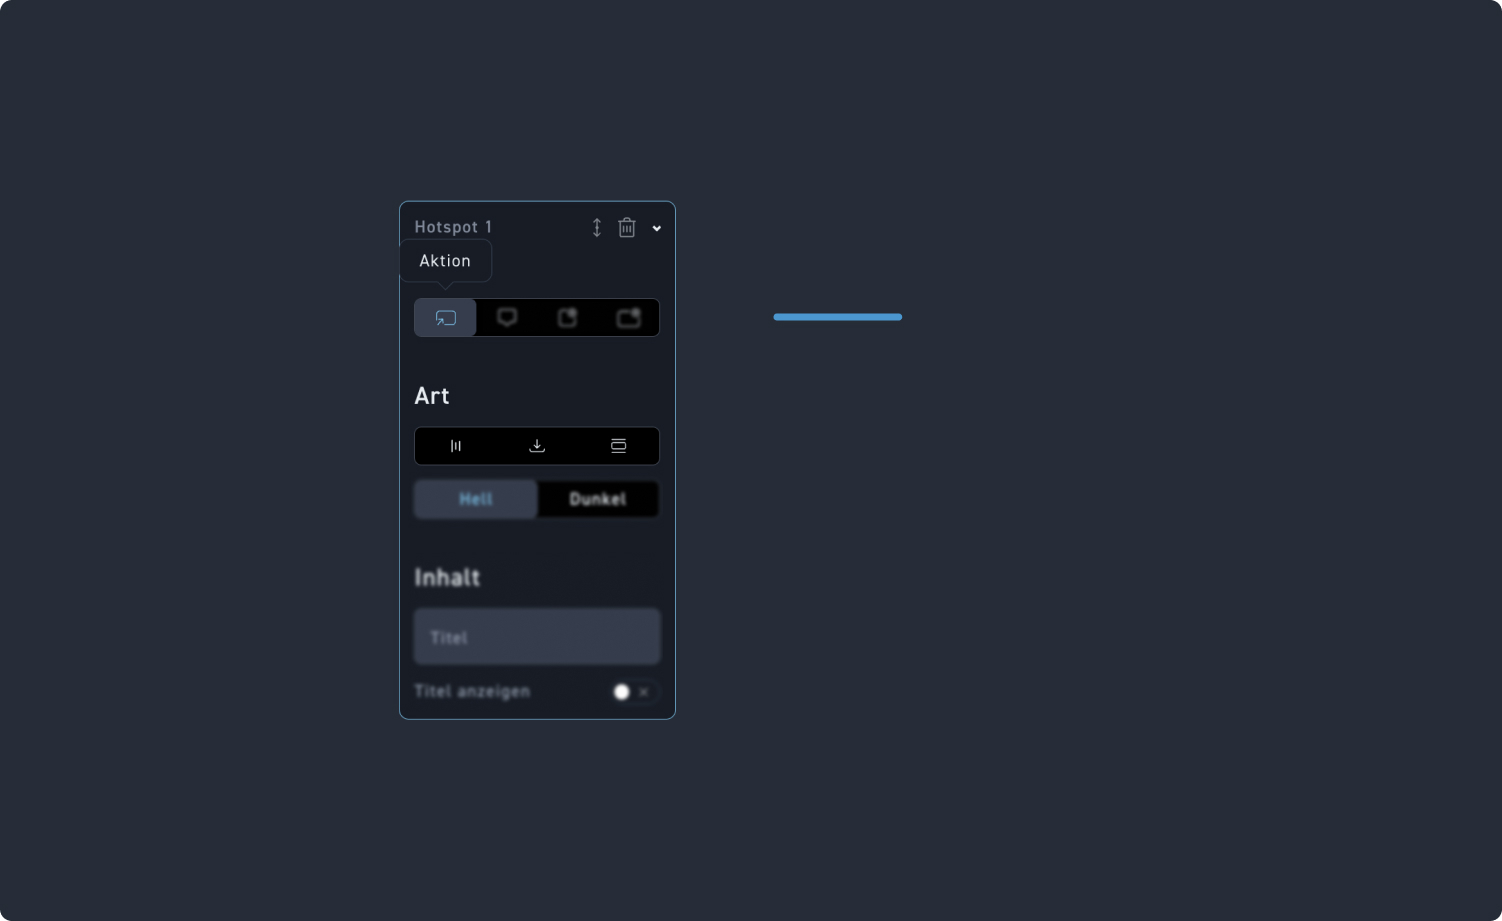
Operation Hotspot
Click on the first item „Action“ to insert an action hotspot.
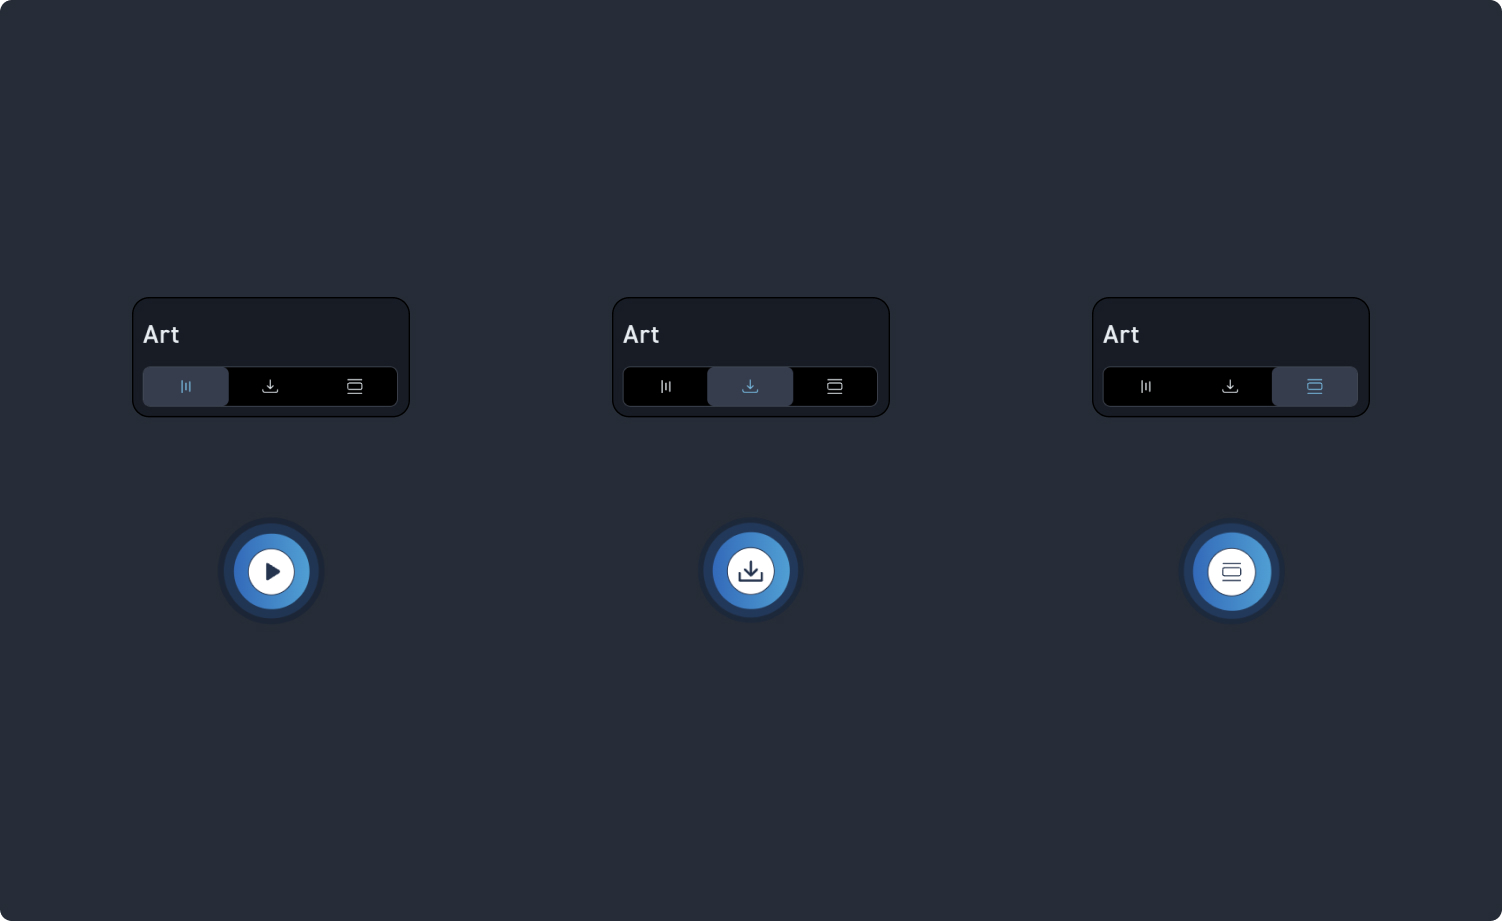
Audio
Click on the first point, „Audio,“ to convert your hotspot into an audio hotspot. Learners can then play an audio track by clicking on it.
Download
Click on the second point „Download“ to convert your hotspot into a download hotspot. Learners can then download a stored file with a click.
Section
Click on the third point „Section“ to convert your hotspot into a section hotspot. Learners can then click it to get to the next section in the WBT.
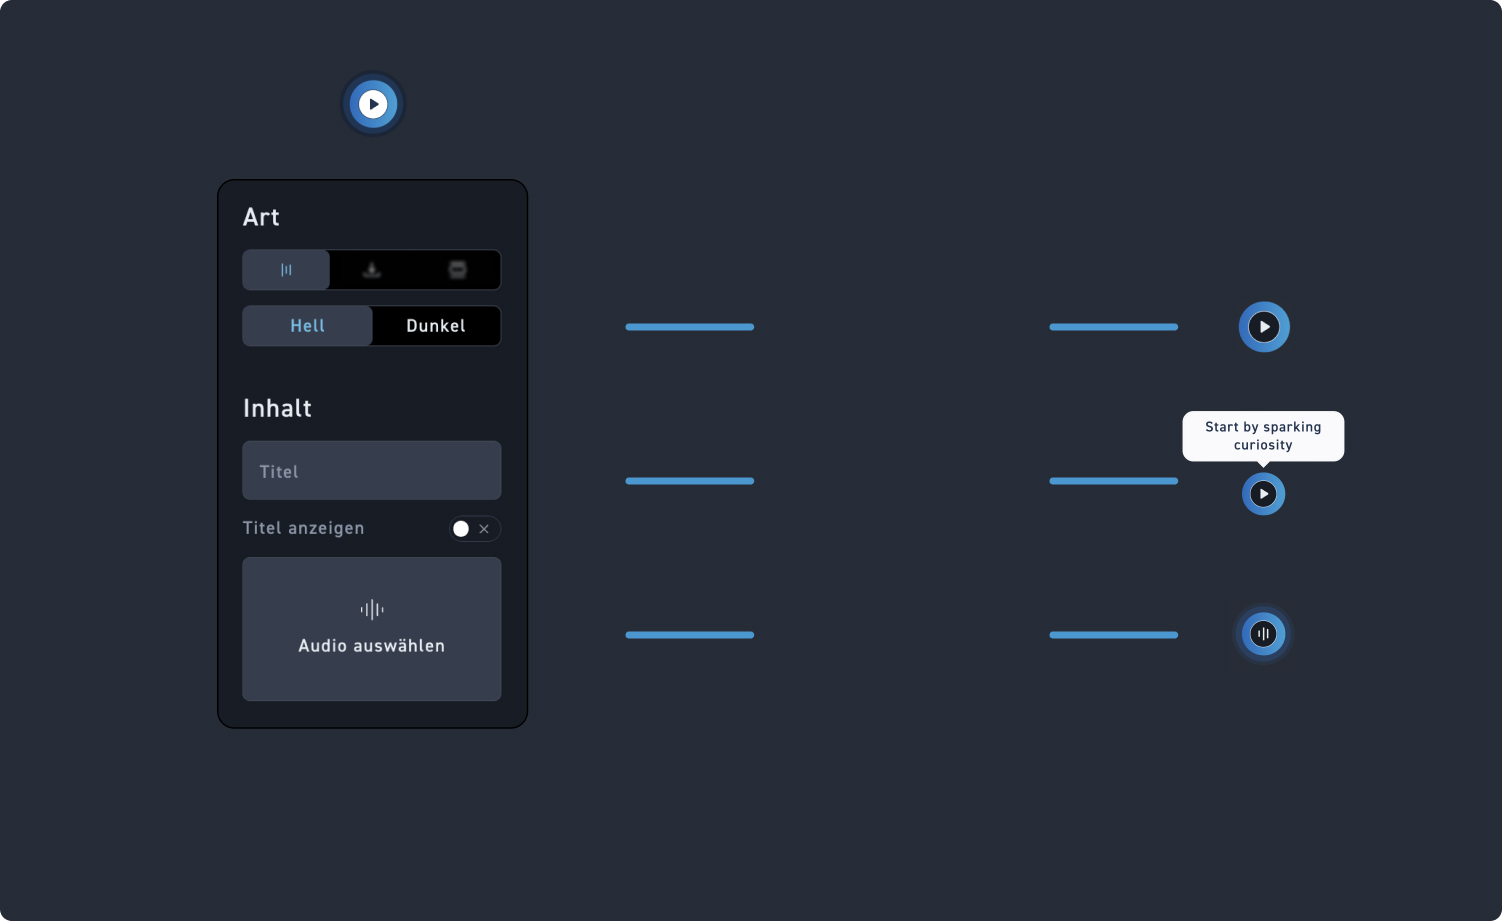
Hotspot color
Decide whether your hotspot should have a light or dark ring in the center. This ensures optimal visibility on light and dark images.
Hotspot content
Give your hotspot a title and decide whether it should be displayed permanently. If the title display is enabled, your hotspot will appear as shown on the right.
Select audio
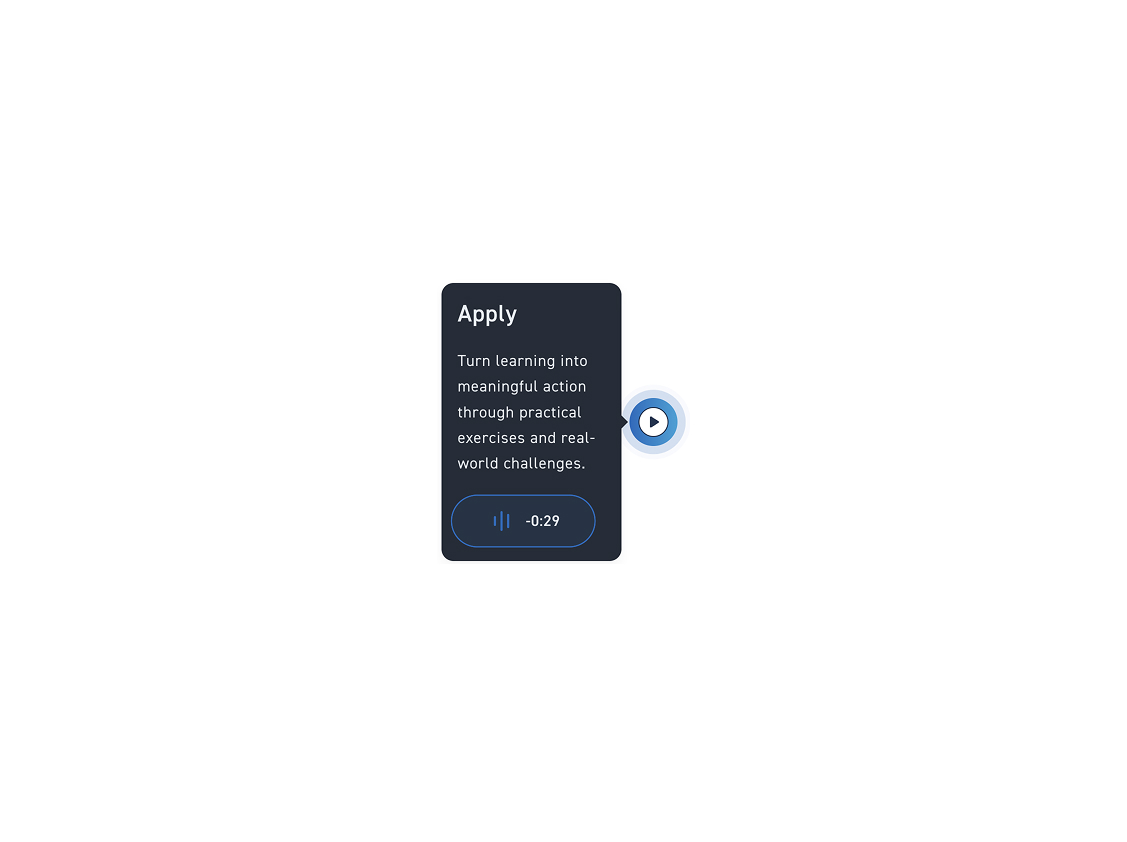
Select an audio track from the media library to play when the hotspot is clicked. While playing, the hotspot will be displayed as shown on the right. The audio can be stopped at any time by clicking again.
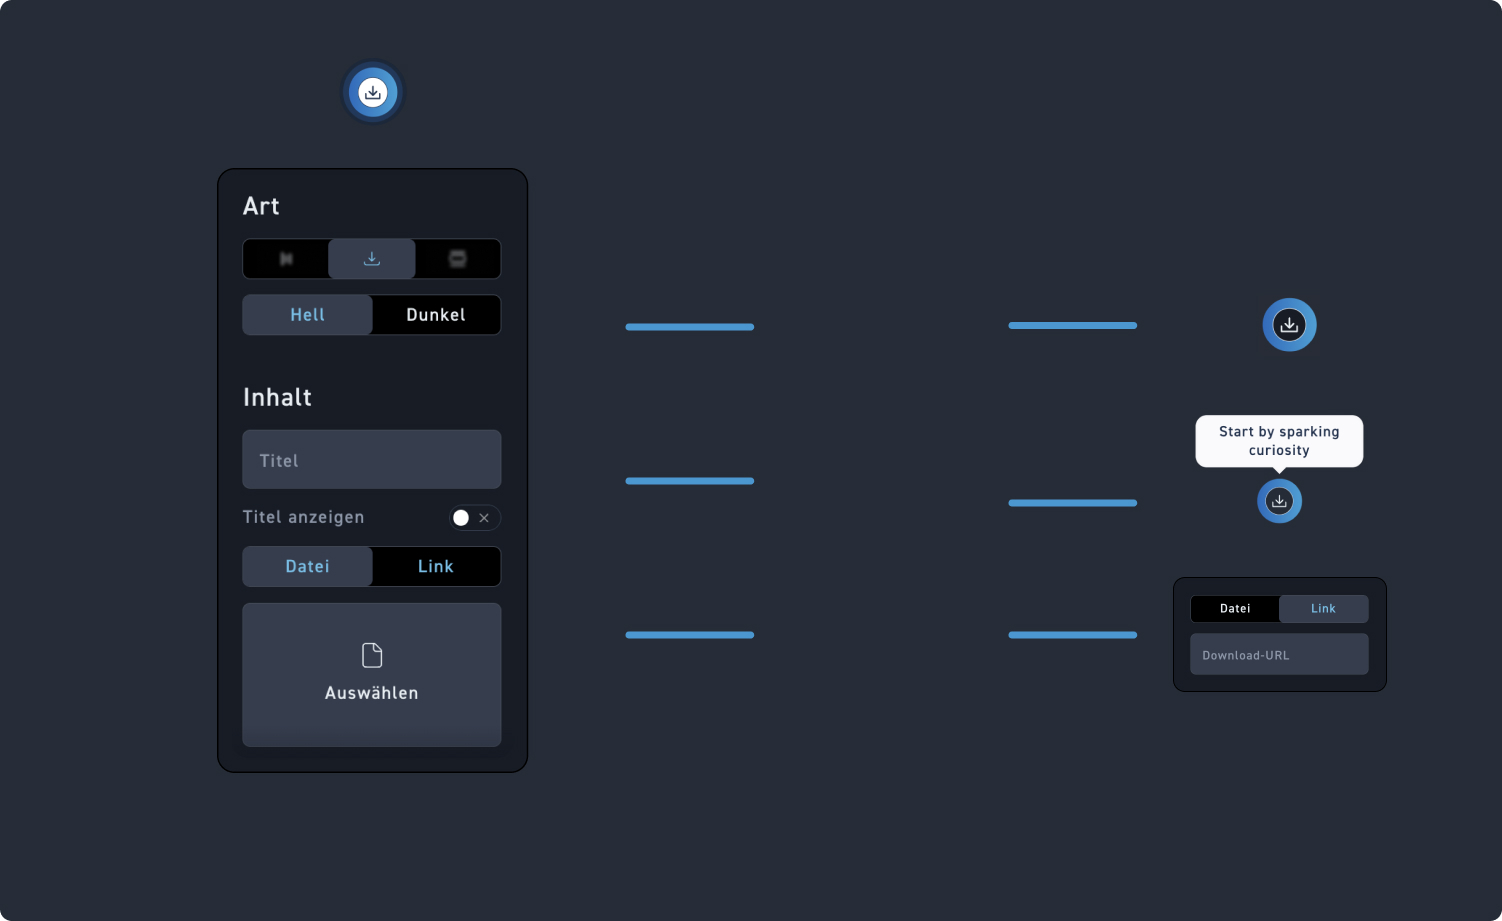
Hotspot color
Determine whether your hotspot has a light or dark ring in the center. This ensures perfect visibility on dark or light images.
Hotspot content
Give your hotspot a title and decide whether you want it to be displayed permanently or not. When the title is displayed, your hotspot can look like the one on the right.
Download Select file
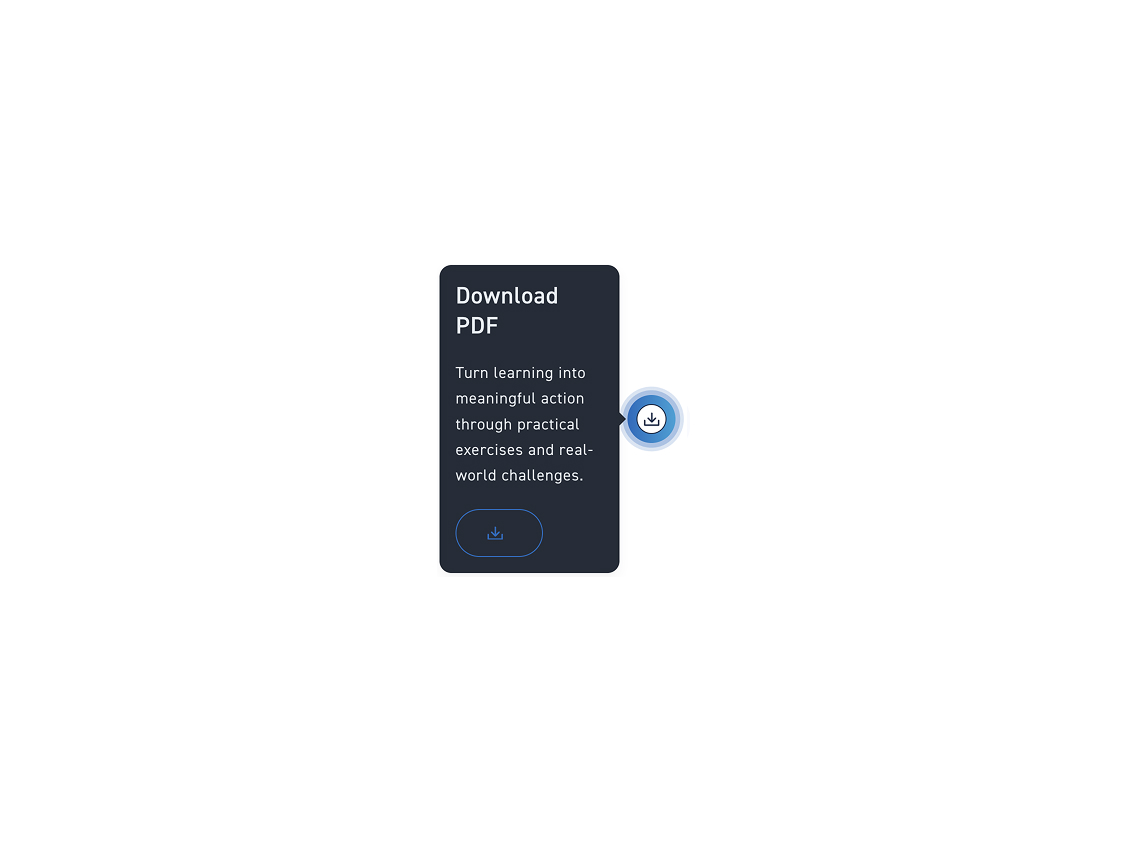
Select a file from the media library that your learners can download, or insert a download link by clicking „Link“.
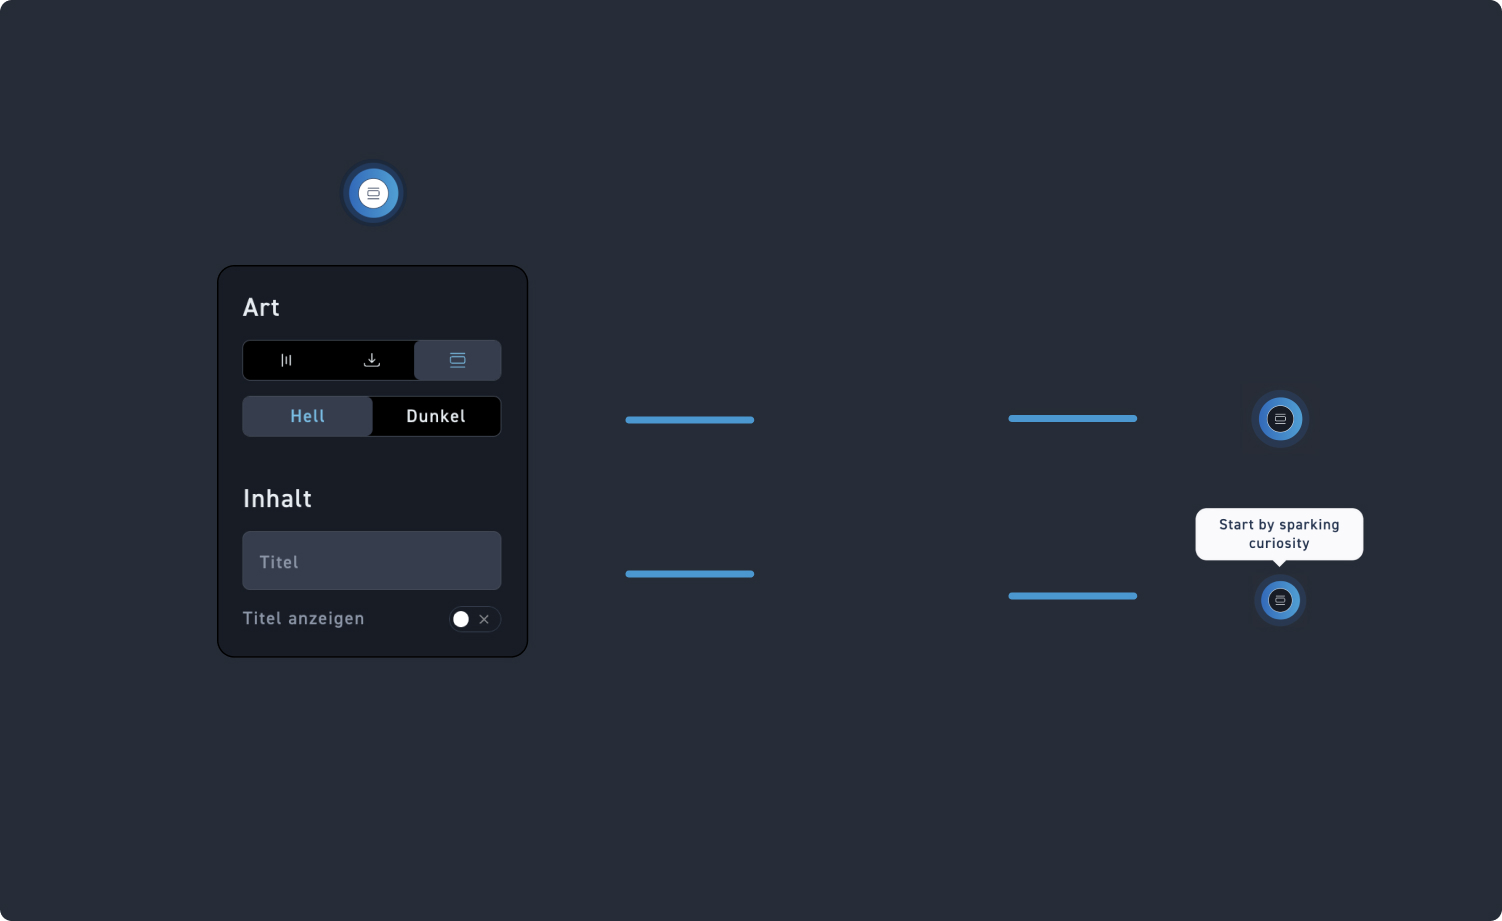
Hotspot color
Determine whether your hotspot has a light or dark ring in the center. This ensures perfect visibility on dark or light images.
Hotspot content
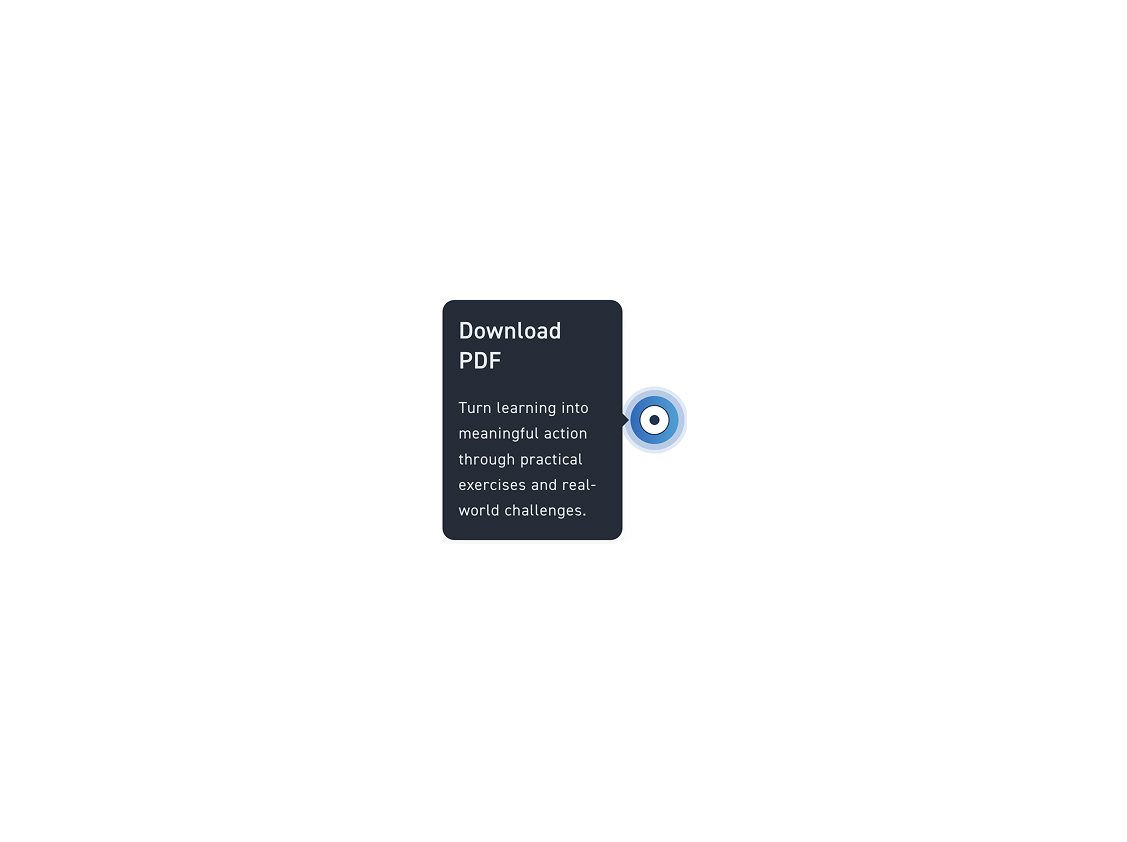
Give your hotspot a title and decide whether you want it to be displayed permanently or not. When the title is displayed, your hotspot can look like the one on the right.
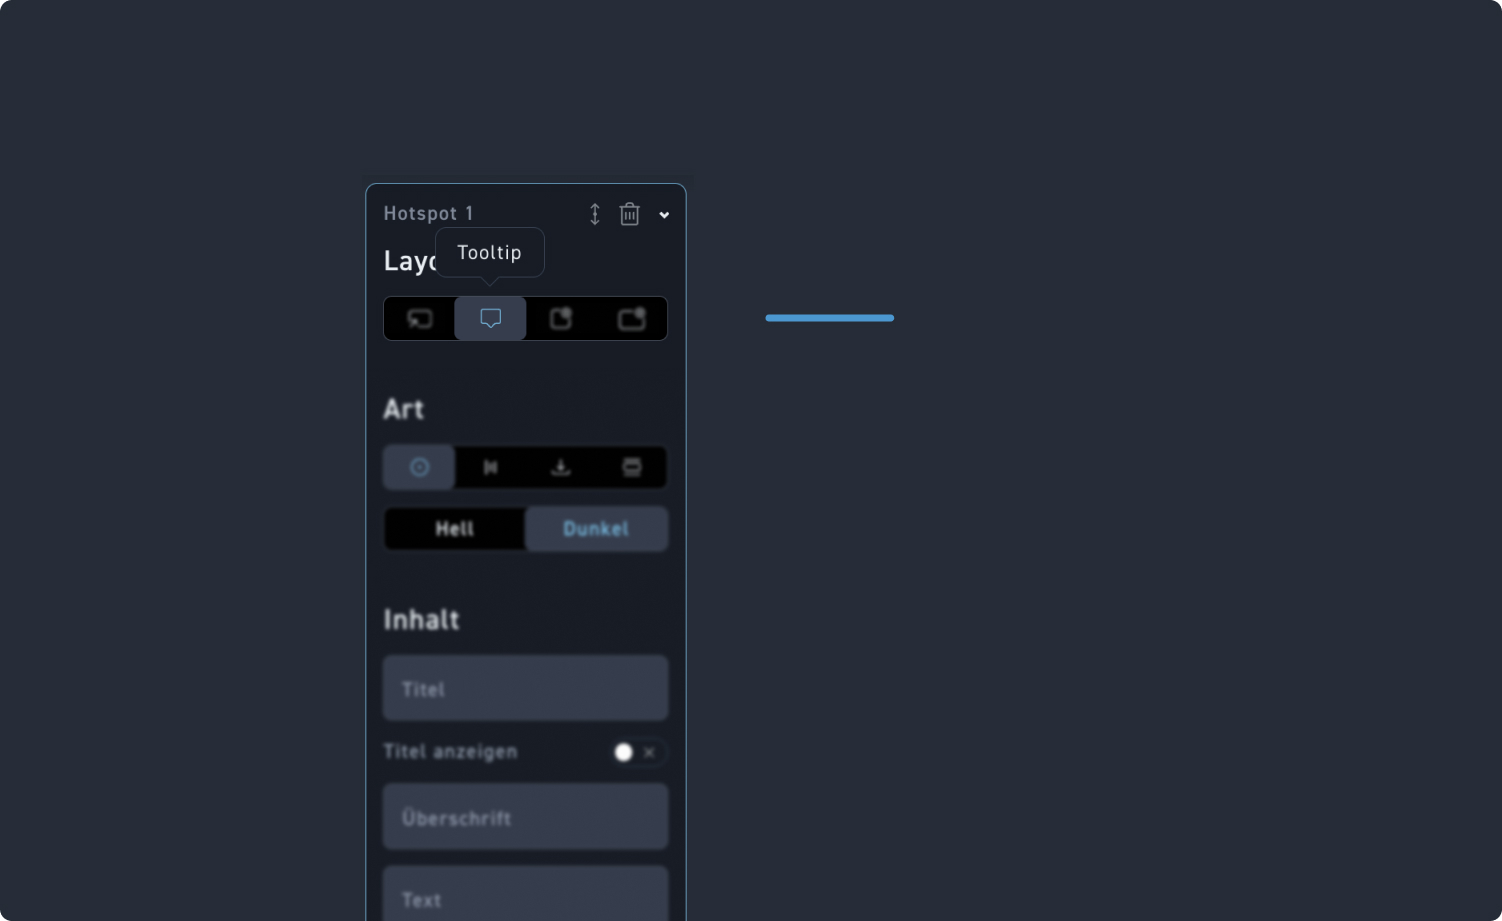
Tooltip Hotspot
Click on the second item „Tooltip“ to insert a tooltip hotspot.
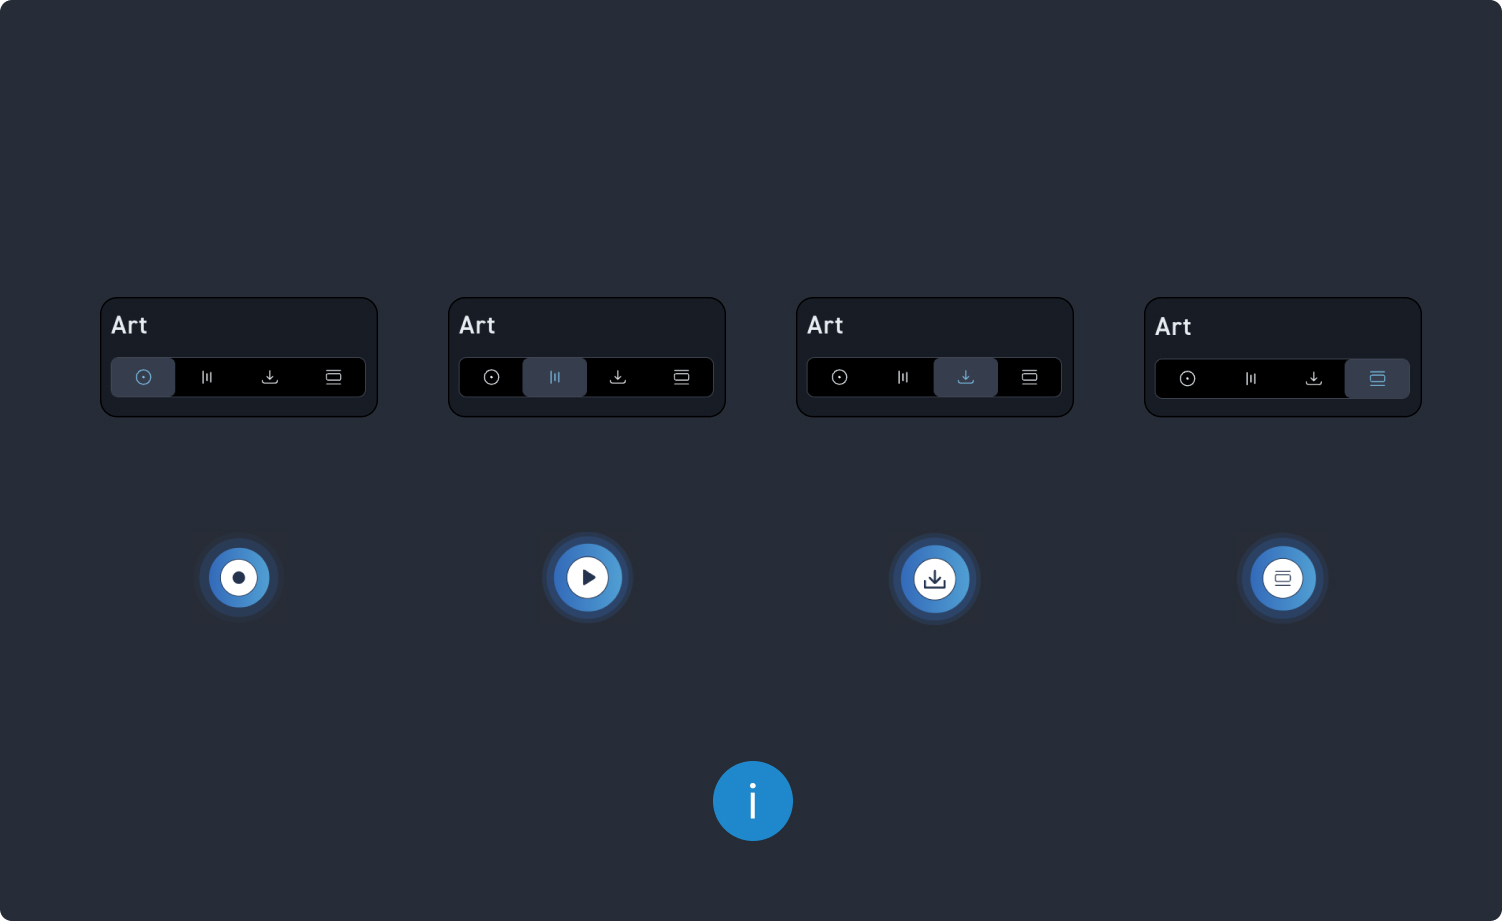
Click
Click on the first item „Point“ to create a simple hotspot. Learners can use this to display content such as titles or running text by clicking on it.
Audio
Click on the second „Audio“ point to turn your hotspot into an audio hotspot, where learners can play an audio track by clicking it.
Download
Click on the third point „Download“ to turn your hotspot into a download hotspot where learners can download a stored file with a click.
Section
Click on the fourth point „Section“ to create a section hotspot. This allows learners to click and go to the next section of the WBT.
Information
Hotspot types 2, 3, and 4 are the same as in the Layout 1 hotspot. Feel free to scroll up to take another look at them.
Hotspot color
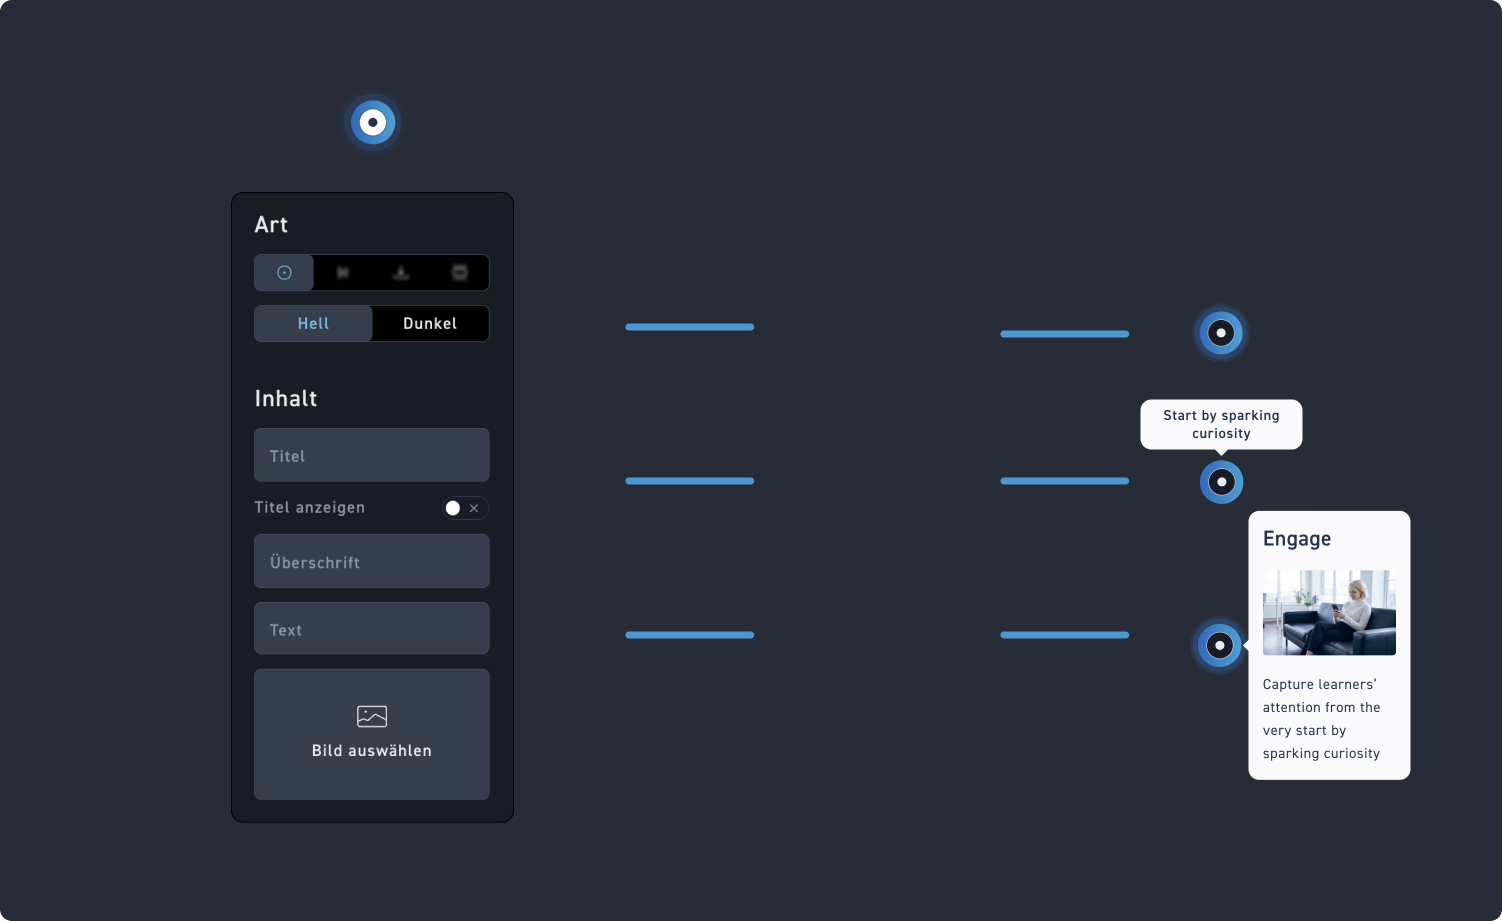
Determine whether your hotspot has a light or dark ring in the center. This ensures perfect visibility on dark or light images.
Hotspot content
Give your hotspot a title and decide whether you want it to be displayed permanently or not. When the title is displayed, your hotspot can look like the one on the right.
Title, text, and image
Decide which of the three inputs your learners will see when clicking. You can add a heading, text, and an image as needed.

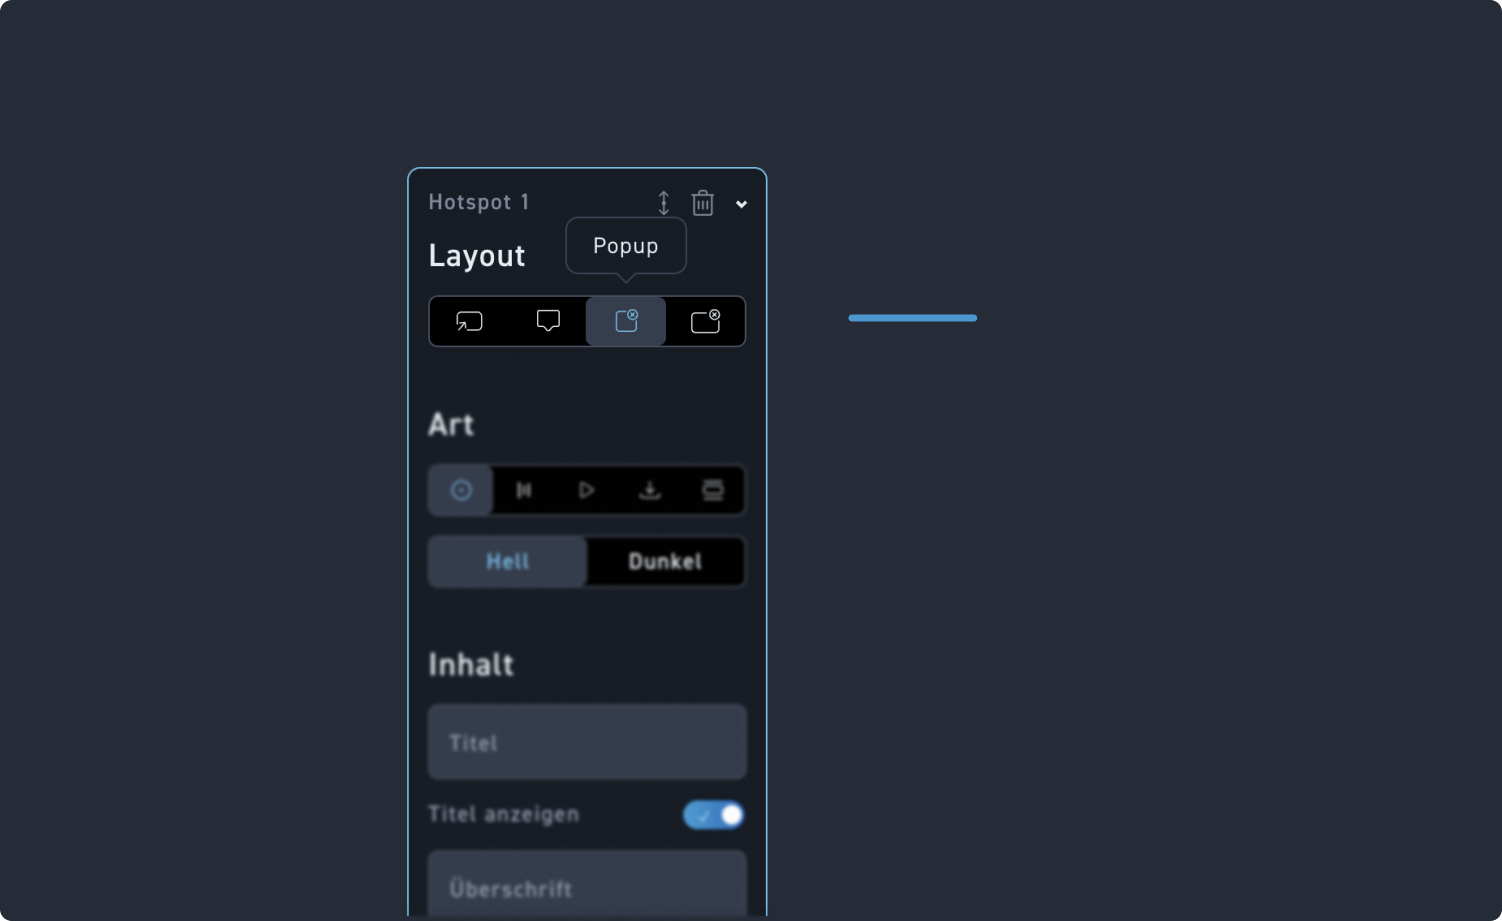
Popup Hotspot
Click on the third point „Popup“ to insert a popup hotspot.
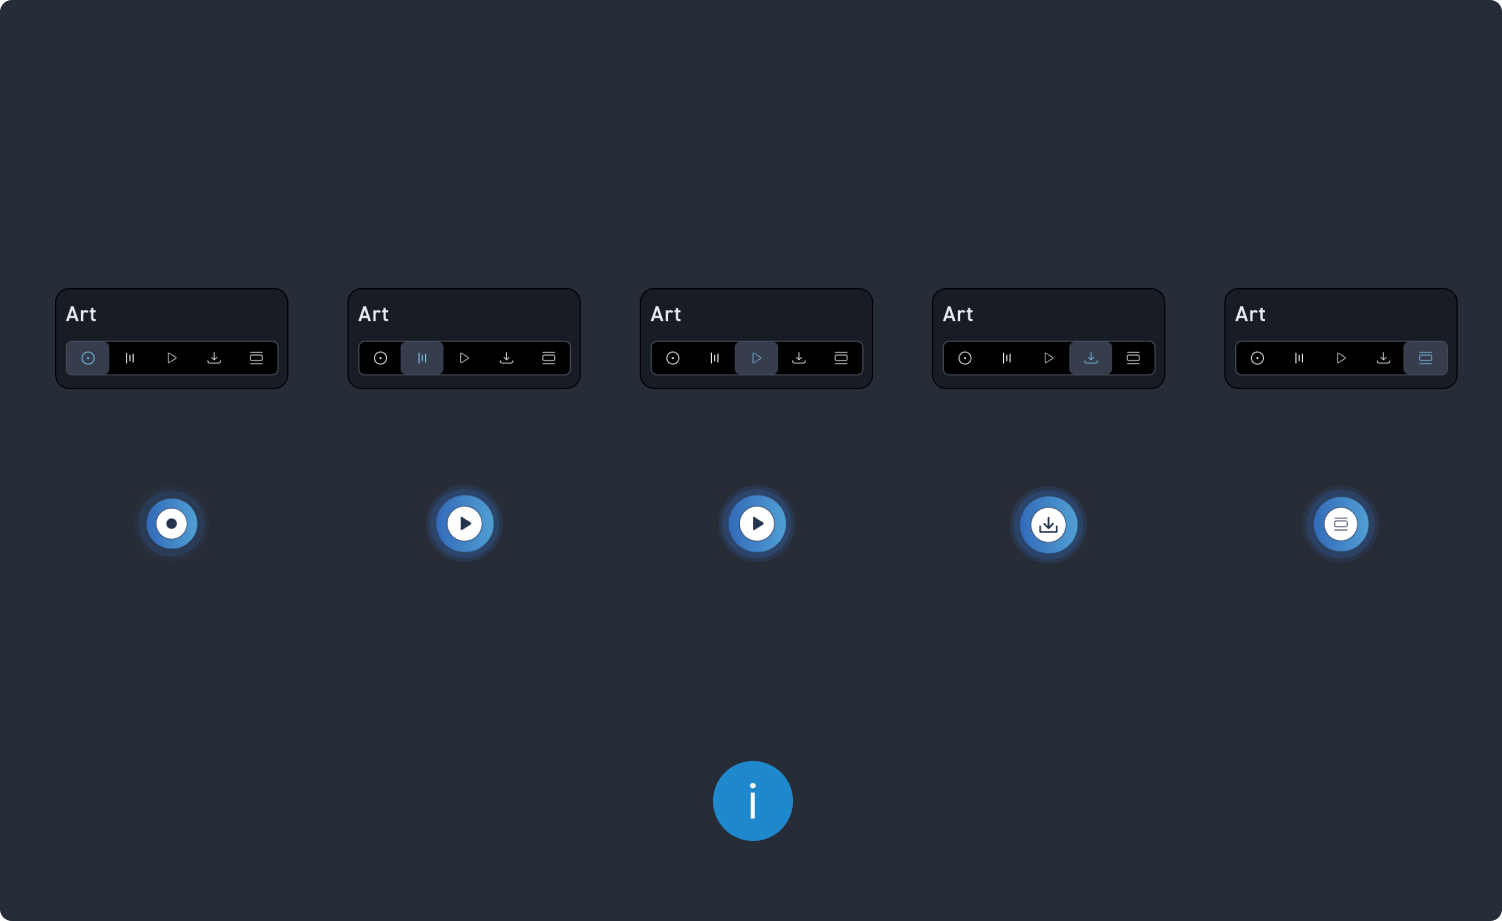
Click
Click on the first item „Click“ to turn your hotspot into a simple hotspot where learners are shown content such as a title, running text, or image by clicking.
Audio
Click on the second „Audio“ point to make a popup with an audio file from your hotspot that learners can play after opening it.
Download
Click on the third point „Video“ to turn your hotspot into a popup with a video that learners can play after opening it.
Download
Click on the fourth point „Download“ to turn your hotspot into a download popup, where learners can download a file after opening it.
Section
Click on the fifth item „Section“ to turn your hotspot into a popup with a section where learners can navigate to a preset section in the WBT after opening it.
Information
Hotspot types 2, 3, and 4 are the same as in the „1 Hotspot“ layout. The exception here is the video, as this is a new addition. All the settings have remained the same; however, what has changed is the functionality of the hotspots. Feel free to scroll up to take another look at them.
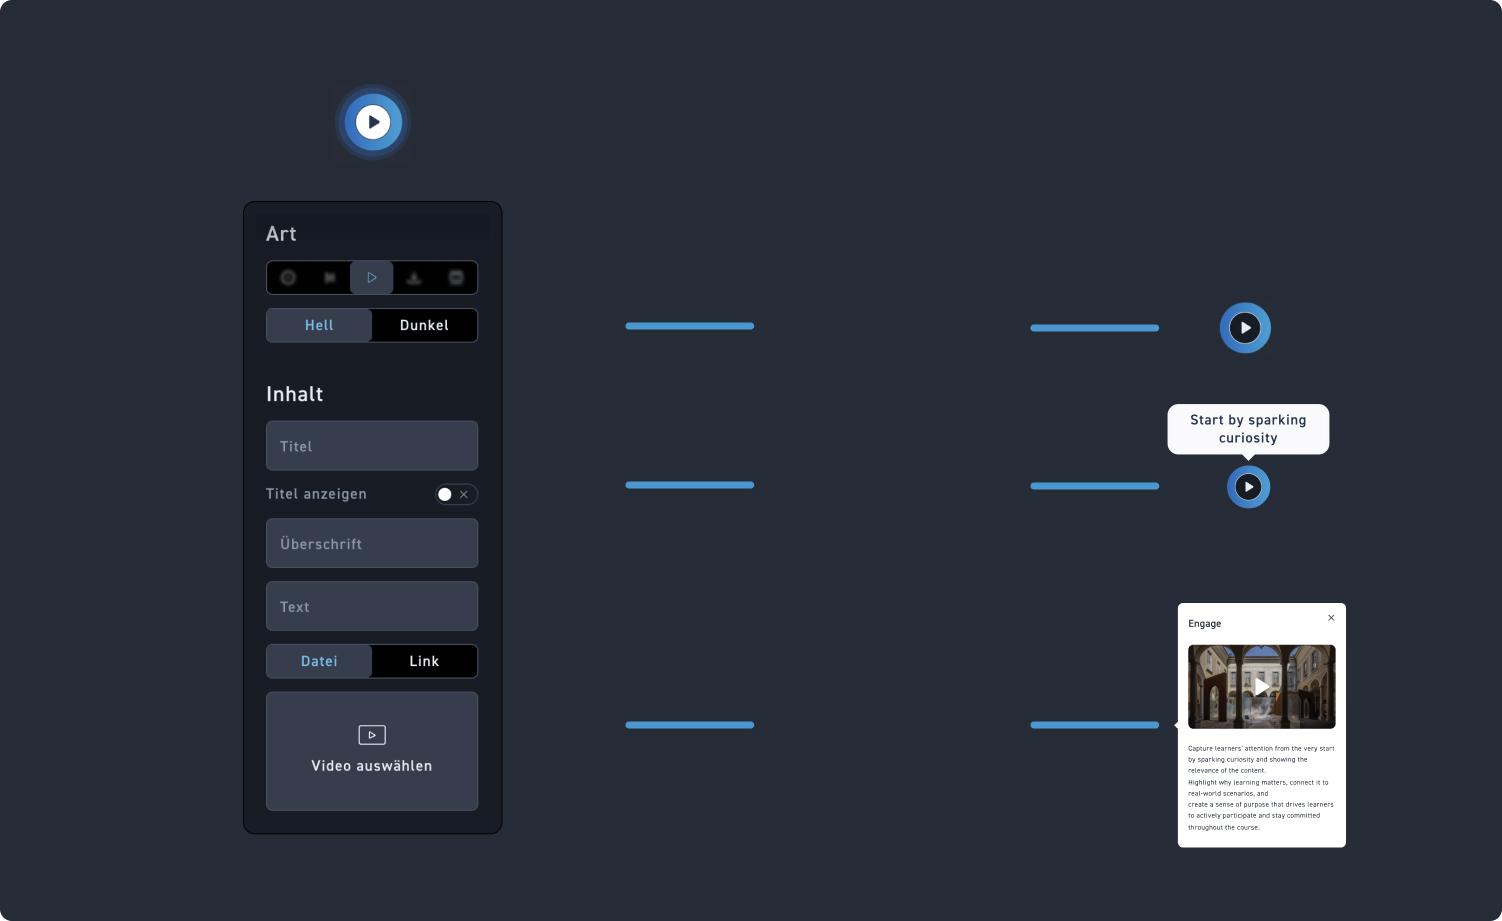
Hotspot color
Determine whether your hotspot has a light or dark ring in the center. This ensures perfect visibility on dark or light images.
Hotspot content
Give your hotspot a title and decide whether you want it to be displayed permanently or not. When the title is displayed, your hotspot can look like the one on the right.
Video
Choose a video from the media library or add it via a link.
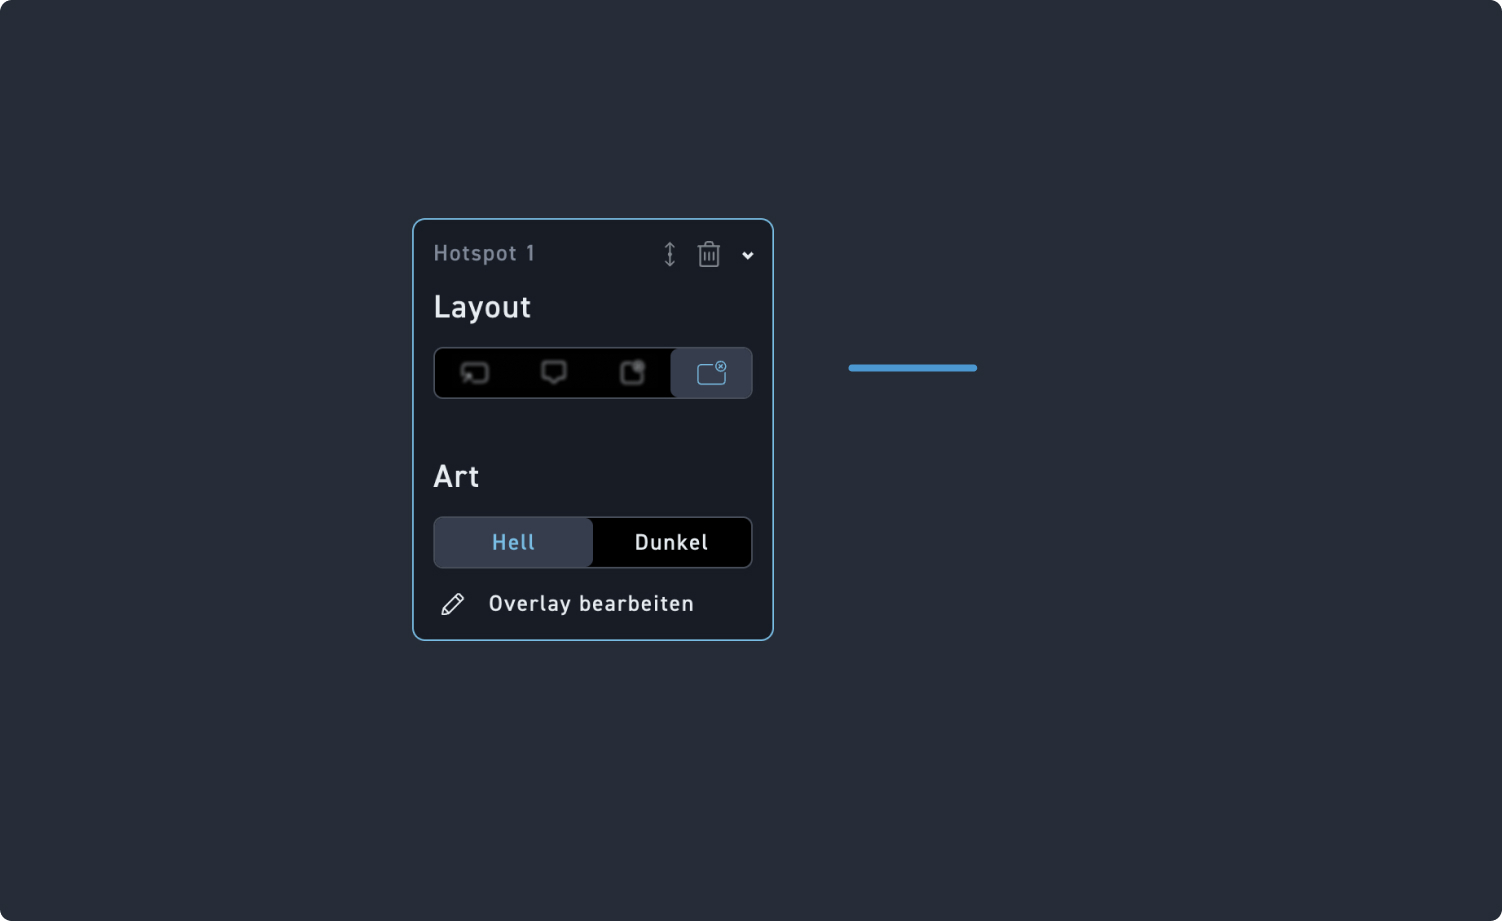
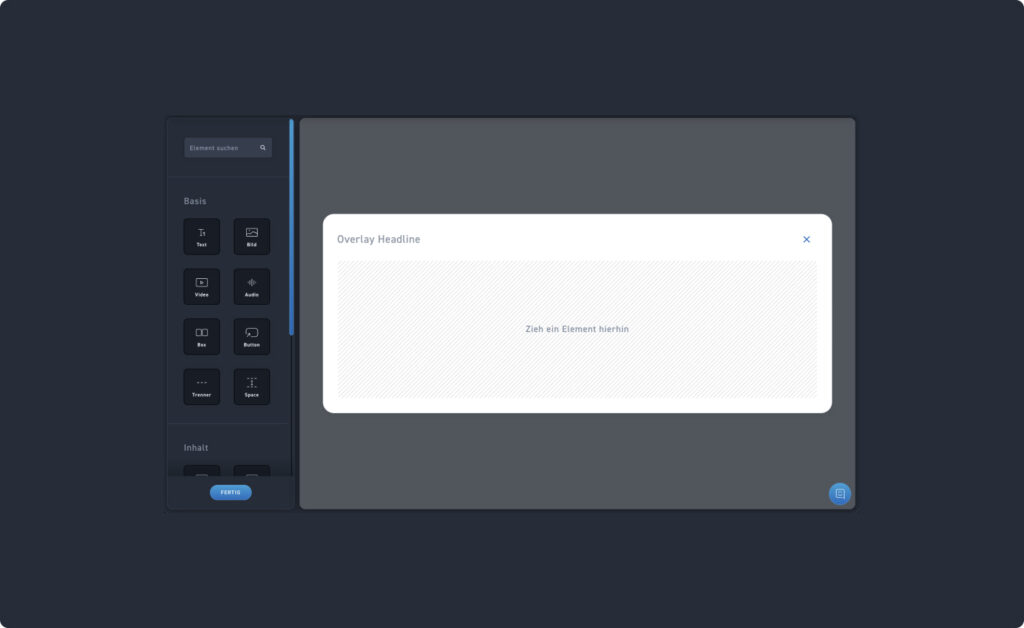
Overlay Hotspot
Click on the fourth item, „Overlay,“ to insert an overlay hotspot.
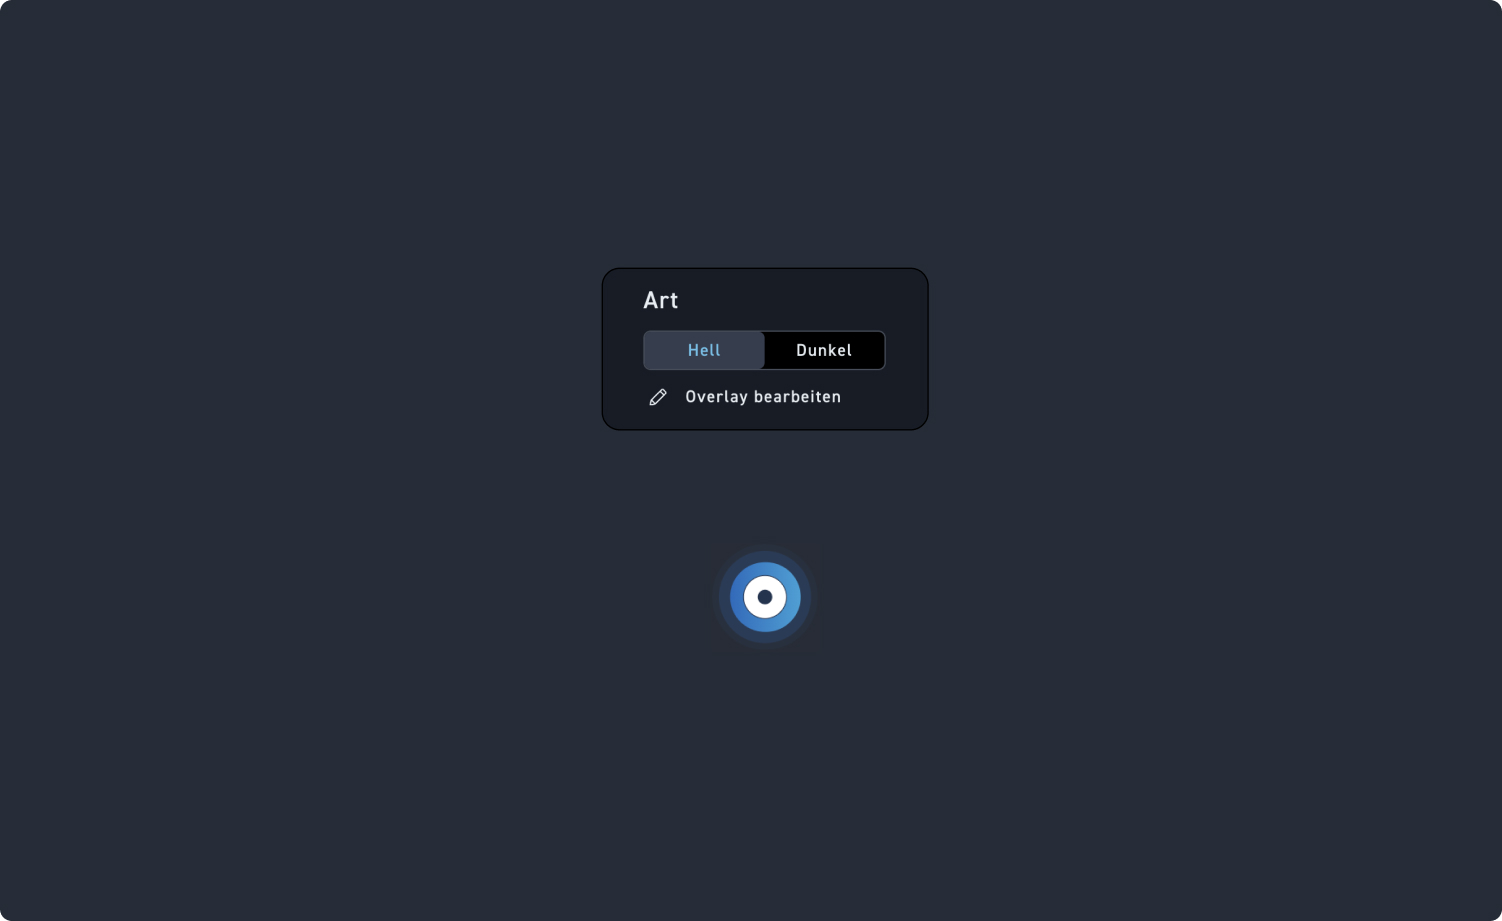
Edit overlay
Click on „Edit Overlay“ to customize the overlay contents with the Content Editor.