Manage WBTs
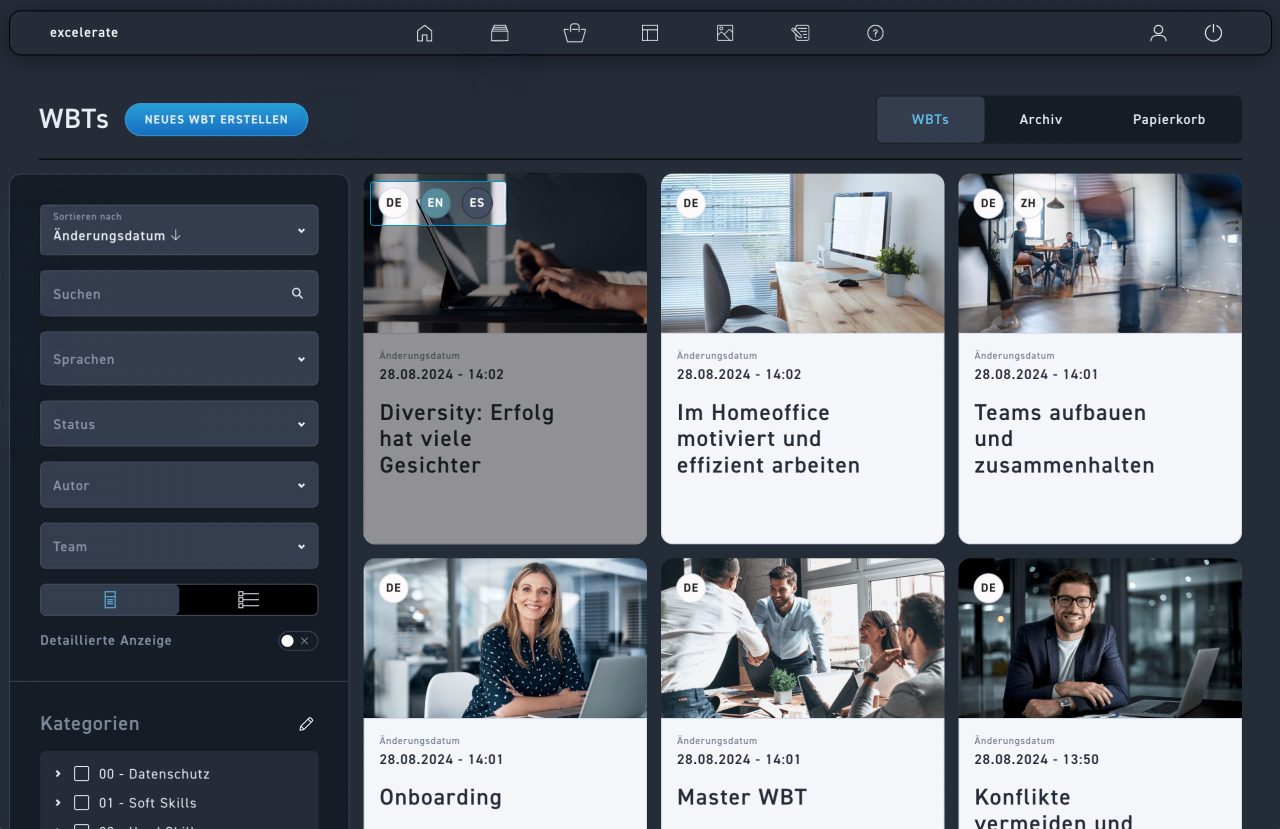
You are automatically in the WBTs tab. Switch to archived and deleted WBTs using the tabs.
Create a new WBT with the Create WBT button.
Sort by modification date or title, either ascending or descending.
Looking for a term in the WBT title.
Filter your WBTs by language.
Filter your WBTs by status. You have the options in progress, review, and done.
Your applied filters are now saved. If you navigate within the platform and later return to the WBT list, your filter settings will be retained.
The background of the language codes also shows the status of the WBT. In progress: white background. Review: green background. Completed: black background.
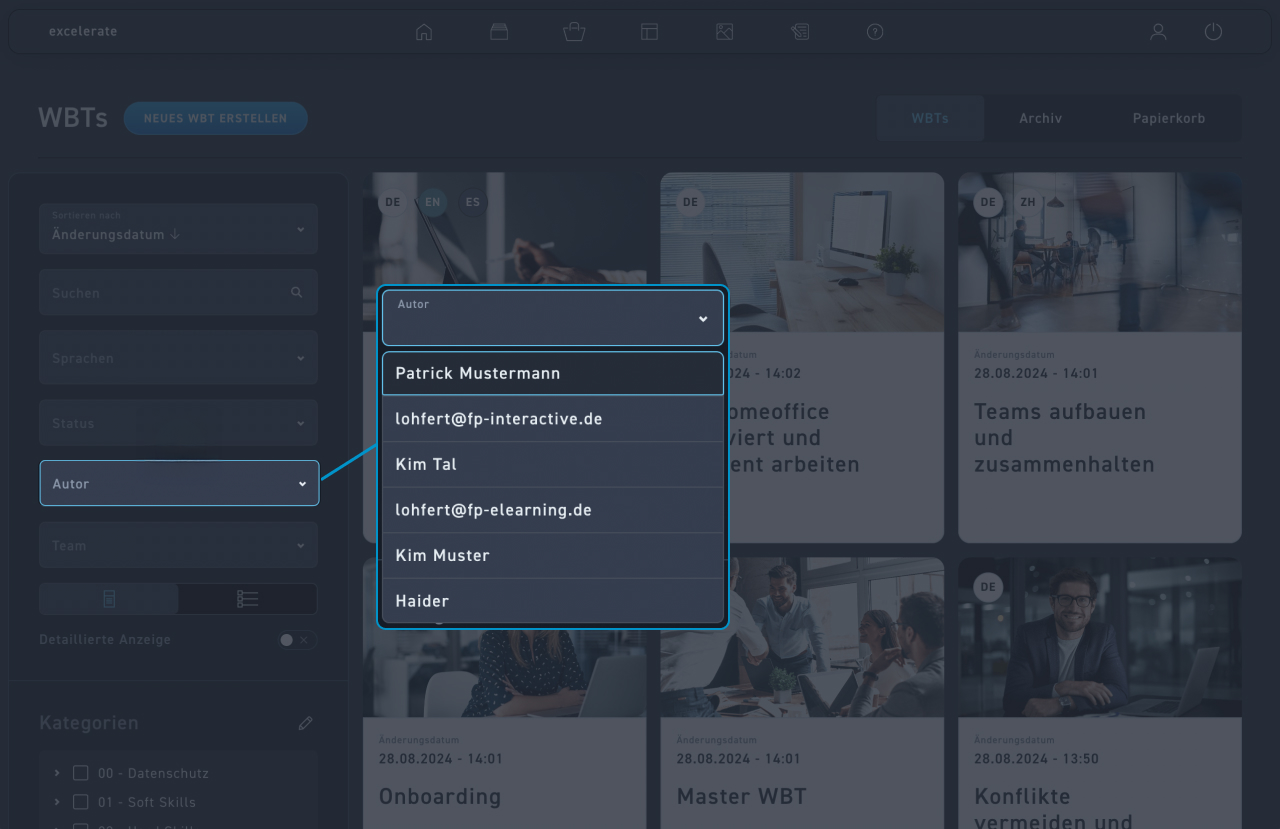
Filter the WBTs by author. To do this, click on the names of the authors whose WBTs you want to see.
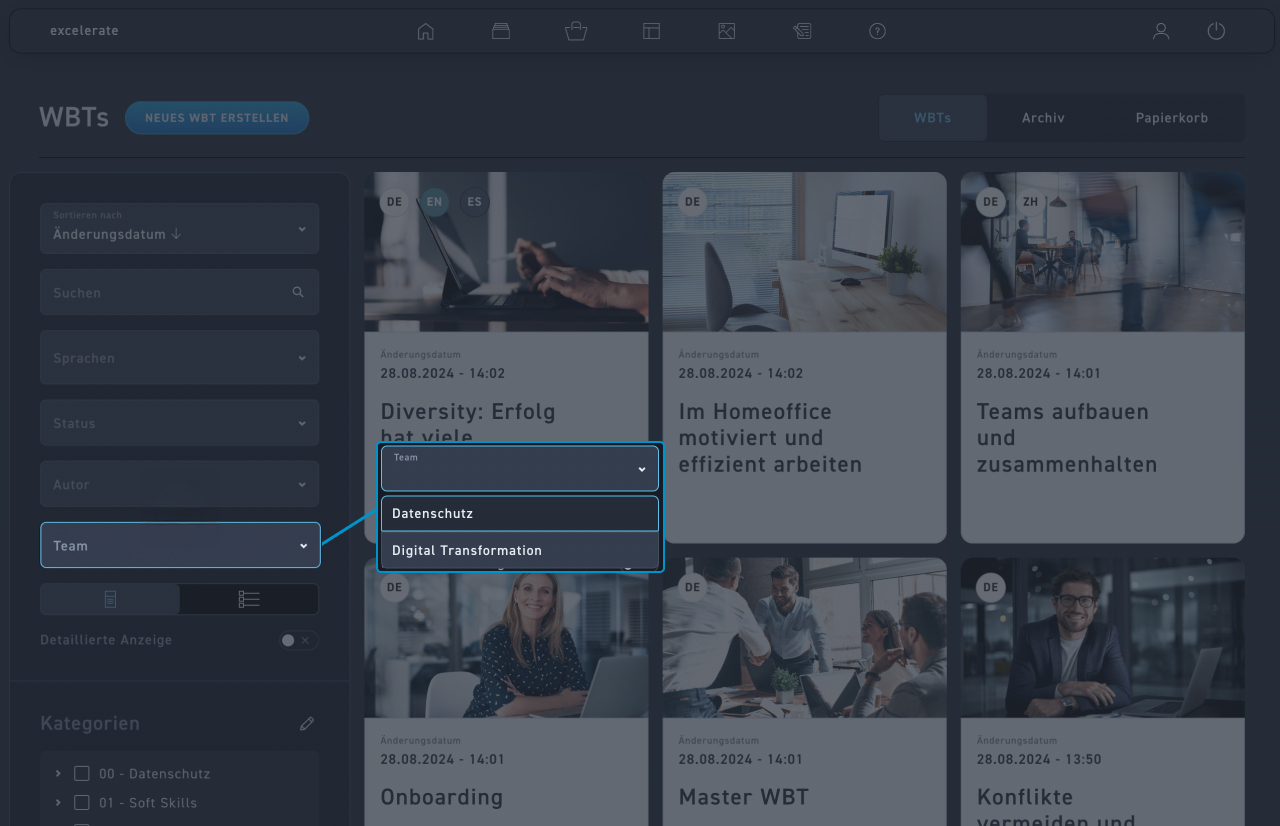
Filter the WBTs by teams here. To do this, click on the teams whose WBTs you want to see.
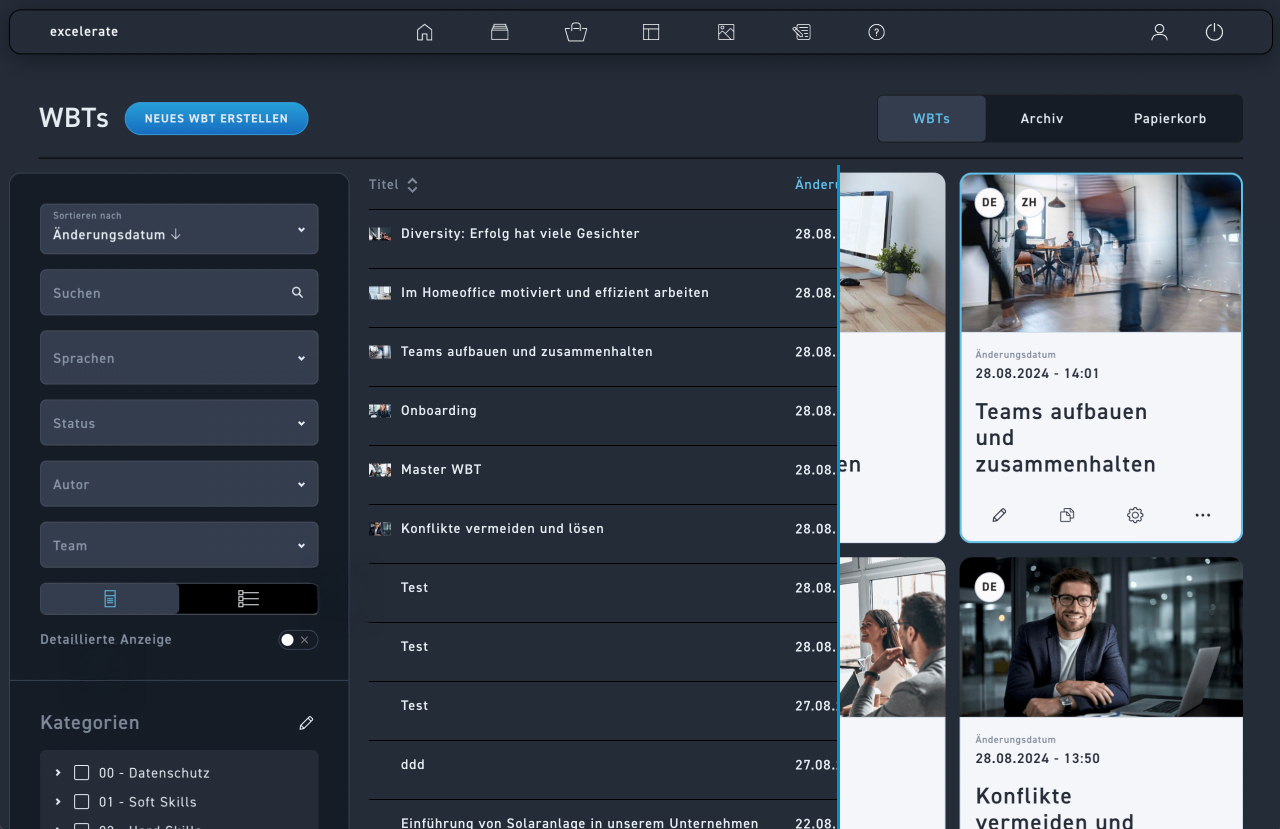
Choose between the tile or list view.
Click on detailed view for more information on categories, teams and authors.
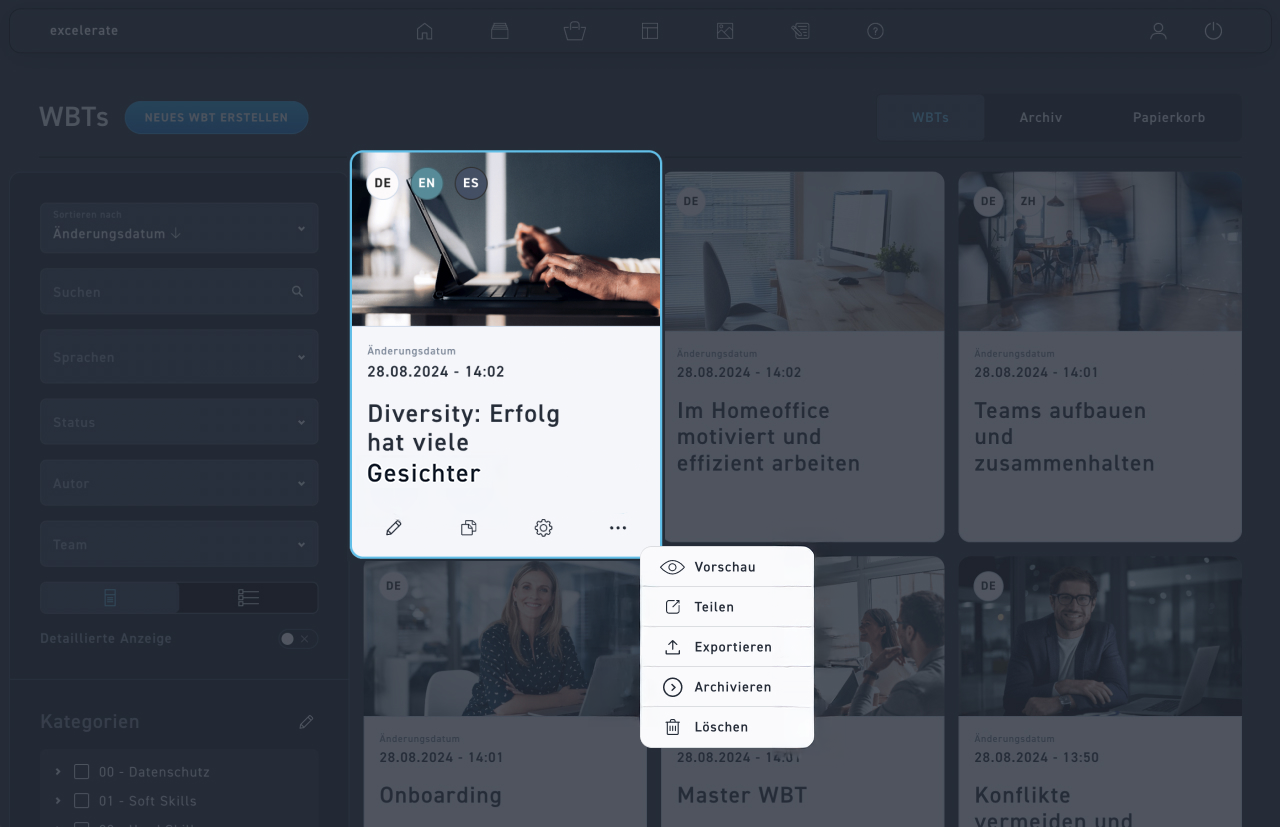
By clicking edit, you jump into the WBT and can edit it.
Click Duplicate and the newly copied WBT will have a "2" appended to its title.
With Settings, you configure the WBT.
Click on the dots ... to get more options.
Select Preview to view the WBT from the learner's perspective.
Select Share to activate a link to the WBT that can be accessed by others.
Select export to export the WBT.
Click on Archive to move the WBT to the archive.
By deleting, you move the WBT to the Trash tab after confirmation.
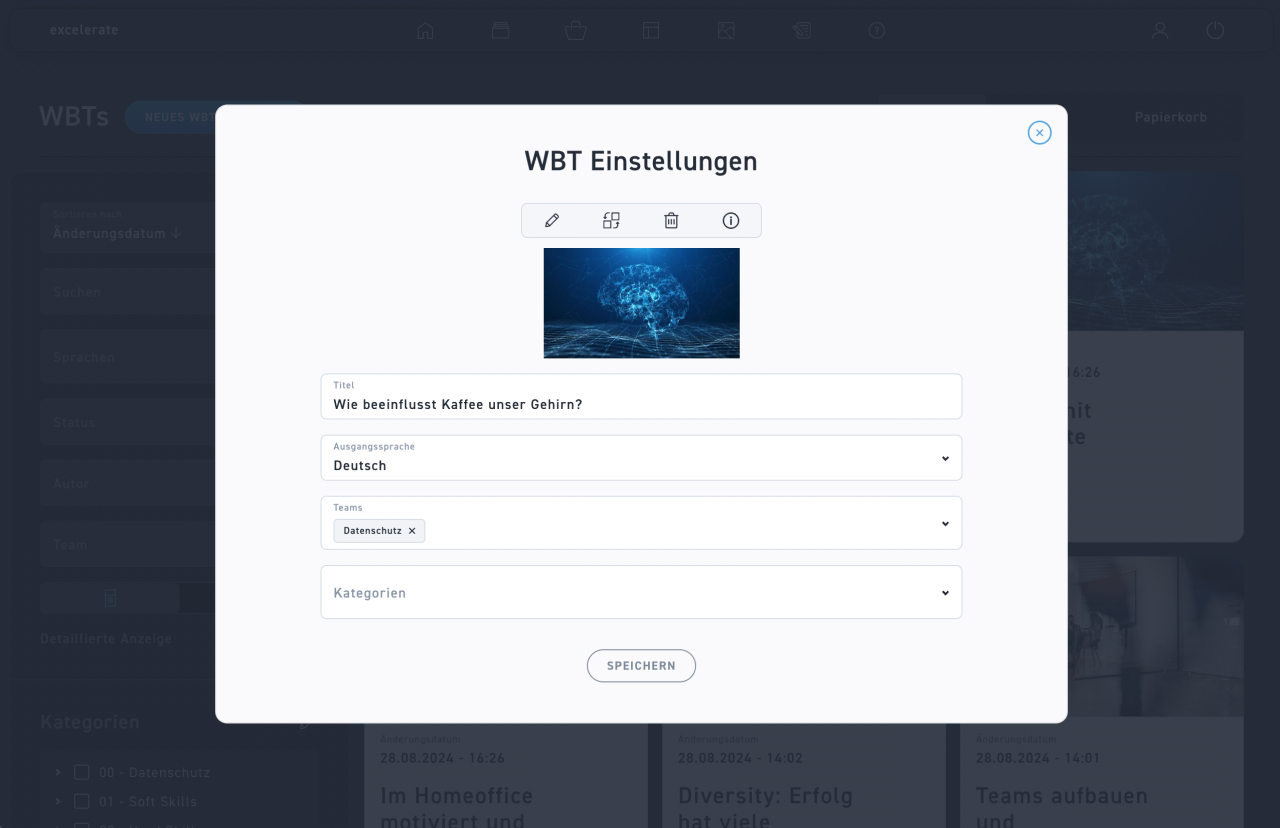
Click on the edit button above the image to edit it in a new window using the on-board image editing program.
Replace the image with a new one from the media library.
Delete the image with Delete.
Click on Information and you will get all details about the image, such as name, image size, and file size. You will also receive information on which WBTs it is used in. Edit the image settings here, such as alt text, copyrights, and categories.
Click Save to save the information.
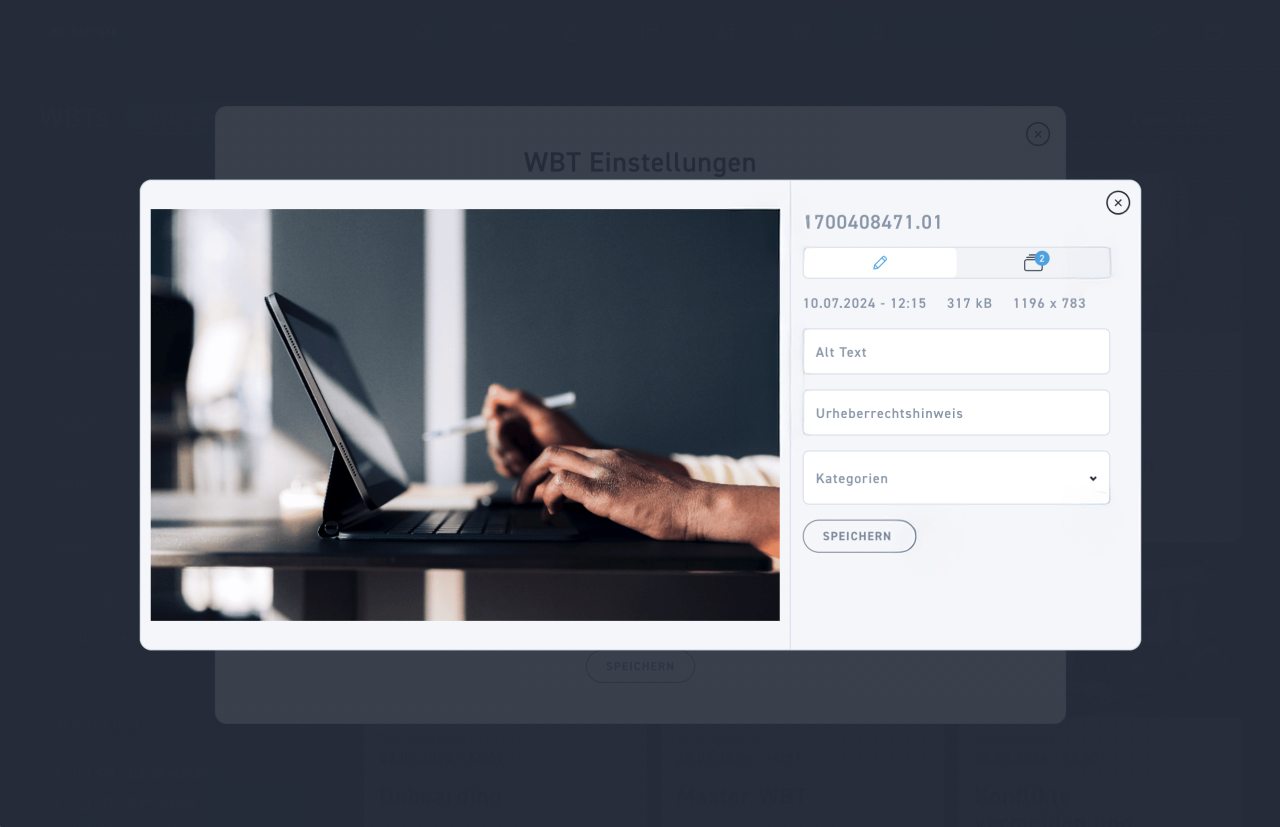
You can see at a glance the title, the time of the last modification, the file size, and the resolution.
Edit the alt text here. This describes the content and purpose of an image for users who cannot see the image. It is read aloud by screenreaders and is important for the accessibility of web content.
Note the copyright notices for the corresponding image. This will be shown automatically at the end of the WBT.
Through the icon of the WBTs you can see immediately in how many WBTs the image is used.
Set media library categories to which the image should be assigned.
Click save to secure your information.
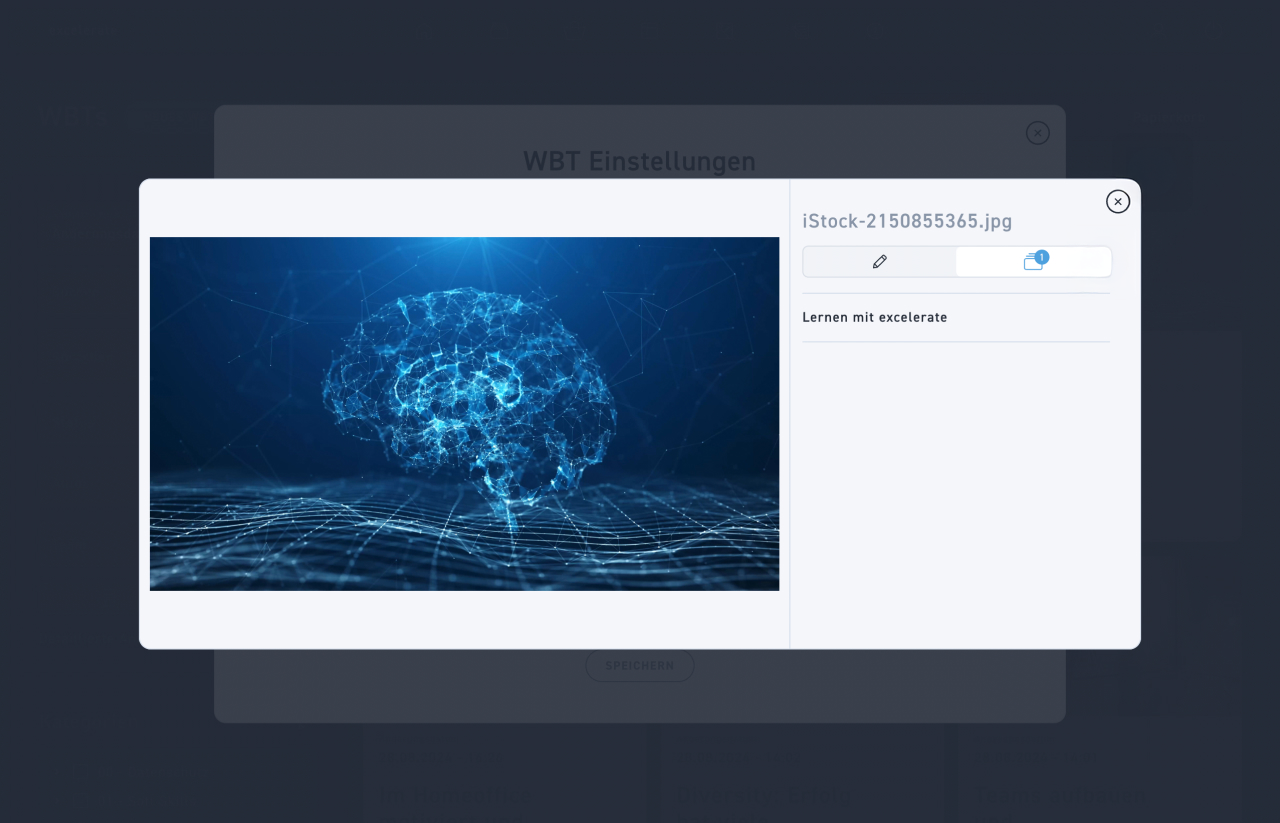
Click on the icon to display a list of these WBTs.
Click the X to close the window.
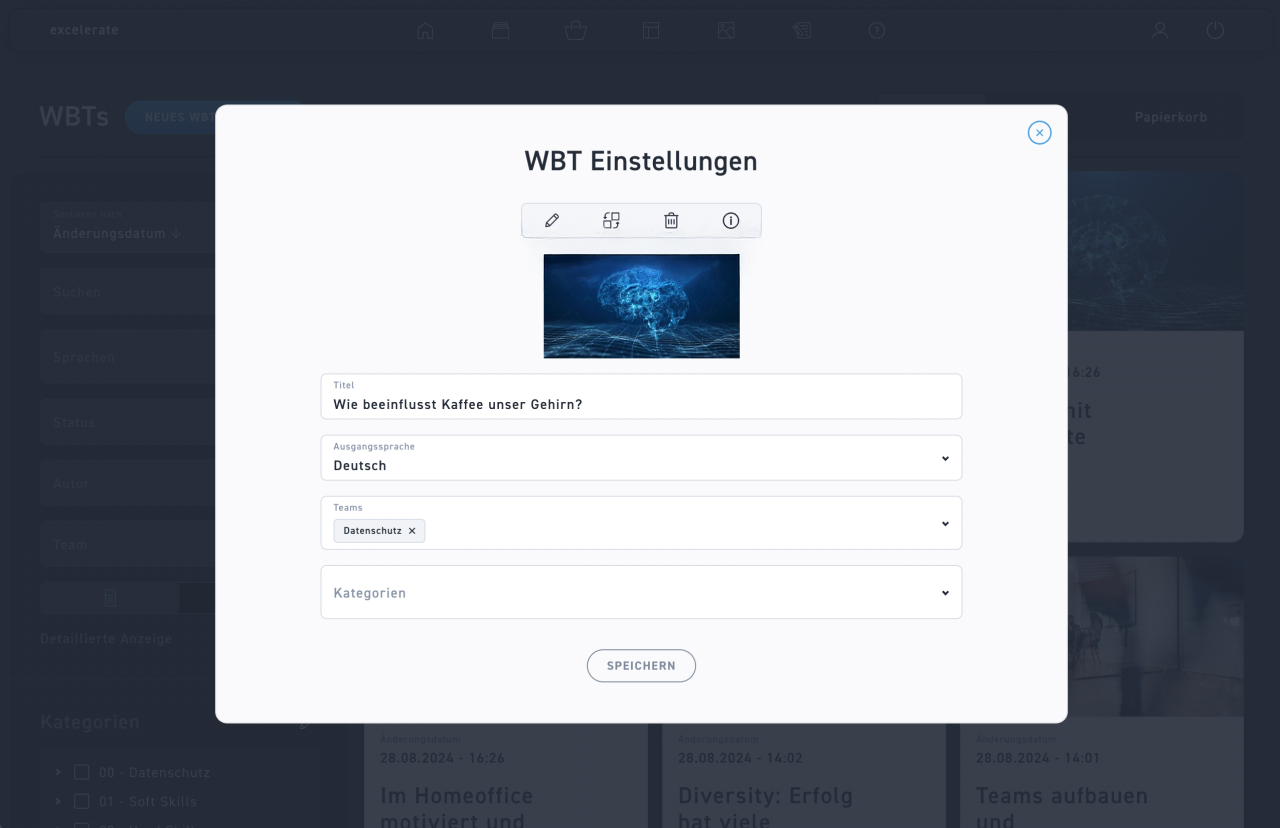
Choose a fitting title.
Select the appropriate source language for your WBT from the drop-down menu.
Assign teams to your WBT.
Specify the category your WBT falls into.
Then click on Save.
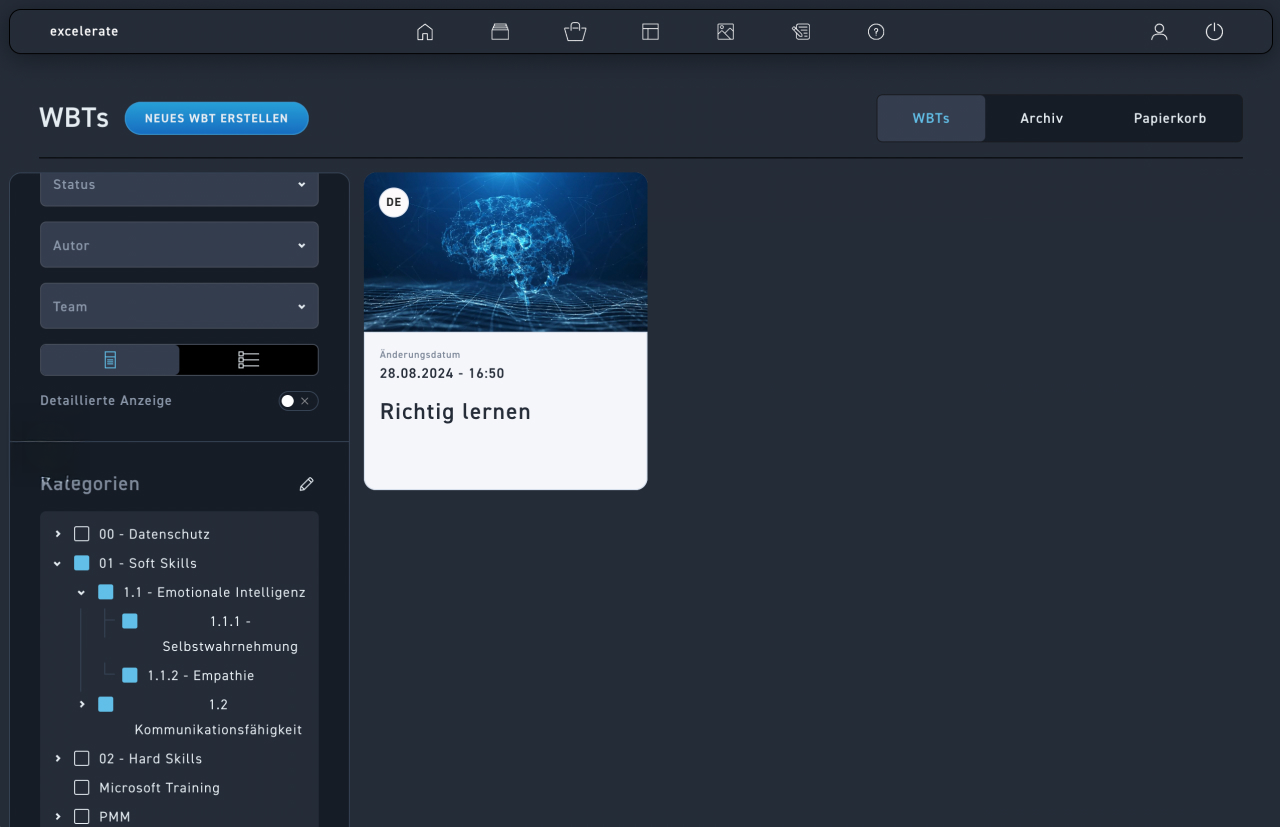
Click on one or more categories and the WBT list will show you only the WBTs assigned to those categories.
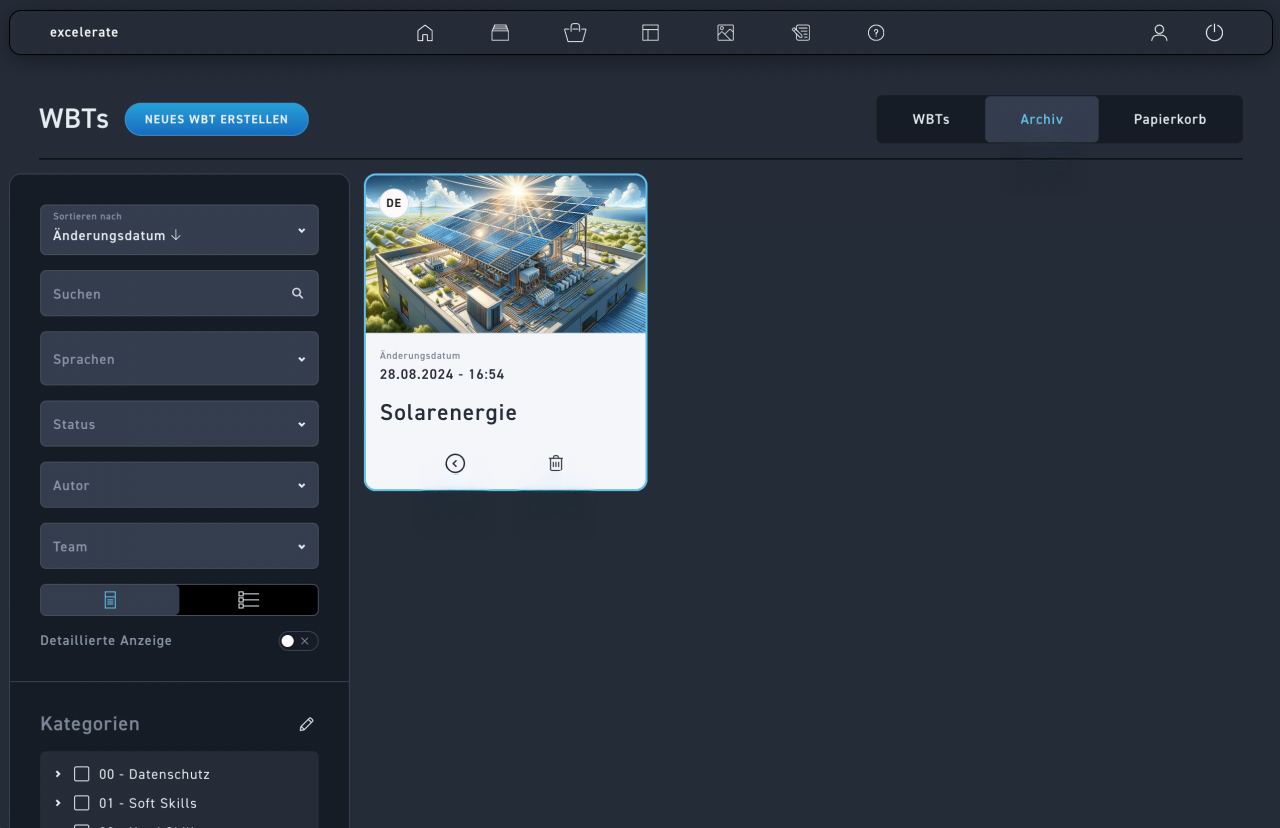
In the Archive tab, you will find your archived WBTs.
Click the arrow to restore the WBT.
Deleting moves the WBT to the recycle bin.
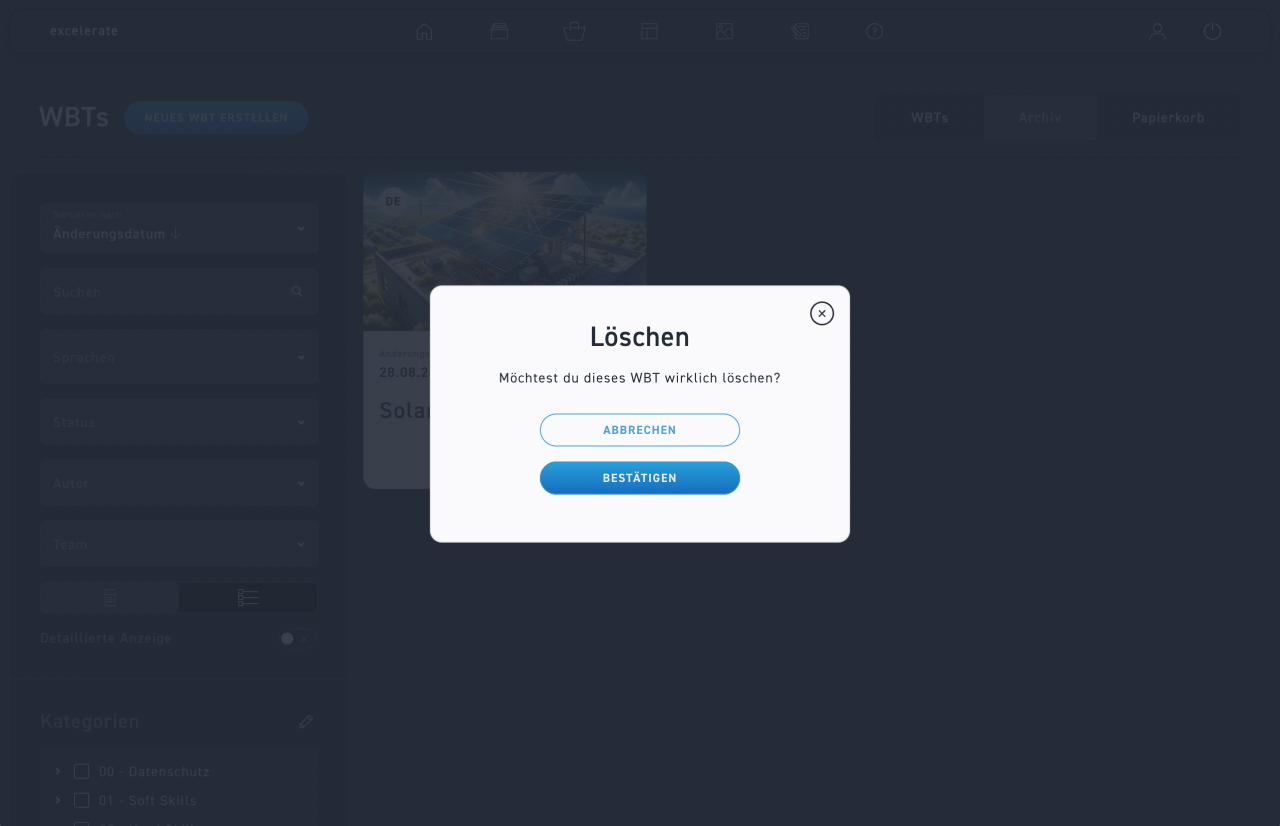
Click on the recycle bin and confirm your action to move the WBT to the recycle bin.
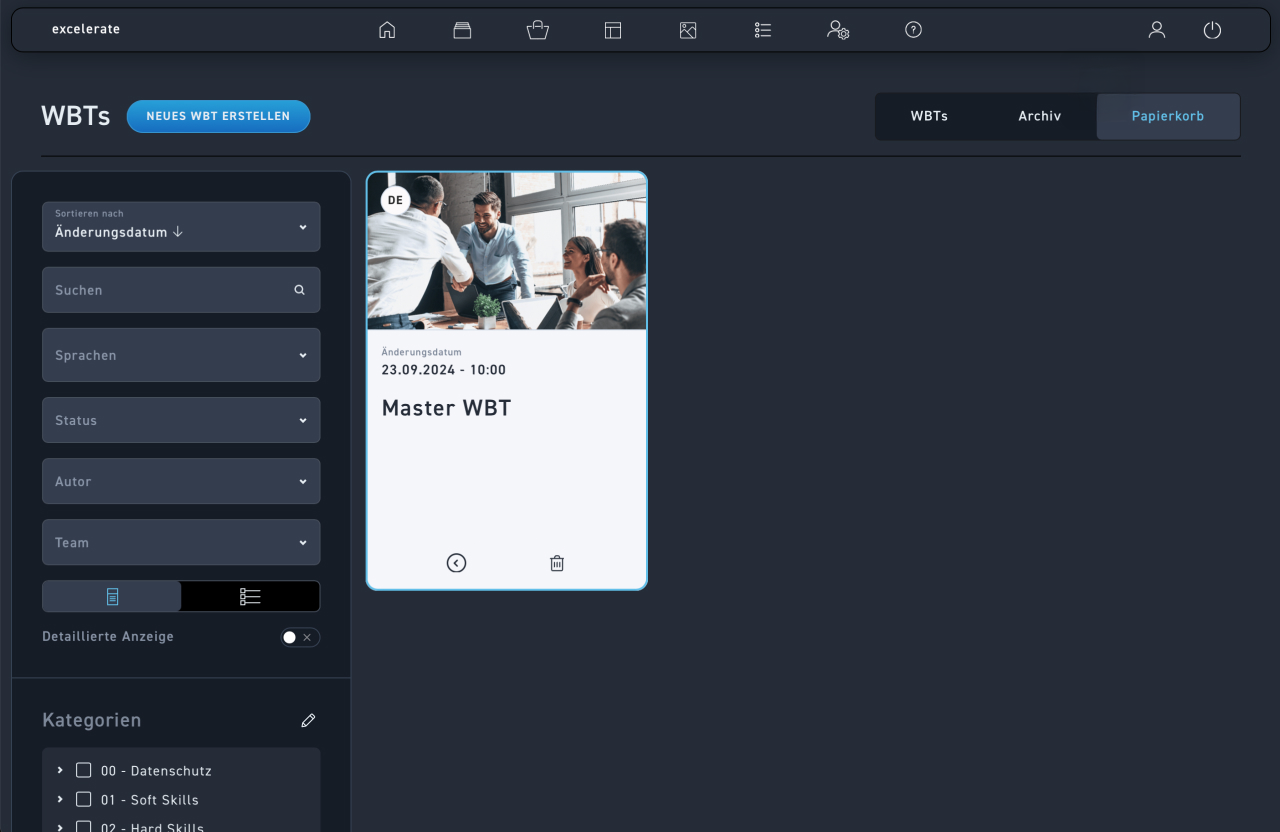
Select the Trash tab to view your deleted WBTs and restore them if desired.
Click the arrow to restore the WBT.
By deleting, you will permanently delete the WBT.