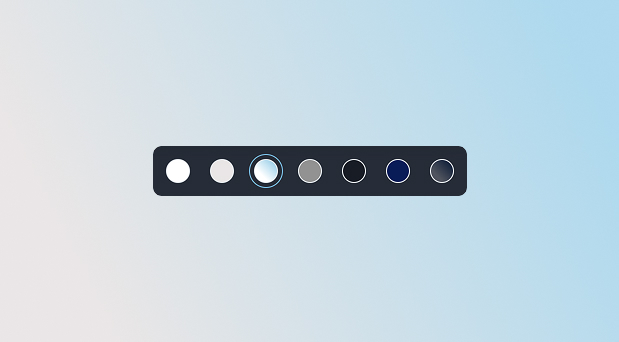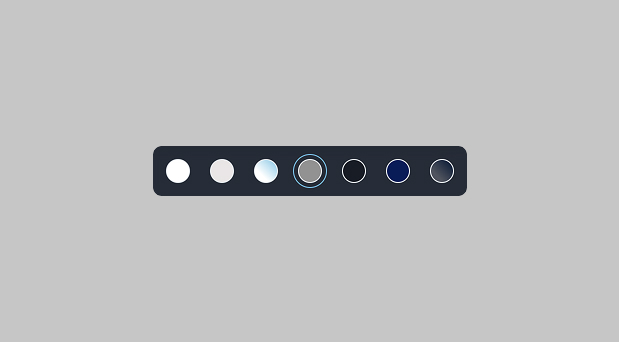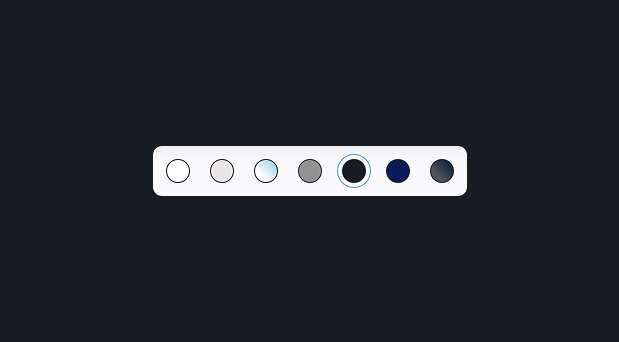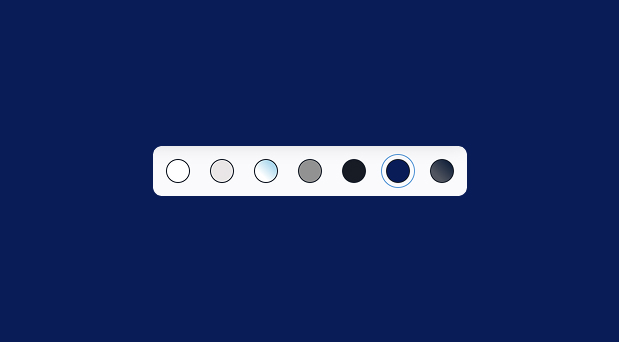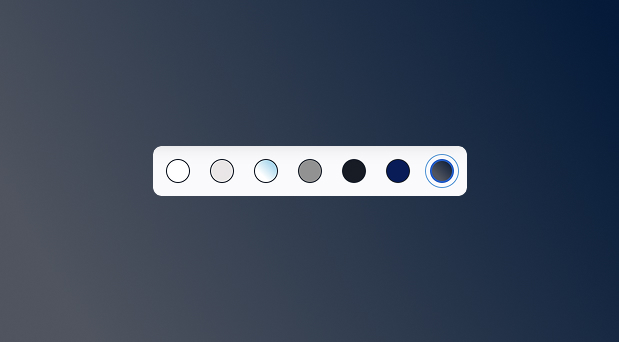
Backgrounds

Application #

Add as many backgrounds as you like, divided into light and dark variants. This makes it easier for you to perfectly match text and box colors to the respective background. In the following 6 steps, we will show you how to manage your backgrounds and add new ones.

Find background overview #

To manage your backgrounds, click on the fourth item, „Backgrounds“.

1
Backgrounds
Select backgrounds to see more settings.

Backgrounds Overview #

In the backgrounds overview, you can find all your existing backgrounds. Simply click on a background to customize it, or on the trash can icon to delete it. If you have more than one background, you can flexibly change their order via drag-and-drop—this changes the arrangement of the background selection in the top right.

1
Light backgrounds
You can find the light backgrounds right at the top of the editing window. Add only light backgrounds with a light color tone there.
2
Dark backgrounds
You can find the dark backgrounds directly below the light variants in the editing window. Only add dark backgrounds with a dark color tone there.
3
Change backgrounds
Swap the pre-set backgrounds here to test them directly.

Step 1 – Light Backgrounds #

1
Name
Click on a background and rename it so that it remains clear for you.

Step 2 – Add new background #

1
Add background
Click on „Add background“ to create another one.

Step 3 – Adjust fill color #

After adding a new background and giving it a clear name, all that is missing is the most important part: the color. Take a look at the hotspots to see what options are available to you here.

1
Color field
Intuitively determine your desired color using the free color field to visually select the appropriate shade.
2
Fill, Gradient & Eyedropper
Switch flexibly between a solid surface and a gradient, or use the eyedropper to sample any color directly from your screen.
3
Hue & Opacity
Using the sliders, you can precisely adjust both the hue and the opacity of your selection.
4
Color values & favorites
Enter your exact HEX or RGB values directly to match brand colors precisely, or quickly access the most frequently used colors at the bottom.
Step 4 – Set gradient #

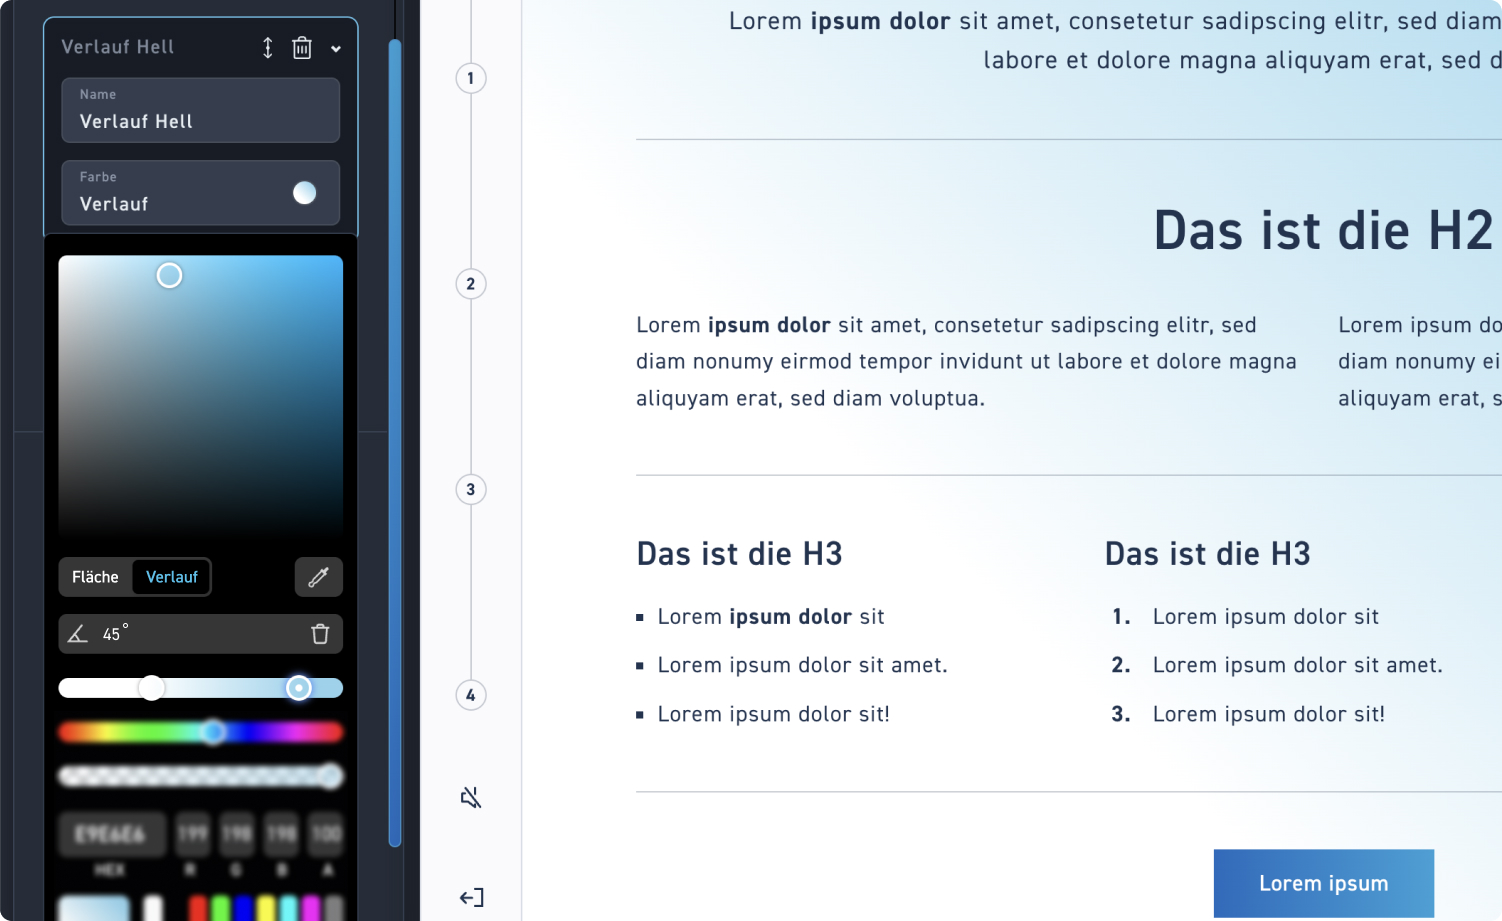
Switch to the tab „History“, to use a dynamic gradient. Combine one or more colors to create modern or abstract backgrounds.

1
Adjust gradient angle
Determine the direction in which the gradient should flow using the degree field (e.g., 45°).
2
Color dots
Click the points on the progress bar to adjust each color of the transition separately. Add as many points as needed by simply clicking in the bar to make the gradient even smoother.
Step 5 – Set dark backgrounds #

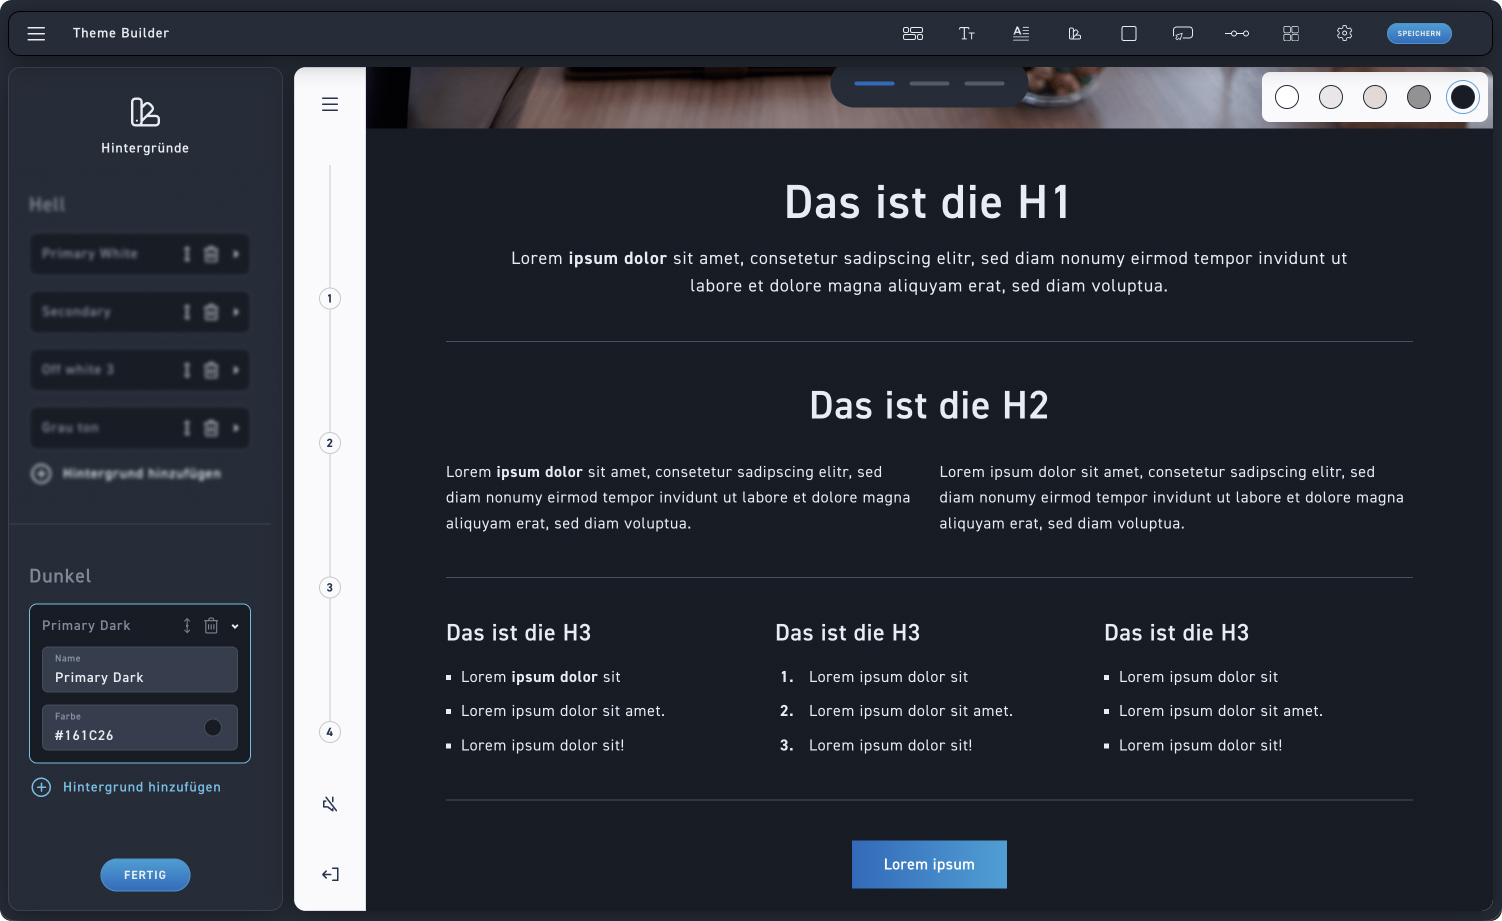
The exact same applies to dark backgrounds as to light ones: You have access to precisely the same features and configuration options. By default, a single dark color is also pre-configured here first. You can edit this and set it as your primary background.

1
Dark backgrounds
Give the background a distinct name and, as in steps 3 and 4, set either a solid color fill or a dynamic gradient.
2
Change backgrounds
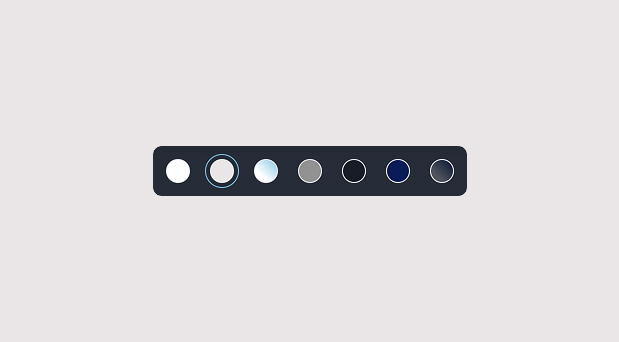
As we can see here, our list of the backgrounds we've set has populated. Hover your mouse over a color before clicking to check the name of the background.
Step 6 – Check backgrounds #

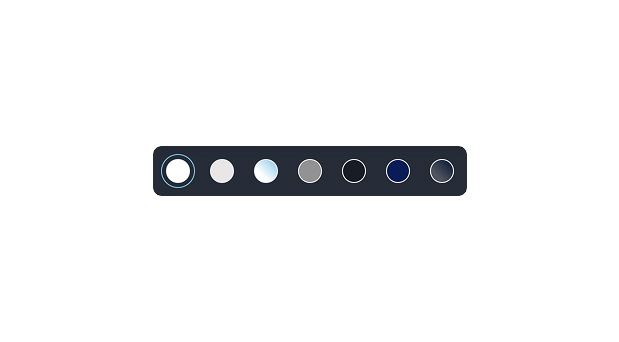
Review all the backgrounds and check if your entries are really correct. Don't worry: even after saving, you can change the colors at any time using the Theme Builder.

Primary background #

Secondary background #

Bright course #

Gray tone #

Primary Dark #

Secondary Dark #

Dark gradient #